Pitching Performance: Understanding Trunk Position at Foot Strike – Part 3
Written on October 11, 2013 at 6:50 am, by Eric Cressey
Today marks the third installment of this series on trunk position at foot strike during the pitching delivery. In case you missed them, be sure to check out Part 1 and Part 2. In those installments, we outlined the problem of early and excessive lumbar (lower back) extension, and how to address it with drill work. In today's final installment, we'll introduce some drills we like to use with our athletes to teach them about proper positioning and build stability within those positions.
At the end of the day, there are a few things that can contribute to a pitcher drifting into excessive extension from the time he begins his leg kick all the way through when his front foot strike. Obviously, the foremost concern is what cues the athlete has been given that may be leading him in this direction. Once those have been cleaned up, though, we have to look to see how physically prepared an individual is to get to the right positions. I think the first question you have to ask in this case is, "Where does the posture start?" If an athlete looks like this at rest, he's going to at least look like this dynamically – and this heavily extended posture is going to be much more exaggerated.

With that in mind, step 1 is to educate athletes on what acceptable resting posture is. In this case, we need the athlete to learn to bring the pelvis and rib cage closer together, most notably through some posterior pelvic tilt. Once that has been established, here are some of my favorite warm-up drills for athletes with this heavily extended posture. You'll notice that exhaling fully and learning to get the ribs to come down are key components of these drills.
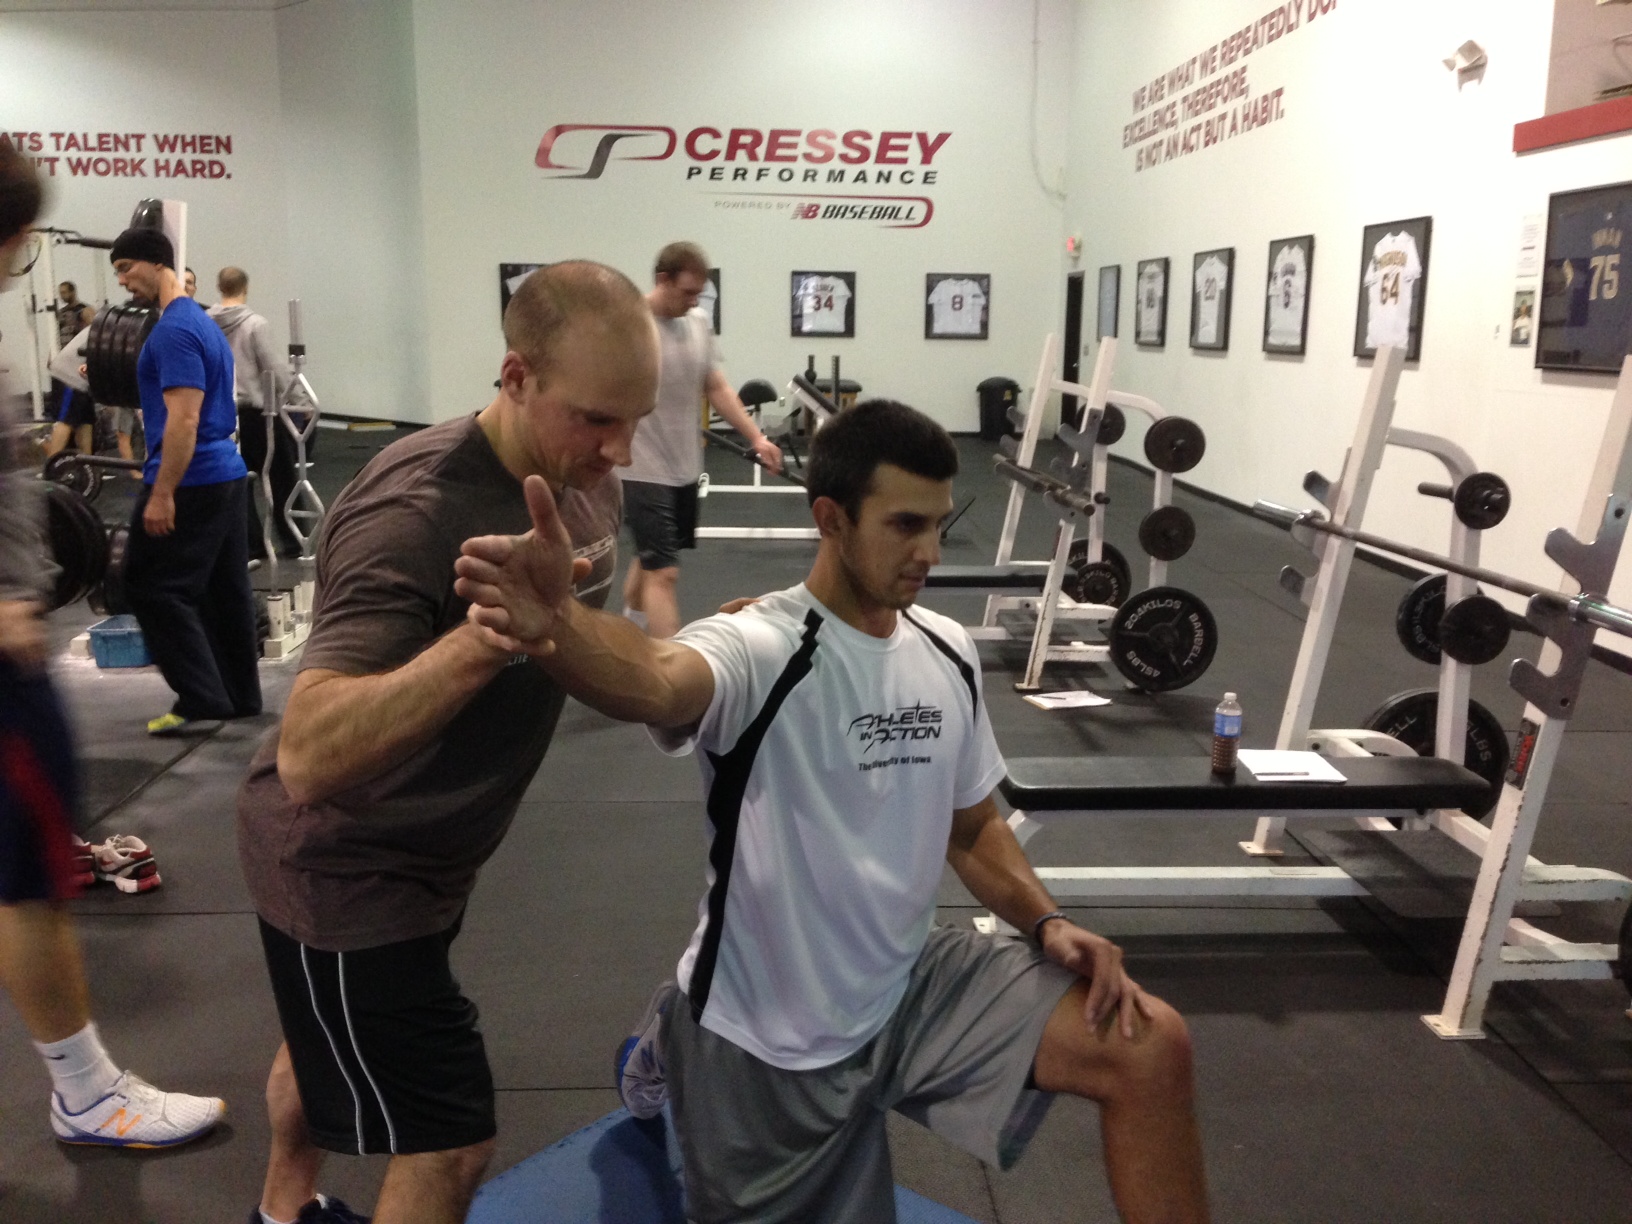
In addition to these low-level core stability exercises, we'll progress to some balance drills, especially in the early off-season. Effectively, we're teaching athletes to resist extension and rotation in single-leg stance. Yes, it's static balance training, but I firmly believe these drills have carryover to bigger and better things at higher speeds. And, you're certainly not going to overtrain on them, so you've got nothing to lose.
With all these exercises out of the way, it takes a lot more high level core stability for this posture to carry over to the high level throw. You need to improve both anterior core control (your ability to resist excessive extension/arching) and rotary stability (your ability to resist excessive rotation at the lower back). I've outlined loads of options on these front, but here are two to get the ball rolling for those who aren't up to speed on my writings just yet:
And, remember that the different types of core stability never work in isolation – especially during the basebal throw. Check out this video for more details:
The core stability you build must, however, be accompanied by a strong lower half. Candidly, I don't think having a huge squat is necessary. Athletes seem to get much better carryover from deadlift variations, in my experience – likely due to the fact that the deadlift does such a tremendous job of teaching good hip hinging. We see so many athletes who drift (LHPs toward 1st base, and RHPs toward 3rd base) early in the leg kick and subsequent movement toward home plate in part because they can't hip hinge at all. Once you've gotten that hip hinge back (in part with the toe touch video from above), you have to strength train in that pattern to get it to stick. For the most detailed deadlift technique video tutorial out there, check out my free one here.
Additionally, single-leg strength is insanely important, and there are lots of ways to attack it.
I think it's equally important to be able to build and maintain strength outside the sagittal plane, especially when it comes to carrying that good hip hinge over to movements when a pitcher is starting to "ride his hip" down the mound. With that said, definitely check out an article I wrote previously, 7 Ways to Get Strong Outside the Sagittal Plane.
Once you've established hip and shoulder mobility, core stability, and lower half strength, you can really start to make the most of your medicine ball training. As you can see, I think Tim Collins is a great example from which young throwers can learn a lot, as he has built up a lot of these qualities to make the most of a smaller frame in order to consistently throw in the mid 90s. That said, I couldn't ask for a better demonstrator for our medicine ball drills for a few reasons.
First, he always throws the ball with intent; there are no half-speed reps. If you want to develop power, you have to try to be powerful in each throw during training. Second, his direction is outstanding. You never see him drift forward as he builds energy to apply with aggressive hip rotation. Third, he's got a great hip shift, which is necessary to get the most out of his posterior chain.
As a follow-up to that video, CP coach Greg Robins has a great tutorial here to teach you how to get "in and out" of your hip on rotational medicine ball exercises:
As you can see, there are a lot of different factors that contribute to an athletes being in excessive extension – but also allowing that extension to carry over to their pitching mechanics to the point that trunk position will be out of whack at foot strike. Additionally, these exercises should demonstrate to you that athletes who land in a very extended position – but still have success and don't want to change things – will need to take special precautions in terms of physical preparation to make sure that their bodies don't break down over time with this delivery style.
This wraps up our series on understanding trunk position at foot strike during the pitching delivery; we appreciate you following along for all three articles!I If you'd like to learn more about how we manage throwers, be sure to register for one of our Elite Baseball Mentorships. The next one will take place December 8-10.

Sign-up Today for our FREE Baseball Newsletter and Receive Instant Access to a 47-minute Presentation from Eric Cressey on Individualizing the Management of Overhead Athletes!
|


October 11th, 2013 at 7:22 pm
Those are good general rotational exercises, but don’t produce power specific to throwing.
October 15th, 2013 at 5:01 pm
This is a great article. More of these would be great because now I understand why I’m doing the exercises.
November 10th, 2013 at 8:49 pm
@Jeff –
It seems to me that the focus of the Cressey series isn’t to specifically produce *extra* power as much as to educate us to recognize how and why the four components mentioned in the article work together in the kinetic chain to maximize the power you *already have*, while mitigating risk of injury.
When this is accomplished and you can duplicate it pitch-to-pitch, you throw harder with increased accuracy with your *existing* power, while ensuring that the risk for long term injury is minimized.
At least that’s what I got out of it.
What a great resource.