Home 2018 October

3 Random Thoughts on Rotator Cuff Readiness

Both Cressey Sports Performance facilities are booming with baseball players coming back to start their offseason training, so it's the time of year when athletes are working hard to get their rotator cuff control back before they start up their offseason throwing programs. With that said, I've been thinking about some big principles on the rotator cuff readiness front.

1. In a broad sense, just about every rotator cuff exercise can be categorized in one of five ways:

a. Strength - this consists of manual resistance work and anything with cables at dumbbells; it needs to be loaded up and challenging.

b. Timing - this consists of drills like 90/90 holds and rhythmic stabilizations.

c. Endurance - this builds on what we see in Option A (some of the same exercises), but the resistance is a bit lower and it's done for higher reps or a longer time. The goal is less about strength and more about training the ability to hold the humeral head on the glenoid fossa for a lengthier period of time. I'd call it more important for a sport like swimming than for baseball or tennis athletes.

d. Irradiation - this can refer to just about any exercise, as your rotator cuff fires reflexively any time your arm moves. That said, certain exercises - bottoms-up kettlebell variations, for instance - are particularly useful for challenging this category of drills.

e. Patterning - these are just drills that take the humerus through its full range-of-motion. Of particular importance is end-range external rotation, which we train with drills like this:

2. I prefer near-daily exposures rather than exhaustive, less frequent programs.

If you look at our training programs, most of our pro guys are doing some kind of targeted training for the rotator cuff 5-6 days per week. Twice per week, we'll push more strength and irradiation work, and twice per week, we'll cover more timing drills. Just about every day, though, there will be some kind of patterning exercise so that we're reminding the cuff of what it's supposed to do.

This approach is a stark contrast to what you usually see in the baseball world, which is notorious for handing out the 2x/week arm care routines that take 45-60 minutes each. They're usually about 15 exercises for multiple sets, and leave an athlete hanging by the end of the session. I think this approach has more to do with the fact that it lines up with what's convenient for 2-3x/week physical therapy sessions than because it's truly optimal. I'm of the belief that you don't need (or want) to exhaust the cuff to get it to where it needs to be.

And, while we're at it, if the cuff is going to get abused on a daily basis with throwing, lifting, and activities of daily living, why not give it some more frequent exposure to build a little tissue resiliency?

3. Posterior deltoid shouldn't be lumped in with infraspinatus and teres minor.

Many times, the reason we have discomfort or the "wrong" feeling with drills is that athletes are paying close attention to the osteokinematics - gross movements of internal/external rotation, flexion/extension, adduction/abduction - of the joint in question, but not paying attention to the arthrokinematics of that same joint. In other words, the rolling, rocking, and gliding taking place needs to be controlled within a tight window to ensure ideal movement.

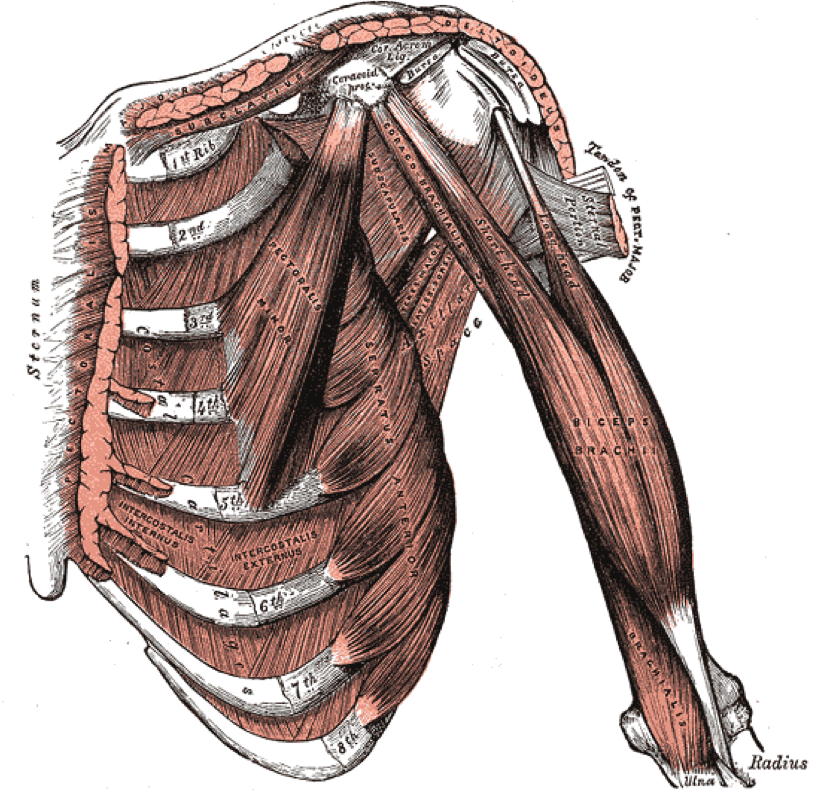
In shoulder external rotation variations, as we externally rotate the arm, the humeral head (ball) likes to glide forward on the glenoid fossa (socket). The glenohumeral ligaments (anterior shoulder capsule), rotator cuff, and biceps tendon are the only things that can hold it in the socket. In a throwing population, the capsule is usually a bit loose and the cuff is a bit weak, so the biceps tendon often has to pick up the slack - which is why some folks wind up feeling these in the front, thereby strengthening a bad pattern. There are also a bunch of nerves at the front of the shoulder that can get irritated.

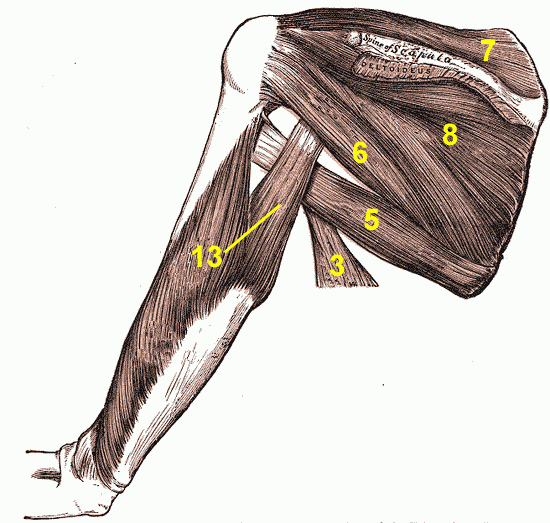
Now, here's where things get a bit more complex. The infraspinatus and teres minor are both rotator cuff muscles that have attachments right on the humeral head, so they can control the arthrokinematics (posterior glide) during external rotation work. Conversely, the posterior deltoid (blue, in the image below) runs from the posterior aspect of the spine of the scapula to further down the arm on the deltoid tubercle. In other words, it completely bypasses control of the humeral head.


By Anatomography - en:Anatomography (setting page of this image), CC BY-SA 2.1 jp, https://commons.wikimedia.org/w/index.php?curid=22835985

With this in mind, the posterior deltoid actually creates a gliding forward of the humeral head as it externally rotates and horizontally abducts the arm. For this reason, you need to make sure the arm doesn't come back (horizontal abduction) as it externally rotates during your arm care drills. This video should clarify things, if you're a visual learner:

Looking for more insights like these? Be sure to check out my new resource, Sturdy Shoulder Solutions.


Sign-up Today for our FREE Baseball Newsletter and Receive Instant Access to a 47-minute Presentation from Eric Cressey on Individualizing the Management of Overhead Athletes!

Name
Email
Read more

Strength and Conditioning Stuff You Should Read: 10/19/18

It's been pretty quiet here on the blog of late, as we've been really crazy with the CSP Fall Seminar, our Business Building Mentorship, loads of pro baseball guys starting up their offseason, and us moving the family down to Florida for the offseason. While there hasn't been a lot of time for new content, I do have some good recommendations from around the 'Net for you:

CSP Fall Seminar Live Tweet Stream - Andrew Lysy (one of our coaches at CSP-MA) live Tweeting bits and pieces of the presentations from this past weekend, and there are some great nuggets in there. You can follow along with them at https://twitter.com/hashtag/CSPFS2018?src=hash

How to Build an Aerobic Base with Mobility Circuits - I wrote this blog three years ago, and it seemed like a good time to reincarnate it, as this is the time of year when we're incorporating these strategies with a lot of our MLB guys as they get back in action in the weight room.

EC on the Robby Row Show - If you're interested in baseball development, check out this podcast I did with Robby Rowland.

3 Loading Types You've Likely Never Heard Of - This was an awesome guest post from Chris Merritt for Mike Robertson's website.

Top Tweet of the Week

Top Instagram Post of the Week

Sign-up Today for our FREE Newsletter and receive a four-part video series on how to deadlift!

Name
Email
Read more

Is It Really Biceps “Tendonitis?”

One of my biggest pet peeves is when all anterior shoulder pain is given a "blanket diagnosis" of biceps tendonitis. With that in mind, today, I've got a webinar excerpt from my Sturdy Shoulder Solutions resource (which is on sale for $40 off using coupon code APRIL22 right now) that delves into the topic in greater detail. Check it out:

For more information, check out www.SturdyShoulders.com. And, don't forget to enter coupon code APRIL22 to save $40 through Sunday at midnight!

Sign-up Today for our FREE Newsletter and receive a four-part video series on how to deadlift!

Name
Email
Read more

Exercise of the Week: Knee to Knee Rollover Medicine Ball Stomps

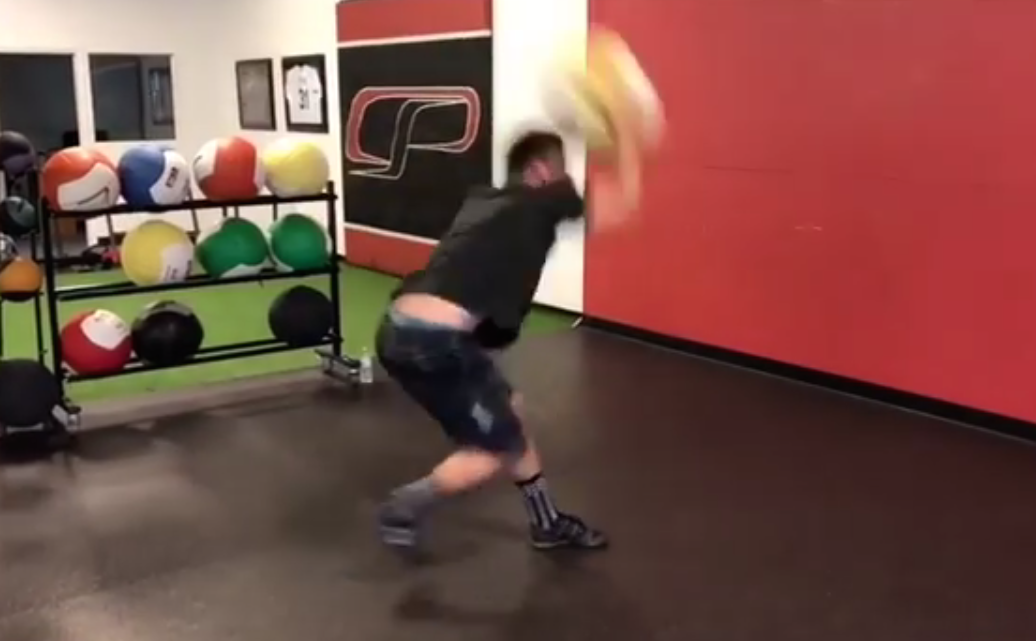
If you've followed my writing for any length of time, you'll know that I'm a big fan of using medicine ball training for power development with our athletes. We have both rotational and overhead variations - and sometimes, we have drills that combine the two. Enter the knee-to-knee rollover medicine ball stomp.

Key Coaching Points:

1. Don't rush the back hip rotation; rather, sit into that hip for what seems like an uncomfortable long time. This allows hip-shoulder separation to occur.

2. Minimize lower back arching.

3. Be firm into the ground on the front leg. Some individuals will stiffen up on that front leg with more knee extension, while others will be slightly more flexed.

4. Perform 3-4 reps per side.

5. We utilize this exercise several months into the offseason after we've had a chance to optimize overhead and rotational medicine ball technique with less complex drills. Athletes have to earn this one.

Sign-up Today for our FREE Newsletter and receive a four-part video series on how to deadlift!

Name
Email
Read more

Exercise of the Week: 1-leg Side Bridge

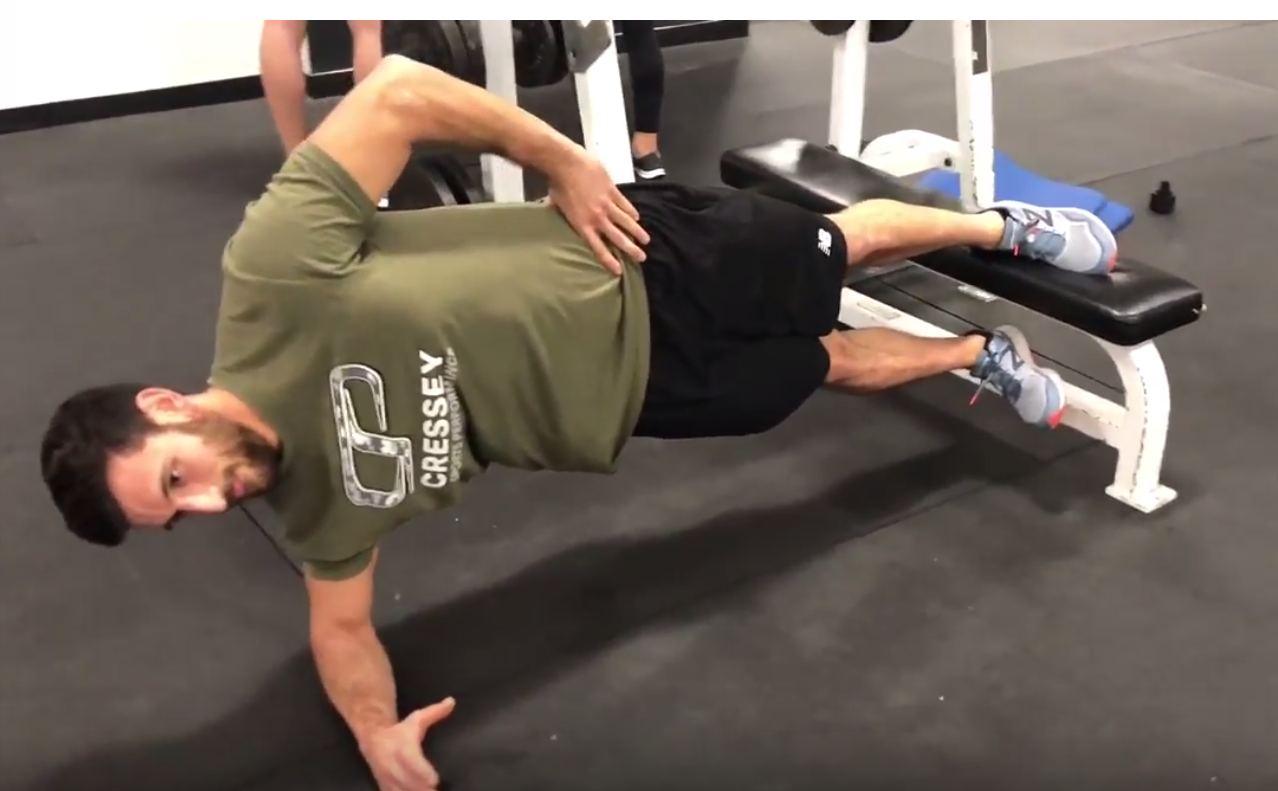
A lot of people write off side bridges as “too easy” without considering that there are actually a lot of progressions one can employ to make them more advanced. To that end, I really like the one-leg side bridge with the top leg on a bench as a great way to "own" the frontal plane.

A few notes:

1. Make sure the body creates a straight line from the head to the heel.

2. If you feel any discomfort on the inside of the knees, it's because you've set up incorrectly or just aren't strong enough to do this movement.

3. Imagine the weight distribution being 50/50 between the two points of contact (forearm and foot).

4. I’ll usually program this as 3-5 breaths (with a full exhale) per side in each set.

5. Typically, I'll include this as part of a D1/D2 pairing at the end of a training session. Usually, it'll be preceded by some kind of anti-extension core exercise like a rollout or fallout.

Enjoy!

Sign-up Today for our FREE Newsletter and receive a four-part video series on how to deadlift!

Name
Email
Read more
Page
LEARN HOW TO DEADLIFT
  • Avoid the most common deadlifting mistakes
  • 9 - minute instructional video
  • 3 part follow up series