



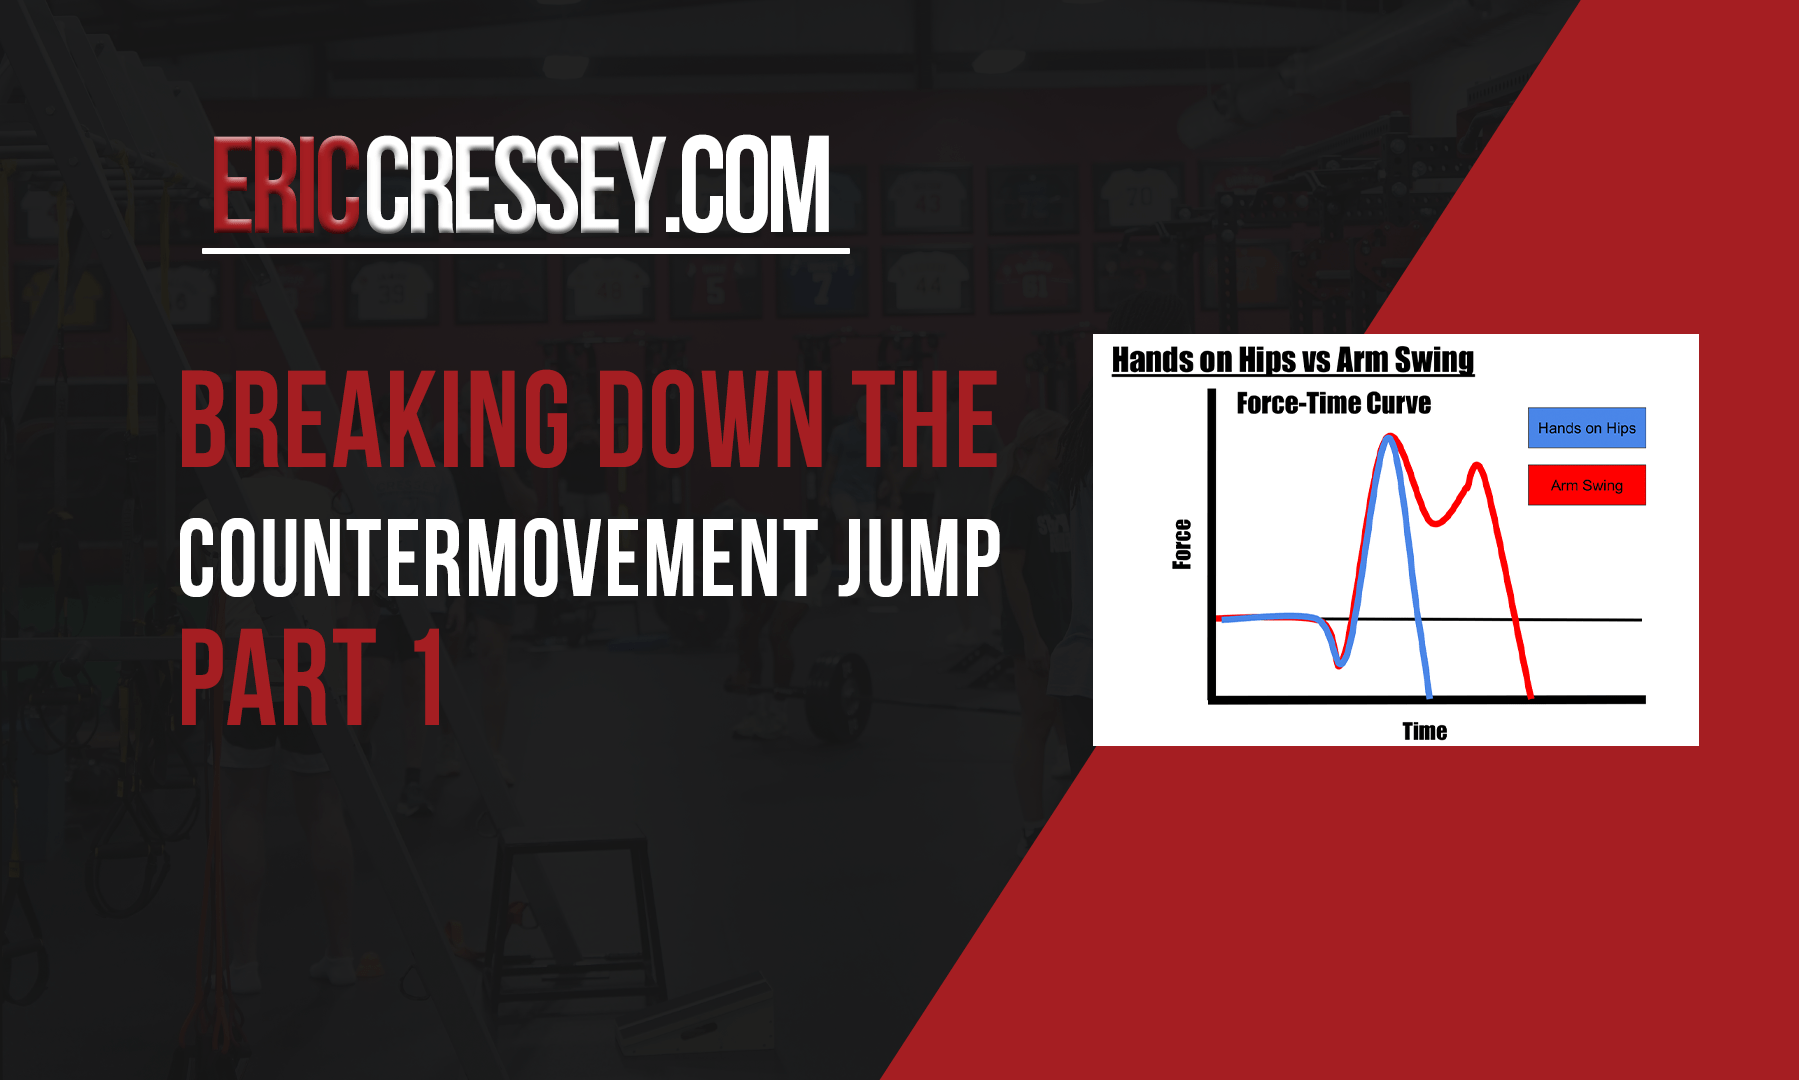
Breaking Down the Countermovement Jump – Part 1
Today’s guest post comes from CSP-FL Sports Science Coordinator and Strength and Conditioning Coach, Yassir Kahook.

This is the first post in a three-part series on the most basic (and most broadly useful) force plate jump there is: the countermovement jump, or CMJ.
The CMJ is the most tested lower body force production movement in the performance and strength & conditioning space, for two main reasons. First, it’s the jump taught in virtually every sports science curriculum. Second, it’s simple and repeatable; nearly everyone has performed some version of a countermovement jump before, so there’s almost no learning curve, and the test holds up reliably session after session.
In this installment, we’ll break down what actually happens during a CMJ rep: the six phases the body moves through from the moment an athlete steps on the plate to the moment they land.
The Six Phases of a CMJ
- Quiet Phase — The athlete stands still on the plate, letting the system read body weight before the rep begins.
- Unweighting Phase — The athlete rapidly descends, unloading body weight while flexing at the hip, knee, and ankle. Negative velocity and below-system-weight force show up here.
- Braking Phase — Starts once force returns to system weight, as the athlete pushes into the plate to stop their center of mass (COM) from dropping further. It ends when velocity hits 0 m/s.
- Propulsive Phase — Starts when velocity turns positive and the COM drives upward as the hip, knee, and ankle extend. Ends when force hits 0 N — the moment the athlete leaves the ground.
- Flight Phase — The airborne portion, from 0 N until force registers again. “Air time.”
- Landing Phase — Starts the instant positive force reappears — back down to earth.
Reading the Force-Time Trace
Each phase leaves a visible signature on the curve above: a dip below system weight (unweighting into braking), a sharp spike through propulsion, a flat line at zero during flight, and a landing transient after. Below, flight is isolated — the flat stretch where force reads zero because the athlete is off the plate entirely.
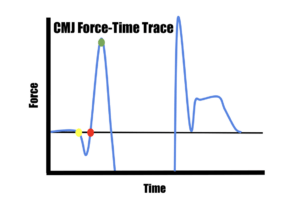

Getting comfortable spotting these phases is the foundation for the rest of this series — asymmetries, jump strategy, and readiness metrics all get layered on top of this basic structure.
Hands on Hips vs. Arm Swing
Most CMJ protocols use a hands-on-hips setup to isolate lower body output. Allow an arm swing instead, and the curve changes — a second, smaller force peak typically appears during propulsion as the arms contribute, along with a longer overall movement time.
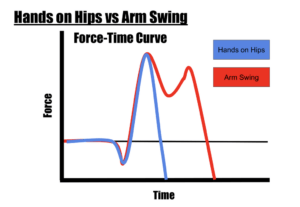
For standardized testing, hands-on-hips keeps things clean and comparable session to session.
Cueing Matters
How you cue the jump shapes how it’s executed — and what the data actually reflects. A simple, consistent cue like “jump as high as you can, as fast as you can” pushes for an intent-driven rep, capturing both height and speed rather than a slow, deliberate squat-and-jump.
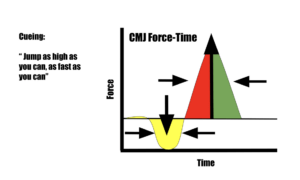
Consistent cueing across athletes and sessions is what makes the numbers comparable over time.
Taken together, these six phases turn a simple jump into a readable story — every dip, spike, and flat stretch on the trace corresponds to something specific happening in the body. That’s the real value of the CMJ: it’s not just a jump, it’s a window into how an athlete produces and manages force, captured in a test that takes seconds to run and requires nothing more than a plate and a pair of feet.
Archives: