Home Blog (Page 5)

Cressey Sports Performance Business Building Mentorship: Online August 25-26

We’re excited to announce that on Wednesday-Thursday, August 25-26, Pete Dupuis and I will be hosting our sixth CSP Business-Building Mentorship. For the second time, this event will be offered in an online format over Zoom. Pete and I have spent over 13 years crafting the operational systems and strategies that fuel CSP today, and we’re excited to pull back the curtain for fellow gym owners.

It is our intention to foster an environment conducive to learning and the exchanging of ideas, so we will be capping the number of attendees who participate. The event will run from 11am-3:30pm Eastern time (Boston) each day so that we can account for attendees in many different time zones.

Here’s a look at our agenda for the offering:

Day 1 – Introduction, Lead Generation, and Lead Conversion

11:00am – 11:30am: Introduction: The Four Pillars of Fitness Business Success
11:30am – 2:30pm: Lead Generation: Strategic Relationship Development, Identifying & Connecting with Opinion Leaders, Social Media Strategies
2:30pm - 3:30pm : Lead Conversion: CSP Selling Strategy & Methodology

Day 2 – Business Operations and Long-Term Planning

11:00am – 12:00pm: Operations: Accounting for Gym Owners – Guest Lecture from Tom Petrocelli, Certified
12:00pm – 1:00pm: Operations: Internship Program Design & Execution
1:00pm – 2:00pm: Operations: Hiring Protocols, Staff Development & Continuing Ed.
2:00pm – 3:00pm: Long-Term Planning: Lease Negotiation Considerations
3:00pm – 3:30pm: Long-Term Planning: Strategic Brand Dev., Evaluating Opportunities, SWOT Analysis

Note: we will include Q&A opportunities throughout the presentations and at the end of each day, so the 3:30pm is not a "hard stop" time.

Cost: $899.99

Click here to register using our 100% secure server.

Read more

How to Read a Study

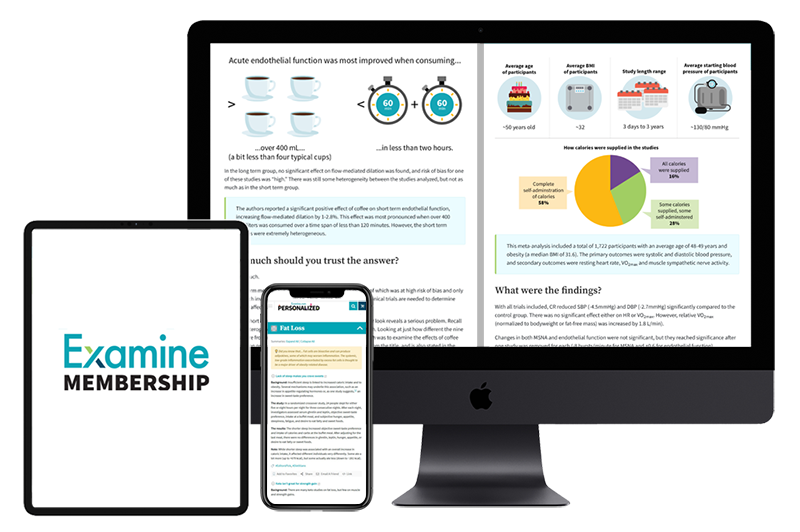
Today's guest post comes from the bright minds at Examine.com. I love their stuff, and if you want unbiased nutrition research you can trust, I’m sure you will too.

Because they are research experts I trust, I asked their team if they could help educate everyone on how to become more adept at reading and discerning published research. -EC

If you have ever had the pleasure (displeasure?) of reading through a scientific study, your eyes may have been attacked with confusing jargon such as “confidence interval”, “P-value”, and “subgroup analysis”.

Confused yet? In this post, we will give you the 101 on how to approach, question, and interpret a scientific study.

Why should I learn to read a study?

To avoid wasting money on ineffective products (like some supplements) or interventions (such as a particular training method), you need to be able to assess different aspects of a study, such as its credibility, its applicability, and the clinical relevance of the effects reported.

To understand a study, as well as how it relates to other available research on the topic, you need to read more than just the abstract. Context is critically important when discussing new research, which is why abstracts are often misleading.

A paper is divided into sections. Those sections vary between papers, but they usually include the following.

  • Abstract
  • Introduction
  • Methods
  • Results
  • Discussion
  • Conflicts of Interest

We’re going to walk you through each of these sections and give you pointers on what to look out for.

Abstract

The abstract is a brief summary that covers the main points of a study. Since there’s a lot of information to pack into a few paragraphs, an abstract can be unintentionally misleading.

Because it does not provide context, an abstract does not often make clear the limitations of an experiment or how applicable the results are to the real world. Before citing a study as evidence in a discussion, make sure to read the whole paper, because it might turn out to be weak evidence.

Introduction

The introduction sets the stage. It should clearly identify the research question the authors hope to answer with their study. Here, the authors usually summarize previous related research and explain why they decided to investigate further.

For example, the non-caloric sweetener stevia showed promise as a way to help improve blood sugar control, particularly in diabetics. So researchers set out to conduct larger, more rigorous trials to determine if stevia could be an effective treatment for diabetes. Introductions are often a great place to find additional reading material since the authors will frequently reference previous, relevant, published studies.

Methods

A paper’s “Methods” (or “Materials and Methods”) section provides information on the study’s design and participants. Ideally, it should be so clear and detailed that other researchers can repeat the study without needing to contact the authors. You will need to examine this section to determine the study’s strengths and limitations, which both affect how the study’s results should be interpreted.

A methods section will contain a few key pieces of information that you should pay attention to.

Demographics: information on the participants, such as age, sex, lifestyle, health status, and method of recruitment. This information will help you decide how relevant the study is to you, your loved ones, or your clients.

Confounders: the demographic information will usually mention if people were excluded from the study, and if so, for what reason. Most often, the reason is the existence of a confounder — a variable that would confound the results (i.e., it would really mess them up).

Design: Design variants include single-blind trials, in which only the participants don’t know if they’re receiving a placebo; observational studies, in which researchers only observe a demographic and take measurements; and many more. This is where you will learn about the length of the study, intervention used (supplement, exercise routine, etc.), the testing methods, and so on.

Endpoints: The “Methods” section can also make clear the endpoints the researchers will be looking at. For instance, a study on the effects of a resistance training program could use muscle mass as its primary endpoint (its main criterion to judge the outcome of the study) and fat mass, strength performance, and testosterone levels as secondary endpoints.

Statistics: Finally, the methods section usually concludes with a hearty statistics discussion. Determining whether an appropriate statistical analysis was used for a given trial is an entire field of study, so we suggest you don’t sweat the details; try to focus on the big picture.

Statistics: The Big Picture

First, let’s clear up two common misunderstandings. You may have read that an effect was significant, only to later discover that it was very small. Similarly, you may have read that no effect was found, yet when you read the paper you found that the intervention group had lost more weight than the placebo group. What gives?

The problem is simple: those quirky scientists don’t speak like normal people do.

For scientists, significant doesn’t mean important — it means statistically significant. An effect is significant if the data collected over the course of the trial would be unlikely if there really was no effect.

Therefore, an effect can be significant (yet very small) — 0.2 kg (0.5 lb) of weight loss over a year, for instance. More to the point, an effect can be significant yet not clinically relevant (meaning that it has no discernible effect on your health).

Relatedly, for scientists, no effect usually means no statistically significant effect. That’s why you may review the measurements collected over the course of a trial and notice an increase or a decrease yet read in the conclusion that no changes (or no effects) were found.

There were changes, but they weren’t significant. In other words, there were changes, but so small that they may be due to random fluctuations (they may also be due to an actual effect; we can’t know for sure).

P-Values

Understanding how to interpret P-values correctly can be tricky, even for specialists, but here’s an intuitive way to think about them.

Think about a coin toss. Flip a coin 100 times and you will get roughly a 50/50 split of heads and tails. Not terribly surprising. But what if you flip this coin 100 times and get heads every time? Now that’s surprising!

You can think of P-values in terms of getting all heads when flipping a coin.

A P-value of 5% (p = 0.05) is no more surprising than getting all heads on 4 coin tosses.
A P-value of 0.5% (p = 0.005) is no more surprising than getting all heads on 8 coin tosses.
A P-value of 0.05% (p = 0.0005) is no more surprising than getting all heads on 11 coin tosses.

A result is said to be “statistically significant” if the value is under the threshold of significance, typically ≤ 0.05.

Results

To conclude, the researchers discuss the primary outcome, or what they were most interested in investigating, in a section commonly called “Results” or “Results and Discussion”. Skipping right to this section after reading the abstract might be tempting, but that often leads to misinterpretation and the spread of misinformation.

Never read the results without first reading the “Methods” section; knowing how researchers arrived at a conclusion is as important as the conclusion itself.

One of the first things to look for in the “Results” section is a comparison of characteristics between the tested groups. Big differences in baseline characteristics after randomization may mean the two groups are not truly comparable. These differences could be a result of chance or of the randomization method being applied incorrectly.

Researchers also have to report dropout and compliance rates. Life frequently gets in the way of science, so almost every trial has its share of participants that didn’t finish the trial or failed to follow the instructions. This is especially true of trials that are long or constraining (diet trials, for instance). Still, too great a proportion of dropouts or noncompliant participants should raise an eyebrow, especially if one group has a much higher dropout rate than the other(s).

Scientists use questionnaires, blood panels, and other methods of gathering data, all of which can be displayed through charts and graphs. Be sure to check on the vertical axis (y-axis) the scale the results are represented on; what may at first look like a large change could in fact be very minor.

The “Results” section can also include a secondary analysis, such as a subgroup analysis. A subgroup analysis is when the researchers run another statistical test but only on a subset of the participants. For instance, if your trial included both males and females of all ages, you could perform your analysis only on the “female” data or only one the “over 65” data, to see if you get a different result.

Discussion

Sometimes, the conclusion is split between “Results” and “Discussion”.

In the “Discussion” section, the authors expound the value of their work. They may also clarify their interpretation of the results or hypothesize a mechanism of action (i.e., the biochemistry underlying the effect).

Often, they will compare their study to previous ones and suggest new experiments that could be conducted based on their study’s results. It is critically important to remember that a single study is just one piece of an overall puzzle. Where does this one fit within the body of evidence on this topic?

The authors should lay out what the strengths and weaknesses of their study were. Examine these critically. Did the authors do a good job of covering both? Did they leave out a critical limitation? You needn’t take their reporting at face value — analyze it.

Like the introduction, the conclusion provides valuable context and insight. If it sounds like the researchers are extrapolating to demographics beyond the scope of their study, or are overstating the results, don’t be afraid to read the study again (especially the “Methods” section).

Conflicts of Interest

Conflicts of interest (COIs), if they exist, are usually disclosed after the conclusion. COIs can occur when the people who design, conduct, or analyze research have a motive to find certain results. The most obvious source of a COI is financial — when the study has been sponsored by a company, for instance, or when one of the authors works for a company that would gain from the study backing a certain effect.

Sadly, one study suggested that nondisclosure of COIs is somewhat common. Additionally, what is considered a COI by one journal may not be by another, and some journals can themselves have COIs, yet they don’t have to disclose them. A journal from a country that exports a lot of a certain herb, for instance, may have hidden incentives to publish studies that back the benefits of that herb — so it isn’t because a study is about an herb in general and not a specific product that you can assume there is no COI.

COIs must be evaluated carefully. Don’t automatically assume that they don’t exist just because they’re not disclosed, but also don’t assume that they necessarily influence the results if they do exist.

Beware The Clickbait Headline

Never assume the media have read the entire study. A survey assessing the quality of the evidence for dietary advice given in UK national newspapers found that between 69% and 72% of health claims were based on deficient or insufficient evidence. To meet deadlines, overworked journalists frequently rely on study press releases, which often fail to accurately summarize the studies’ findings.

There’s no substitute for appraising the study yourself, so when in doubt, re-read its “Methods” section to better assess its strengths and potential limitations.

One study is just one piece of the puzzle

Reading several studies on a given topic will provide you with more information — more data — even if you don’t know how to run a meta-analysis. For instance, if you read only one study that looked at the effect of creatine on testosterone and it found an increase, then 100% of your data says that creatine increases testosterone.

But if you read ten (well-conducted) studies that looked at the effect of creatine on testosterone and only one found an increase, then you have a more complete picture of the evidence, which indicates creatine does not increase testosterone.

Going over and assessing just one paper can be a lot of work. Hours, in fact. Knowing the basics of study assessment is important, but we also understand that people have lives to lead. No single person has the time to read all the new studies coming out, and certain studies can benefit from being read by professionals with different areas of expertise.

Note from EC: As I’m busy, I try to rely on sources I can trust to help me carve out time (and sanity). That’s why whenever people ask me how to stay on top of nutrition research, I always refer them to Examine. 

At the end of the day, we’re busy individuals, and Examine keeps me on top of the cutting edge of research in 1/20th the time it would take me to do it myself. Instead of stressing out about screening, curating, reading, and summarizing research, Examine does it for me. Their membership is a great investment.

Sign-up Today for our FREE Newsletter and receive a four-part video series on how to deadlift!

Name
Email
Read more

Programming Principles: Installment 5

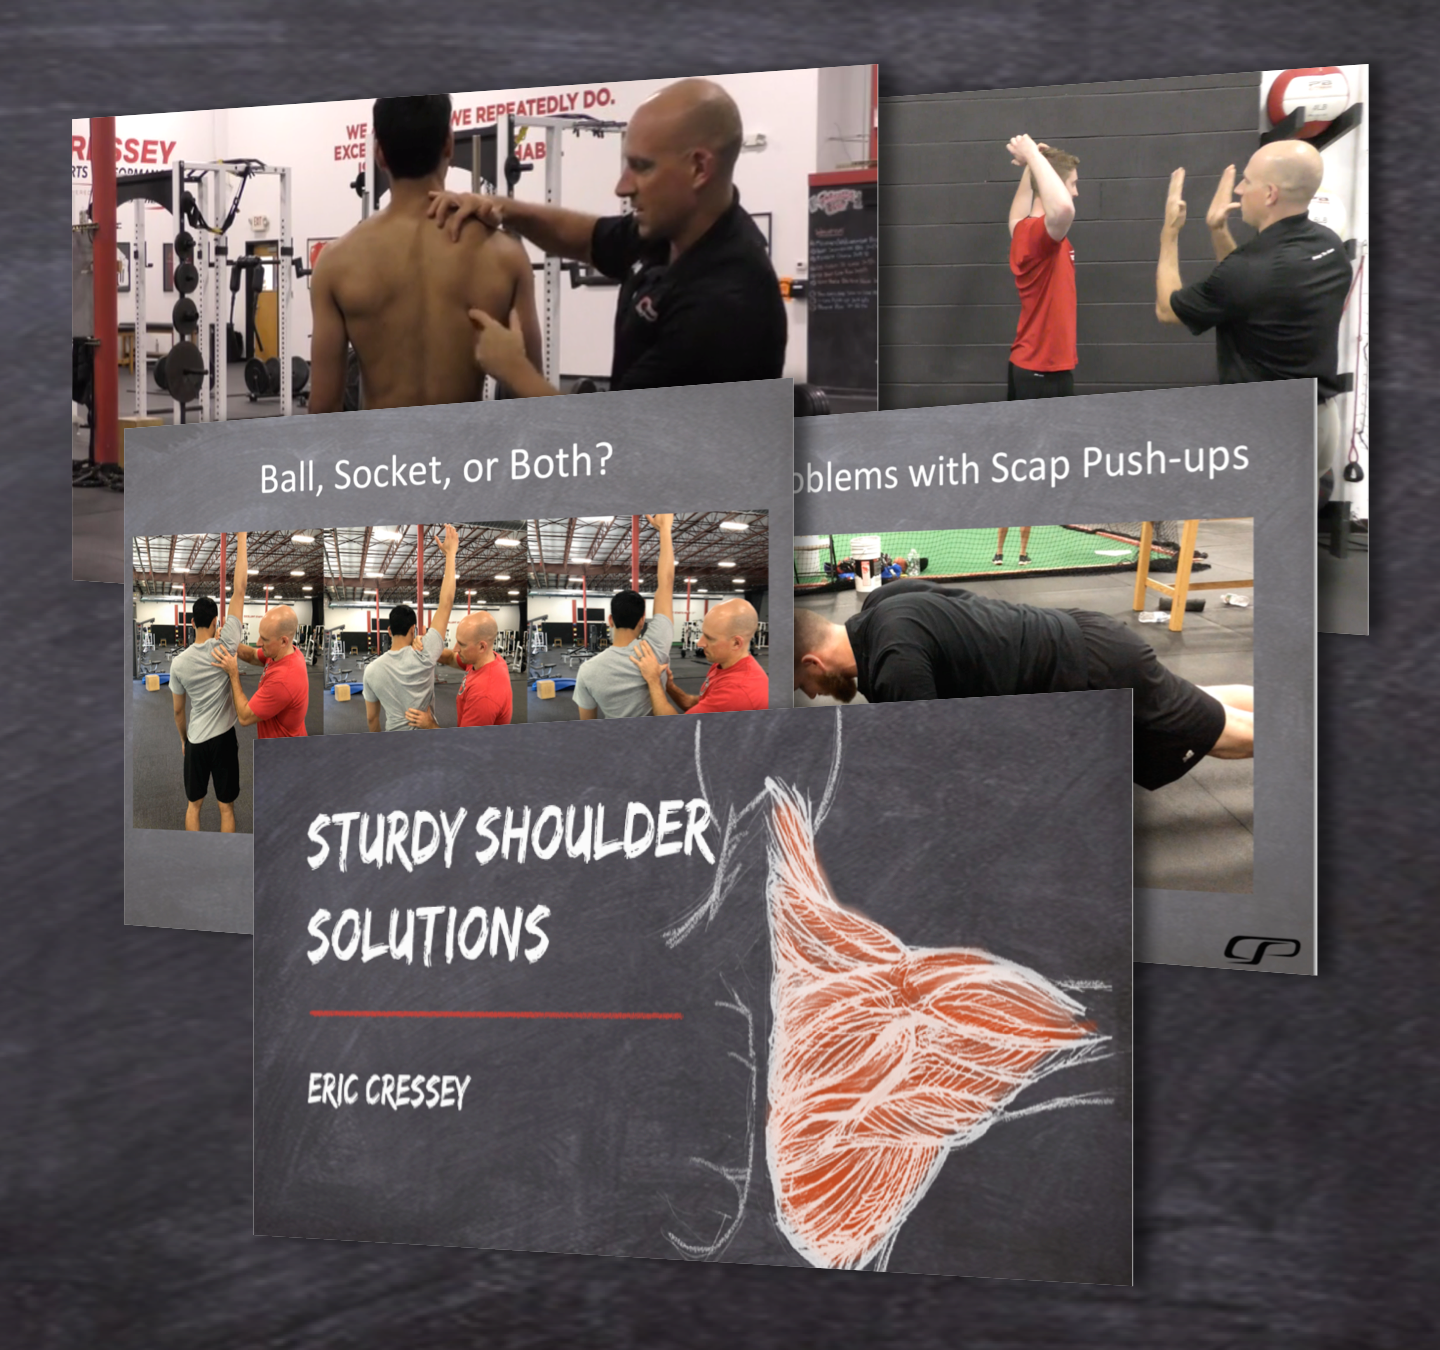
In light of some recent questions about my popular resource, Sturdy Shoulder Solutions, it seemed like a good time to update this series on program design strategies. Many fitness professionals and strength and conditioning enthusiasts have looked to this resource as a model upon which to base some of their program design efforts, so I thought I'd dig in a bit deeper on a few useful principles you'll find in it that should be consistent across all programs.

1. Use your "pre-work" to address the most pressing issues.

In Cressey Sports Performance programs, you'll see five distinct "components" to each day in most programs:

a. Warm-ups
b. Pre-Work
c. Strength Training
d. Metabolic Conditioning
e. Cooldown

Of course, there's always some variation included. For instance, not every day will feature metabolic conditioning, and there may be training sessions that don't include strength training. All that said, when folks come to observe at CSP and take a glance at a program, they're often most intrigued about our "pre-work."

This section of the training session comes at the end of the warm-up and before the strength training for the day. Typically, it's power training that'll include some medicine ball work and sprint/agility/plyometric work. However, we'll often take it a step further and include some single-leg balance work, or even mix in some technique practice on something like a Turkish get-up. Basically, it's a bridge from the warm-up to the heavier lifting; we want this period to be all about athletes actually being athletic: moving fast, and being challenged in a rich proprioceptive environment. 

Typically, in this time period, there are some rest periods that athletes have a tendency to rush through. Since they don't feel very fatigued from a set of 6/side rotational medicine ball shotputs, they tend to rush from one set to the next. To get the most of these drills, though, we need to slow them down - and if we're going to have them rest, we might as well make it productive rest. To that end, we use the pre-work period as a great time to mix in some fillers. Here's an example we might use for an athletes with a flat thoracic spine and poor end-range external rotation control:

A1) Step-Behind Rotational Med Ball Scoop Toss: 3x4/side, 6lb
A2) Alternating TRX Serratus Slides: 3x6/side
B1) Side-to-Side Overhead Med Ball Stomps: 3x4/side, 10lb
B2) Prone External Rotation End-Range Lift-off: 3x(3x5s)

The secret is to pick the 2-3 highest priority movement struggles for each athlete and attack those in the 2-3 fillers you have each day in the pre-work. Over the course of a week, this could be an additional 15-20 sets to help get things moving in the right direction.

2. Proximal-to-distal almost always works great...almost.

Anyone who's followed my work knows that working proximal-to-distal is a strategy I like to employ when addressing movement challenges. The principle is simple: work on something toward the center of the body (e.g., neck positioning) and it'll often yield downstream benefits (e.g., shoulder range-of-motion) as we work our way to the extremities. One time you might backtrack this strategy, however, is when there is a known pathology more distally. I'll use myself as an example. I had a left knee meniscus repair (the first orthopedic surgery of my life) just over six weeks ago, and it has actually been a great learning experience for me.

As part of the surgery, my medical-collateral ligament had to be loosened (the equivalent of a Grade 2 sprain). There are some very specific post-op contraindications: I can't flex the knee beyond 90 degrees in weight-bearing right now, and any of the classic drills that take my hip into external rotation (like a cradle walk) and abduction (split-stance adductor mobs, or lateral lunge) can easily irritate the medial (inside) aspect of my knee. Additionally, when you're a bit limited in how much you can flex the knee during the gait cycle while in the brace, you tend to "cut off" hip extension on each stride. What does all this mean? The hip on my surgery side feels tighter than normal.

Sure, I can get creative with my hip mobility drills and even do some soft tissue work to settle down some muscles that can't be lengthened, but the best solution is actually a distal to proximal one: get my knee right! Sure enough, getting the swelling out of the joint early on and hitting all my ROM targets immediately improved the hip symptoms because my weight-bearing strategies improved.

The take-home message here is that before you look to integrate a proximal-to-distal approach, be sure your assessment picks up on any unusually "sticky" joints. And, where appropriate, refer those cases out to someone who can get them "unstuck."

3. Make your warm-ups more efficient so that you don't have to "sell" them as much.

Let's face it: people don't typically enjoy the warm-up period. It's without a doubt the "most likely to be skipped" part of any training session. We probably aren't going to change people's perspectives on this, but we can change the situation in which they operate. In other words, we can adjust our programming to make it logistically easier to complete for our clients/athletes. One way to accomplish this is to just structure the program in a more convenient context. To that end, here's how I like to structure a warm-up:

a. Ground-based (e.g., positional breathing drills, supine/quadruped mobility drills)
b. Standing, stationary (e.g., wall slides, bowler squats)
c. Standing, moving (e.g., classic dynamic warm-up drills like lateral lunges, spidermans etc.)

This approach saves the time of having athletes get up and get down over and over again; it's a more efficient flow.

Once you've incorporated this strategy, you can make them even more efficient by considering the location of any equipment - bands, benches, TRX straps, etc. - that they may need to complete the drills. In an individualized warm-up, putting these implements in convenient spots helps athletes keep their body temperature up while they're moving from one spot to the next.

Finally, you can always use "combination" exercises to attack multiple qualities in the same drill. As an example, an adductor stretch with extension-rotation gets you both hip and thoracic mobility.

I'll be back soon with another "Programming Principles" installment, but in the meantime, be sure to check out my popular resource, Sturdy Shoulder Solutions if you're interested in digging in deeper on upper extremity assessment, programming, and coaching.

Sign-up Today for our FREE Newsletter and receive a four-part video series on how to deadlift!

Name
Email
Read more

Spring Sturdy Shoulder Solutions Sale!

Today is the first day of games in Major League Baseball Spring Training, a day that's always circled on the calendars of just about anyone in the baseball world. We're excited to see all our pro players back on the field!

To celebrate, I've put my resource, Sturdy Shoulder Solutions, on sale for $40 off through this upcoming Sunday (3/7) at midnight.

This has been one of my most popular resources of all time, and it's particularly useful if you work with baseball players. Don't miss out on this great chance to pick it up at an excellent discount. Just head to www.SturdyShoulders.com and enter the coupon code ST2021 at checkout to get the discount.


Sign-up Today for our FREE Newsletter and receive a four-part video series on how to deadlift!

Name
Email
Read more

Want to Open a Fitness Facility? Consider These Points.

On a recent Instagram Q&A, I received the following question:

"What's your advice for someone who wants to open their own training facility?"

While there are undoubtedly many more directions I could go with this, here's what came to mind:

1. Establish systems that will continue to work as it grows. In other words, don't just fly by the seat of your pants to get through today.

2. Remember that the glamour of autonomy can sometimes overshadow the hard work it takes to run a gym.

3. Be meticulous with scrutinizing your lease negotiation. That expense can make or break a business no matter how good your training and business models are.

4. Get out and observe as many successful gyms as possible.

5.  Find good mentors and/or business partners, even if they are just people you can vent to when you're frustrated. Entrepreneurship can be lonely.

6. Purchase equipment clients will actually use, not just what you like for your own training.

7. Know your numbers. Shockingly few gym owners do.

8. Understand the difference between loss leaders and stupid initiatives that simply devalue your offerings.

9. Communicate with your significant other what entrepreneurship will look like.

10. Follow my business partner, Pete Dupuis, and read everything he's written at www.PeteDupuis.com. We've made a lot of mistakes over the years, and he's recapped them in his writing so that you can learn from them instead of making them yourself.

Sign-up Today for our FREE Newsletter and receive a four-part video series on how to deadlift!

Name
Email
Read more

Exercise of the Week: Cross-Behind 1-arm Cable Row

Courtesy of the imagination of Cressey Sports Performance - Florida co-founder Shane Rye, the cross-behind 1-arm cable row is a new horizontal pulling variation we've been using quite a bit lately.

This drill not only offers all the typical postural benefits of properly-executed horizontal pulling, but also trains the fascia system to a greater degree than typical rowing variations. You see, as the trailing leg steps behind, you create a significant stretch along the entire lateral line - especially during the eccentric (lowering) phase of the movement. To some degree, it's a loaded lean away lateral line stretch:

We'll typically program this for sets of 8-12 reps as an assistance exercise. Additionally, as you can see in the video, adding an opposite arm reach is a great way to encourage extra thoracic rotation.

If you're looking to learn more about how I evaluate, program, and coach at the shoulder joint, be sure to check out my popular resource, Sturdy Shoulder Solutions.

Sign-up Today for our FREE Newsletter and receive a four-part video series on how to deadlift!

Name
Email
Read more

Assisted Lower Body Training

Today's guest post comes from Cressey Sports Performance - Massachusetts coach Drew Cobin.

Hands Assisted lower body training is nothing new. To my knowledge, the Hatfield Squat was the first popularized exercise of this nature in the sports performance world. The Hatfield Squat is a Safety Squat Bar Squat with your hands assisting you by holding onto the squat rack. By holding onto the rack, we would increase stability because instead of having just two points of stability, there are now four points of stability: two feet & two hands (as long as the floor and rack are stable).

This concept leads to an interesting question to consider. Since strength and stability go hand and hand, can we use increased stability to increase loading potential?

Mike Boyle popularized the idea of doing unilateral lower training for sport specificity and decreased spine load. When doing unilateral training, we usually will work to decrease stability over time as a means of progression so that one leg is working harder. A sample progression would be going from a Squat to a Split Squat, and then to a Single Leg Squat. What’s interesting to me is that stability – rather than force production capabilities – often becomes the limiting factor when performing a Single Leg Squat, which results in limiting the external load. As mentioned before, stability and strength go hand-in-hand, so sometimes, if you can increase single leg strength via increased load, you will in turn increase single leg stability. The example here would be to do a single leg squat with hand assistance from a rack to increase points of stability, thereby increasing external loading capabilities, as shown below:

Using hand assistance appropriately in a training program can be great for unilateral strength and stability. So, when is it appropriate to use assistance in a program? And what are some examples of exercises that utilize this concept?

It’s important for strength and conditioning coaches to understand that most sports are played one leg. Usually, we see one leg on the ground while the other prepares to hit the ground, or we might see feet in different positions, serving the purpose of producing forces in certain directions. What we never really see, however, is an athlete using their hands for stability by holding an immovable object like a squat rack, although proper upper extremity action can aid in stability and movement efficiency. As such, it’s important to see using hand assistance for what it is: a training tool, used to increase stability and load, to get stronger and more stable to produce more force in the right direction without assistance.

How, then, can we use it? One of my favorite ways to use this is by performing what I like to call an Eccentric Overload. This is when you use more load on the lengthening phase of a resistance exercise than the shortening phase. An example would be using a heavier kettlebell than you can handle on an unassisted single leg squat (you can also use a dumbbell or safety squat bar). Here you would slowly lower in the single leg squat without assistance, then once you reach the bottom of your chosen range of motion, use the free hand for assistance from the rack. This works well because the hardest part of an exercise is the reversal of movement, and by using assistance here, we are able to train with a supramaximal load on the eccentric phase of the single leg squat. We are also able to get more braking forces if we want to, which come in the form of eccentric/isometric contractions in sports. After the downward phase in this exercise, we can have the athlete hit the brakes at the joint position that we want to work on for applying braking force prior to using hand assistance for reversal of motion.

Using hand assistance has no limits and can be used outside of just strength movements. We can also intelligently use it for plyometrics as well (once again to increase stability), and also overspeed exercises to improve conduction speed. You can use band assistance on jumps and sprints, or hand assistance on single leg hops. All these methods can work great for changing body positions, as well as ground contact times, and therefore their transfer to sport.

To recap, using hand assistance is one way to change to demands of a given exercise. As coaches, hand assistance is another tool in the toolbox, but it’s not the be-all, end-all. Hands assistance will increase load tolerance via increased stability. Manipulation of load and stability throughout an athlete’s training program is key to the program’s success. Going through periods of increased and decreased stability, load, and speed are key elements to an athletic development and rehabilitation programs.

Here’s a video to represent a programming progression going from assisted to unassisted and challenging stability/reactivity in plyometrics:

If you like these videos or want more ideas on this subject, follow @DrewCobin on Instagram for more. Enjoy!

Sign-up Today for our FREE Newsletter and receive a four-part video series on how to deadlift!

Name
Email
Read more

Two Decades in the Gym

It occurred to me the other day that I’ve been lifting weights seriously for a full two decades.

For 13 of those 20 years, I’ve been a gym owner. I’d conservatively estimate that at least one training session per week over those 13 years has been me solo in a 6,000-15,000 square foot facility. That’s about 700 training sessions I’ve logged without another person in sight.

There have been days when I’ve pulled 650 pounds by myself, and others when 405 pounds felt absurdly heavy - but I always showed up. There have been 5am grinders and midnight madness. I’ve trained when I was excited about something, and also when I was irritated about something else.

What are the points?

1. Showing up consistently always pays off, even when the 10/10 training sessions seem to be overshadowed by the 3/10 debacles. And, as my buddy @benbrunotraining often says, most of your training consists of the 7/10 sessions in the middle.

2. Intrinsic motivation is probably the most overlooked facet of long-term training success. If you’re waiting for someone else to motivate you, your plan isn’t good. You have to be willing to embrace the suck by yourself and view extrinsic motivation as a bonus when it comes.

3. A lot of people fall in love with the destination when they should be enjoying the process. My training has been as much about trying out new exercise and programming strategies that might help our athletes as it has about my own fitness goals. And, it’s served as an important time for me to gather my thoughts and work through challenging decisions.

Here’s to the next 20 years.

Happy New Year!

Sign-up Today for our FREE Newsletter and receive a four-part video series on how to deadlift!

Name
Email
Read more

The Best of 2020: Guest Posts

I've already highlighted the top articles and videos I put out at EricCressey.com in 2020, so now it's time for the top guest posts of the year. Here goes…

1. Progression Strategies for Back Hip Loading - In this article, Cressey Sports Performance - MA pitching coordinator Jordan Kraus shared some strategies for improving back hip loading in the pitching delivery. Once you read it, however, you'll recognize that these strategies are universal for progressing this important competency for any rotational sport athlete.

2. Arm Care: Why Are We Still Talking About Down and Back? - Eric Schoenberg, who serves as a physical therapist at Cressey Sports Performance - Florida, discusses one of the most misunderstood cues with respect to upper extremity health.

3. Taking Proteus Motion for a Spin - Last December, we brought in a new technology - Proteus Motion - to Cressey Sports Performance – Florida to try out for the offseason, and we integrated it at CSP-MA shortly thereafter. It goes without saying that we found some excellent benefits, and in this guest contribution, physical therapist Tanner Allen elaborates on them.

4. 4 Training Principles to Make the Most of Your Speed Work - With so many people getting outside to sprint in light of gyms closing during the pandemic, it was a good time for CSP-FL coach Derek Kambour to reflect on important training approaches to help them all move efficiently.

5. Sandbag Training for Baseball Players - We've been using sandbags a lot more in our training these days, and it's largely due to the influence of physical therapist Dan Swinscoe, who delivered an awesome inservice to our staff on the topic. Here's a guest post from Dan that highlights the how and why of using sandbags.

I'll be back soon with more highlights from 2020.

Sign-up Today for our FREE Newsletter and receive a four-part video series on how to deadlift!

Name
Email
Read more

The Best of 2020: Strength and Conditioning Videos

With my last post, I kicked off the "Best of 2020" series with my top articles of the year. Today, we'll highlight the top five videos of the year.

1. Birddog Rows -This is one of our favorite horizontal pulling variations. Check out this great write-up on the drill from CSP-FL Director of Performance, Tim Geromini.

2. Half-Kneeling Kettlebell Windmill - This drill comes to you courtesy of Cressey Sports Performance coach Derek Kambour. The Half-Kneeling Kettlebell Windmill is an awesome full-body exercise that delivers several important benefits. Learn more in this write-up.

3. Adductor Slides - This is an awesome exercise for adductors that are both long and strong. Check out this full write-up to learn more about how we use this drill.

4. Bottoms-up Kettlebell Arm Bar - The Kettlebell Arm Bar is an awesome exercise that delivers several important benefits, but we've admittedly taken some time to warm up to it. Learn more here.

5. Bowler Squat to J-Band Y - This exercise is the brainchild of physical therapist Eric Schoenberg, who works out of Cressey Sports Performance – Florida. When I first saw him implementing it with a patient, I immediately thought, “How have I never thought of it?” It actually combines two of my favorite exercises: the bowler squat and the J-Band Y. In doing so, we get an awesome arm care exercise that integrates single-leg balance and hip mobility. Learn more here.

I'll be back soon with the top guest posts of 2020!

Sign-up Today for our FREE Newsletter and receive a four-part video series on how to deadlift!

Name
Email
Read more
Page 1 3 4 5 6 7 183
LEARN HOW TO DEADLIFT
  • Avoid the most common deadlifting mistakes
  • 9 - minute instructional video
  • 3 part follow up series