Home Posts tagged "Functional Range Conditioning"

Exercise of the Week: Supported Elbow CARs

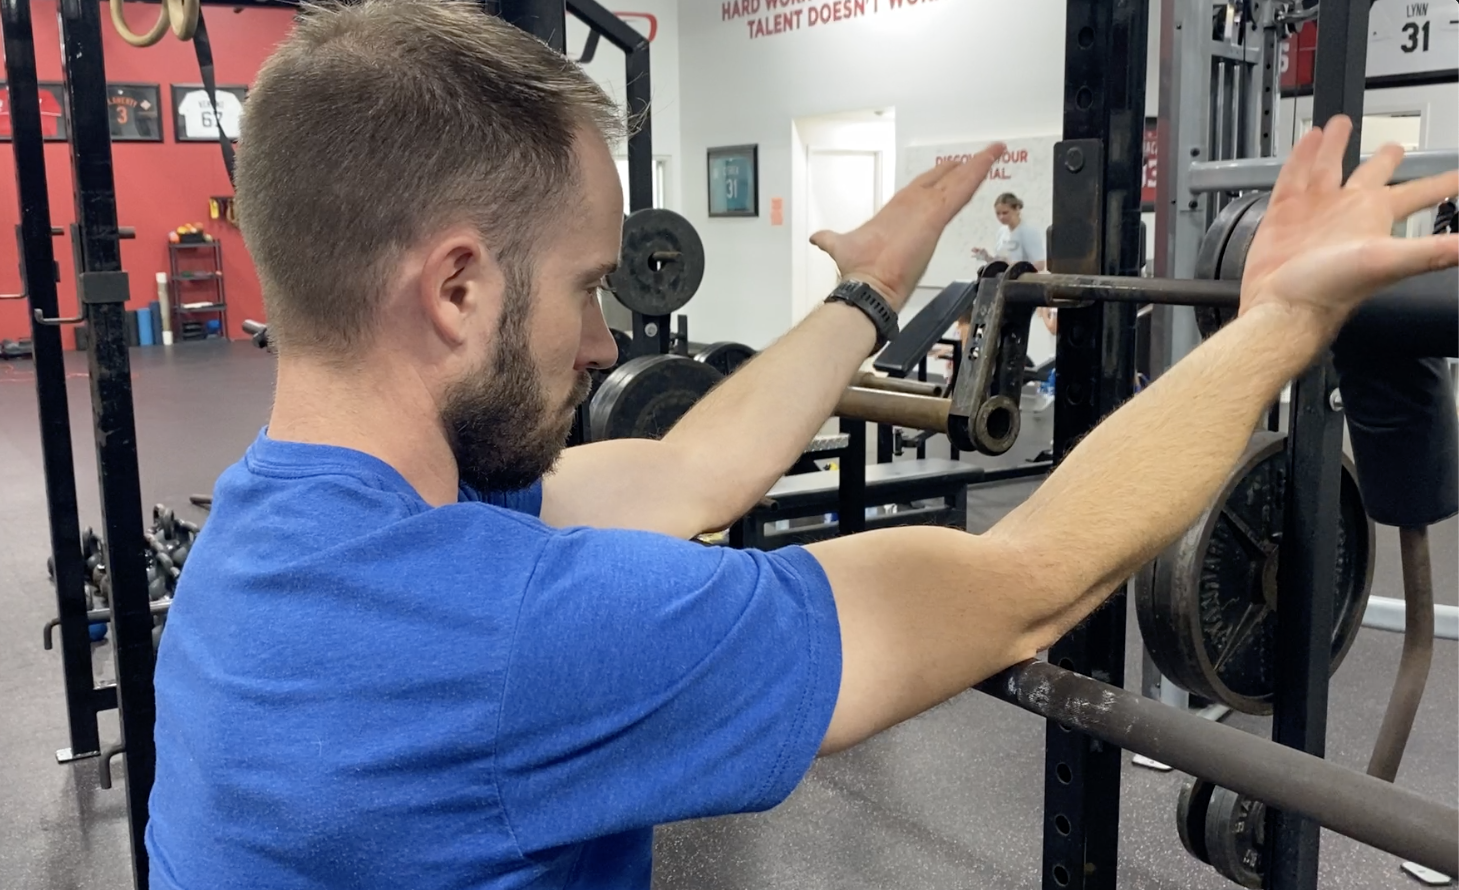
The benefits of controlled articular rotations (CARs) are now well known in the strength and conditioning and rehabilitation realms, thanks to Functional Range Conditioning teachings. One way in which we've evolved this approach is by taking a closer look at the position at which we perform our elbow CARs. Historically, they've been performed with the arms at the sides, like this:

However, I think there's a lot more benefit to be gained by performing them with the upper arms supported at 90 degrees of flexion, particularly in an overhead athlete population.

Here's why:

1. With more shoulder flexion, we are able to lengthen the long head of the triceps over both joints it crosses (elbow and shoulder). In the seated position, the long head of the triceps is actually shortened as a shoulder extensor.

2. In throwing athletes, you'll commonly observe Bennett's lesions, areas of increased calcification along the posterior glenoid rim. For most athletes, they're incidental findings in asymptomatic shoulders, but in some cases, they can get too big and cause rotator cuff pathology (I relate it to a speed bump that the cuff has to go over). While the true cause of Bennett's lesions has been debated in the sports medicine world, many are of the belief that it results from traction stress from the long head of the triceps (LHOT) tendon. The tendon attaches on the supraglenoid tubercle (which is on the inferior aspect of the glenoid) and extends up to the labrum and joint capsule. LHOT also eccentrically prevents excessive elbow flexion during the cocking phase of throwing (think of it being heavily lengthened in a shorter catcher-like arm action).

So, whether you believe it's related to Bennett's lesions or not, there's a strong anatomical basis for us to say that the long head of the triceps is an extremely important - but heavily underappreciated - muscle for overhead athletes. I've seen a lot of throwers over the years who've benefited tremendously from manual therapy on the triceps - and this mobility drill is a useful proactive initiative that'll help the cause as well.

3. At positions of 90 degrees of shoulder flexion or more, we get greater serratus anterior recruitment to drive the rotational component of scapular upward rotation - but also a reduction in latissimus dorsi tone that can restrict it. This is particularly important in athletic populations that tend to carry a lot of extensor tone and live in scapular depression and/or downward rotation. It also gives these folks a break from competing against gravity, so it can actually reduce protective tension of the upper traps.

4. Building on this last point, serratus anterior also works to preserve the convex-concave relationship between the scapula and rib cage, which is particularly important to address in the aforementioned athletes who may have acquired flat (extended) thoracic spines over years of extension/rotation. These athletes crave reaching, rounding, and rotating.

You can add this to a warm-up, use it as a filler, or plug it into a cooldown. Take your time with each rep, and be sure to drive not only full elbow flexion/extension, but also pronation/supination of the forearm.

If you're looking to learn a bit more about long head of the triceps, I'd encourage you to check out my Sturdy Shoulder Solutions course, as I delve into it quite a bit as part of my upper extremity functional anatomy module.

Sign-up Today for our FREE Newsletter and receive a four-part video series on how to deadlift!

Name
Email
Read more

Understanding and Measuring Passive Range of Motion

Measuring passive range of motion is a crucial step in any thorough movement assessment. However, it's often - both intentionally and unintentionally - measured inappropriately. Check out today's video to learn more:

If you're looking to learn more about how I evaluate, program, and coach at the shoulder joint, be sure to check out my popular resource, Sturdy Shoulder Solutions.

Sign-up Today for our FREE Newsletter and receive a four-part video series on how to deadlift!

Name
Email
Read more

5 Non-Traditional Exercises for Catchers

Today's guest post comes from Cressey Sports Performance - Florida Director of Performance, Tim Geromini. Tim takes the lead with our catchers at CSP-FL, so I'm excited that you'll get a chance to take a glimpse into the expertise he brings to the table each day. Enjoy! -EC

With spring training right around the corner, most of the media attention is on the pitchers coming in to camp, but what about the guys catching them? The demands of catching a full season are unique and with that in mind, here are 5 non-traditional exercises we use with our catchers at Cressey Sports Performance.

1. Catcher Pop-up to Shotput

Although nothing can truly simulate working on technique like being in pads and actually being on the field, you’ll see a number of things in this exercise that look similar to what a catcher might do in a game situation. We start by getting into the catcher’s stance with a runner on base and have them close their eyes. I will then roll or place the ball to a random spot, forcing them to react when I clap my hands and they open their eyes. From there, the goal is to get to the ball as fast as possible and in a position to throw the ball as hard as possible into the wall. The reason we have them close their eyes and find the ball is to work on reaction time and identifying a loose ball. In game situations, a catcher doesn’t always know where the ball is after the initial block. One of the main benefits of the exercises is working on hip mobility and being strong getting from the crouch position to an upright throwing position. We usually program this for 3 sets with 3 reps per side with a 6-8 pound med ball.

2. 1-leg Kettlebell Switches

A lot of focus for catchers is centered around hip mobility, as it should be. However, losing sight of ankle stability is a mistake. Enter the 1-leg Kettleell Switches. In order to execute the exercise properly and get the most out of it, I recommend being in just socks or barefoot. The kettlebell doesn’t have to be heavy at all for this to be effective; most of the time, I start athletes with 10 pounds.

As you can see, the first movement is a hip hinge with a slight knee bend. From there, we cue the client to “grab the ground” with their feet and make sure the toes stay down. Go as wide with your arms as you can while maintaining balance, and switch the kettlebell from side to side. Your goal is to keep your foot from deviating into pronation/supination and your hips to stay level. From the side view, you want to make sure the athlete maintains a neutral spine. You may notice that if your client has a flatter foot, this can be more challenging to stay away from the foot pronating in. Likewise, if your client has a high arch, it can be challenging to maintain the big toe staying down.

We usually program this as part of a warm-up or paired with an explosive lower body exercise. We'll do 3 sets of 8 reps per side.

3. High Tension Ankle Mobilization

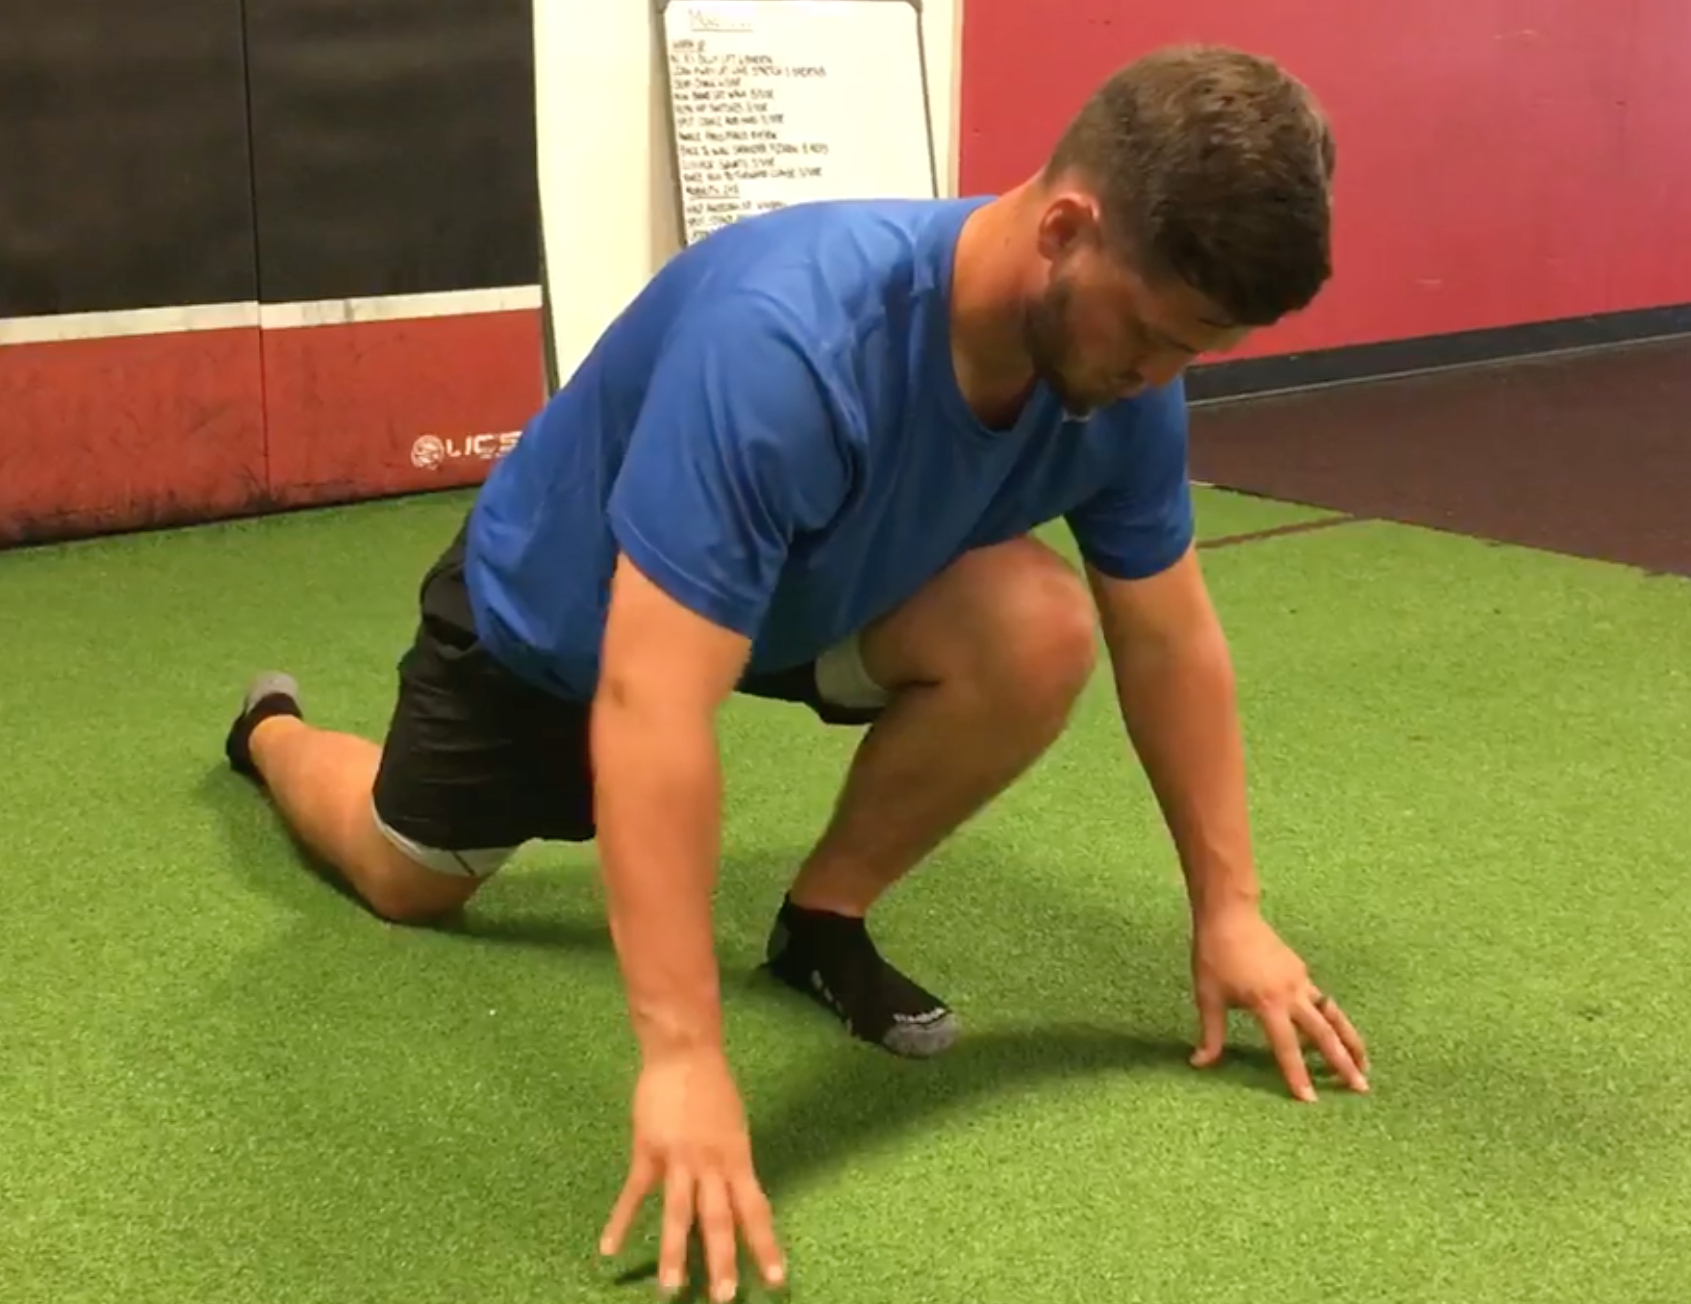
A Functional Range Conditioning (FRC) inspired exercise, the high tension ankle mobilization is working on taking your ankle through end-ranges of dorsiflexion with control of that range. It is important to go through this exercise slowly, as rushing through it generally doesn’t lead to as much tension or control of your range.

Start by getting into a good half-kneeling position, making sure not to sit your hips into abduction or adduction. From there, imagine pushing your foot through the floor and slowly take your knee as far over your middle toes as you can without your heel coming off the ground or the ankle pronating in. Then, slowly lift your heel off the ground maintaining your knee staying out in front of your toes as much as possible. Once you go as far as you can then slowly return while driving your foot through the floor. Now that you are back to the original starting position with your knee over your toe pause, the lift your toes towards your shin and start to lift the front of your foot off the ground, still pushing your heel through the ground. Once you can’t go back anymore, slowly return to the starting position.

Because this exercise requires a lot of tension and effort, we usually program this for 2-3 reps. You can put this in a warm-up or pair it with an ankle stability exercise such as the 1-leg kettlebell switch. If you deem the client has sufficient ankle mobility, this exercise isn’t always necessary and the focus can be more on stability.

4. Seated 90-90 Hip Switches w/Hip Extension

Another drill of FRC origin, seated 90/90 hip switches are a great hip mobility exercise, but often are not performed correctly if they are rushed. What do we get out of this exercise? Hip internal rotation, external rotation, flexion, extension, abduction, and adduction...all while maintaining a neutral spine. It doesn’t get any better than that!

Before prescribing this exercise, make sure to check your client’s hip range of motion and medical history first. If your client has femoroacetabular impingement or some other pain in their hip, this may not be the best fit for them.

The key coaching cues are to keep your hips as far separated as possible during the exercise and maintain a neutral spine. If you notice your lumbar or thoracic spine flexes, then use your hands on the ground as support. We usually program this exercise for 3 reps per side.

5. Deep Squat Anti-Rotation Press

There are many variations of the anti-rotation press (better known as the “Pallof Press”), but this version gets as specific to catching as any of them. Make sure the cable or band is set up at sternum height. When you press out, make sure your hips and feet stay neutral (don’t rotate toward one side). From the side view, you want to make sure the spine is neutral. You can hold this for breaths, time, or reps.

Wrap-up

These are just a small piece of the puzzle that is training catchers, but hopefully it gets your mind working to innovate and individualize for these athletes!

About the Author

Tim Geromini is the Director of Performance at Cressey Sports Performance - Florida. Prior to joining the CSP team; Tim spent time with the Lowell Spinners (Class A Affiliate of the Boston Red Sox), Nashua Silver Knights (Futures Collegiate Baseball League), Cotuit Kettleers of (Cape Cod Baseball League), and UMass-Lowell Sports Performance. You can contact him at timgero@gmail.com and on Twitter (@timgeromini24).

Sign-up Today for our FREE Baseball Newsletter and Receive Instant Access to a 47-minute Presentation from Eric Cressey on Individualizing the Management of Overhead Athletes!

Name
Email
Read more

Exercise of the Week: Wall Slides with Upward Rotation and Lift-off to Swimmer Hover

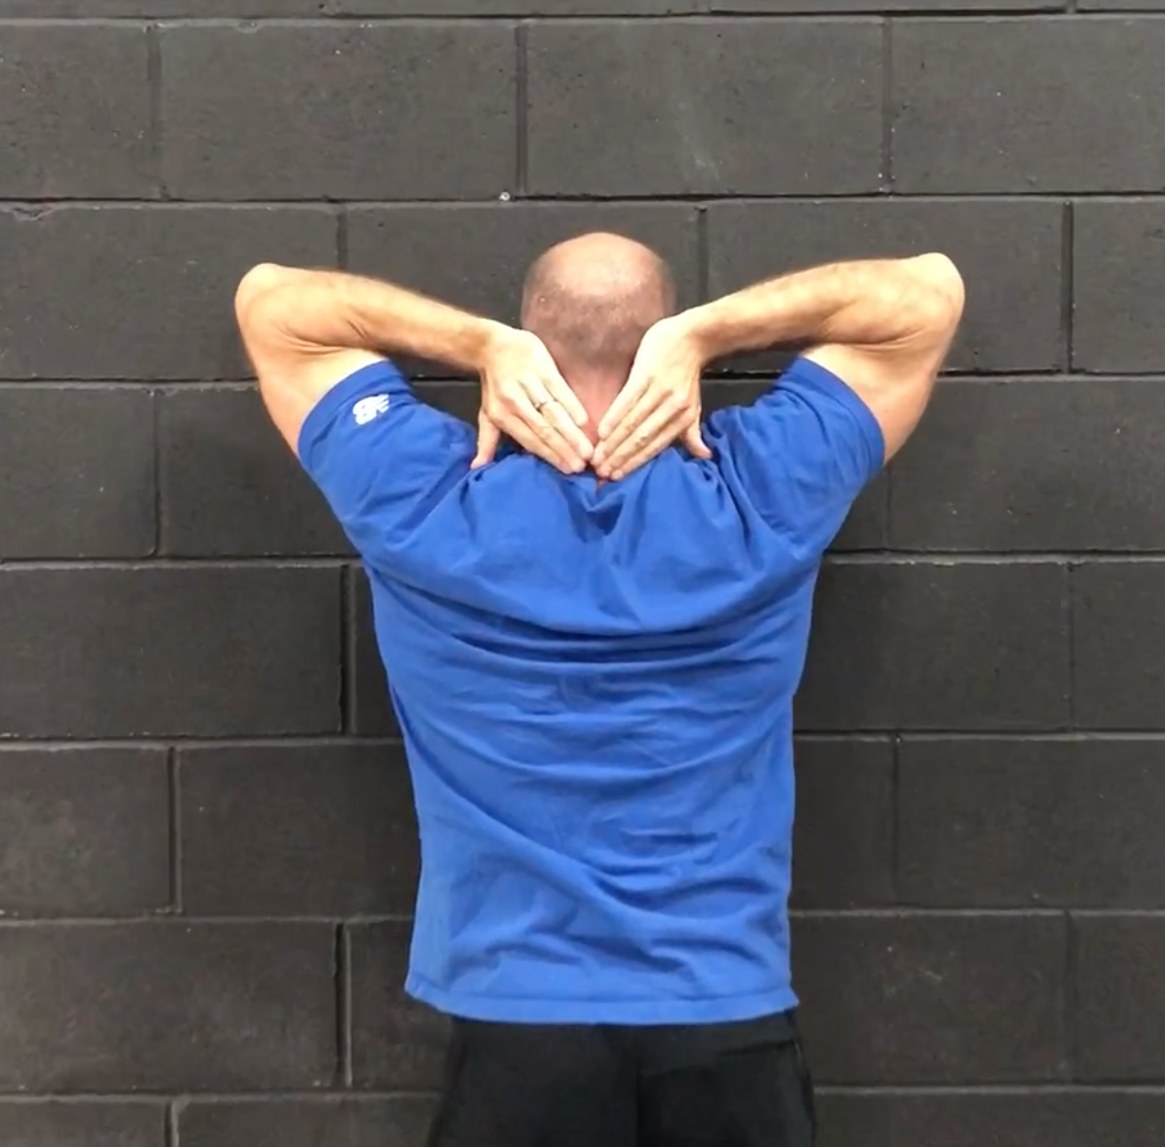
With this week’s $50 off sale on Sturdy Shoulder Solutions, I wanted to introduce a new drill I’ve started using. The wall slide with upward rotation and lift-off to swimmers hover effectively blends two schools of thought: Shirley Sahrmann’s work and that of Functional Range Conditioning.

1. With the wall slide portion, we drive scapular upward rotation.

2. With the lift off portion, we get scapular posterior tilt and thoracic extension (as opposed to excessive arm-only motion).

3. With the swimmer hover, we lengthen the long head of the triceps and even drive a little bit more serratus anterior recruitment as the scapula rotated around the rib cage.

Get exposure to multiple philosophies and have an appreciation for functional anatomy, and the exercise selection possibilities are endless. Learn more at www.SturdyShoulders.com.

Sign-up Today for our FREE Newsletter and receive a four-part video series on how to deadlift!

Name
Email
Read more

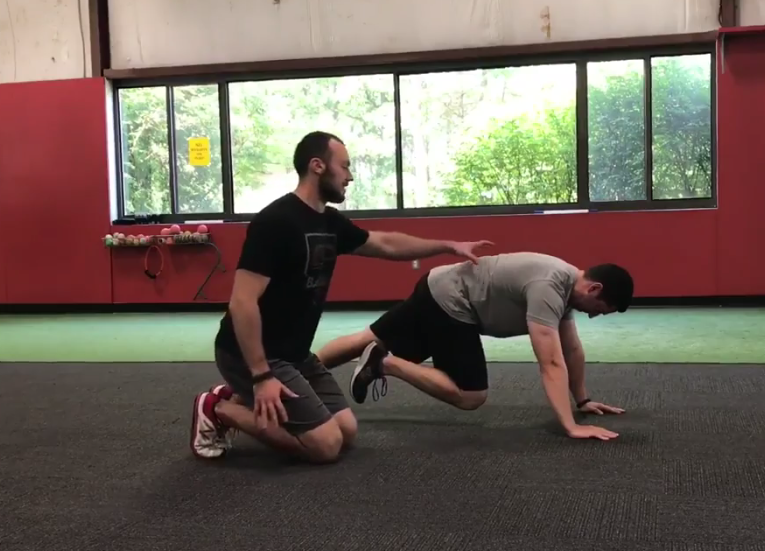
Mobility Exercise of the Week: Split-Stance Hip Abduction End-Range Lift-off

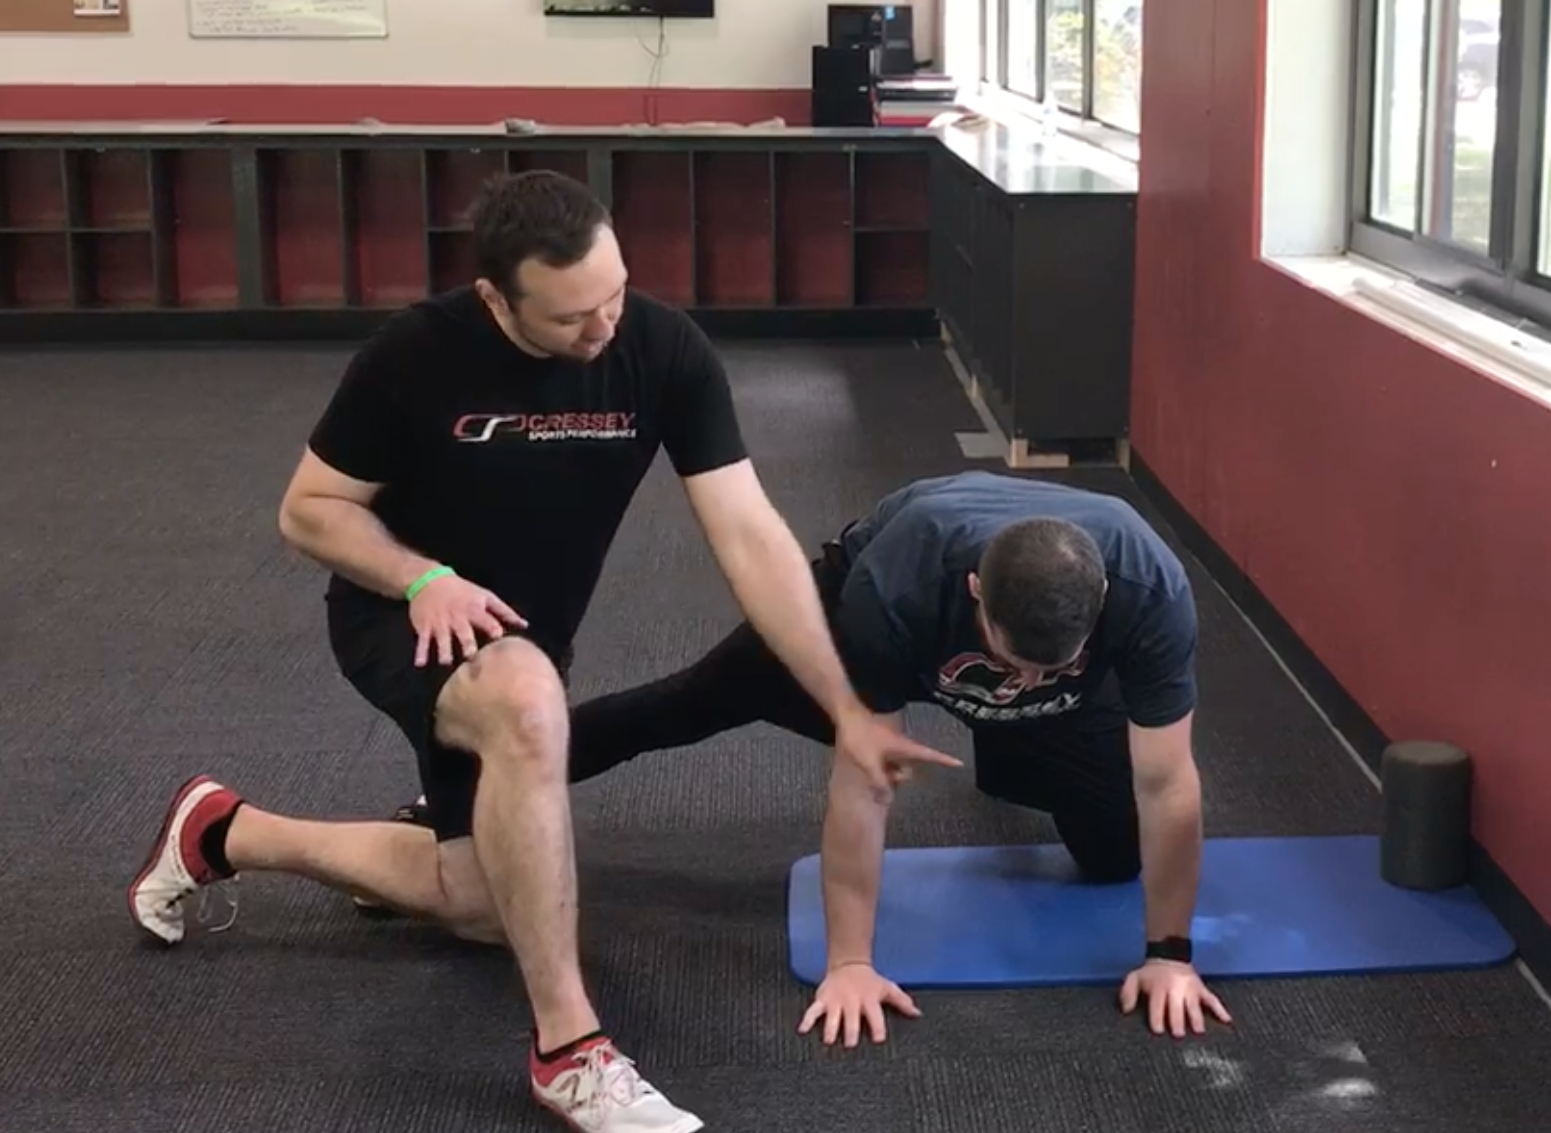
Today, I wanted to introduce you to a mobility exercise we're utilizing a lot these days at Cressey Sports Performance. Here's a great demonstration from Cressey Sports Performance coach Frank Duffy :


Speaking of Cressey Sports Performance, as part of my spring sale, I'm putting Cressey Sports Performance Innovations on sale for 40% off through Tuesday at midnight. This resource features webinars on a variety of topics that will help coaches and fitness enthusiasts improve their training, programming, and coaching. Just enter the coupon code SPRING (all CAPS) at checkout to apply the discount. You can add it to your cart HERE.

About the Author

Frank Duffy is the Coordinator of Strength Camps at Cressey Sports Performance-Massachusetts. He is a Functional Range Conditioning Mobility Specialist (FRCms) and Kinstretch Instructor. You can contact him via email at frankduffyfitness@gmail.com, check out his website, and follow him on Instagram.

Sign-up Today for our FREE Newsletter and receive a four-part video series on how to deadlift!

Name
Email
Read more

Are You Training Mobility or Just Mobilizing?

Today's guest post comes from Cressey Sports Performance coach, Frank Duffy. Enjoy!

The word “mobility” gets thrown around a lot in the fitness industry, and rightfully so. However, the context in which we use it often doesn’t correspond properly with the movements we prescribe to our clients.

In order to appreciate what true mobility training is, I think it’s important to first understand what it isn’t. Wrapping a band around a squat rack and stretching your upper back might feel great and improve passive flexibility when done for long enough periods of time, but improvements in active mobility will not be an outcome. This goes for practically any drill you see within a warm-up prior to a training program. I prescribe a lot of mobilization drills to our athletes where the primary intent is to get them feeling good for their training session. I love Split-Stance Kneeling Adductor Mobilizations, but I’m not going to sit here and say that – by themselves – they are a great way to improve long-term hip abduction mobility.

When training to improve joint mobility, the goal is to improve active range of motion. Mobility, just like any training stimulus (strength, power, muscular endurance, aerobic capacity, etc.) we’re looking to improve follows the same principles of progressive overload in order to elicit an adaptation. Connective tissue, whether it’s a muscle, tendon, ligament, capsule, or bone (to name a few), needs to be placed under mechanical stress to remodel the tissue being addressed.

When implementing the Functional Range Conditioning (FRC) system, I like to expose new clients to Controlled Articular Rotations (CARs) in order to help them understand how to properly train for long-lasting joint range of motion improvements. While CARs will not directly improve our joint mobility, they do provide us with four main benefits that I’ve listed below.

1. Assessment: CARs are a great tool for assessing the overall ranges of motion at each joint. They allow us to move each joint throughout its full range of motion under voluntary muscular contractions. When active mobility is restricted and joint function is poor, CARs also allow us to determine what our mobility training goals should be.

2. Mechanoreception: The capsule of our joint articulations is home to a high concentration of mechanoreceptors. When stimulated through end-range movements, mechanoreceptors supply the Central Nervous System with afferent feedback with information about the joint’s position in space.

3. Injury Prevention/Training Stimulus: Because CARs are performed under active contractions, the force applied to the surrounding connective tissue is below the threshold for injury (amount of force a tissue could safely absorb). When done at high enough intensity via voluntary muscular contractions, CARs could also provide a strength training stimulus for force production at the targeted joint.

4. Maintenance of Joint Range of Motion: The primary goal of executing CARs daily is to move our joints throughout their full range of motion under some degree of force. This will allow us to maintain our current ranges over time due to consistent exposure.

As mentioned above, CARs are a great way to assess the quality of each joint because they isolate the articulation being moved. Of course, our joints move interdependently with virtually every movement we perform. However, if a joint doesn’t work effectively on its own, it’s not going to work well in a global system under load. A sure-fire way to induce injury is to repetitively load a position when you haven’t prepared the involved joints for force absorption.

To break out even further, the “sticking points” of your CARs allow you to determine the appropriate joint angles at which to perform isometric contractions for both the progressive (lengthened) and regressive (shortened) tissues. By figuring out your active range of motion limitations, you’re able to create positional isometrics to learn how to expand these ranges further.

With individuals that present osseous restrictions like Femoroacetabular Impingement (FAI), I still recommend CARs on a daily basis. Regardless of structural orientation, it’s important to move through whatever active range of motion you currently own. As cliché as it sounds, if you don’t use it, you lose it. However, if CARs elicit pain, there’s an underlying issue that should be referred out to an appropriate rehabilitation specialist. Cranking a joint through a painful range of motion and hoping it will get better is just a recipe for further irritation – and an articulation that continues to function at less-than-optimal quality.

Whether you’re the most nimble yogi on the planet or a powerlifter that’s as stiff as a board, you should always seek ways to expand and control your mobility. Remember, mobility always comes back to active range of motion. With this in mind, it’s important to understand that there’s no such thing as having “too much” mobility. The more range you can control, the better off you’ll be.

If you’re interested in learning more or finding a provider near you, check out the following links: FR/FRC and Kinstretch.

About the Author

Frank Duffy is the Coordinator of Strength Camps at Cressey Sports Performance-Massachusetts. He is a Functional Range Conditioning Mobility Specialist (FRCms) and Kinstretch Instructor. You can contact him via email at frankduffyfitness@gmail.com, check out his website, and follow him on Instagram.

Read more
Page
LEARN HOW TO DEADLIFT
  • Avoid the most common deadlifting mistakes
  • 9 - minute instructional video
  • 3 part follow up series