Home Posts tagged "How to Deadlift" (Page 5)

Quick and Easy Ways to Feel and Move Better: Installment 52

It's been a while since we published an installment of Quick and Easy Ways to Feel and Move Better, but we're back at it today, thanks to CP coach Greg Robins, who has these five tips for you:

1. With deadlift technique, take tension out of the bar one hand at a time.

In my experience the single most difficult lesson to teach a newcomer to deadlifting is how to leverage their weight against the bar. This concept goes by many names, for example: taking the slack out, pulling the tension out, etc. Whatever your cue of choice, learning how to leverage is the “ah-ha” moment for many new lifters. In the following video, I demonstrate a drill that I find very helpful. It may just need to be done in the beginning stages of learning the lift, or it might be something you use for the rest of your life. Either way, it’s definitely worth a look:

2. Use this example to teach the difference between retraction and posterior tilting of the shoulder blades.

To piggy back off the video in point 1, check out this quick video on how to differentiate between retraction, and posterior tilting of the shoulder blades, and why it’s important to learn the latter when setting up for a deadlift.

3. Mimic a good standing posture with prone bridge variations.

The prone bridge, or “plank” exercise is probably the most popular core training exercise since the sit-up. It is an absolute go-to in our programming when teaching people how to resist extension and train the anterior core properly. Unfortunately, it’s also butchered more often than not.

A truly well done prone bridge is one that mimics correct alignment in a good standing posture. It is NOT just a position sans any low back extension. Let’s take a look at what I mean.

First, you need to position the shoulder blades correctly. Too often, people will excessively protract the scaps and embrace a more rounded over upper back position, seen here:

IMG_9444

Instead, slightly tilt the shoulder blades back, and place them in a position more like the one seen here:

IMG_9447

Next, do not allow excessive flexion of the spine from top to bottom:

IMG_9446

In this last picture, we are allowing the person to completely dominate the movement with the rectus abdominis and are not promoting proper recruitment from the internal and external obliques or the transverse abdominis.

To bring this all together, here is a picture of good standing posture with 90 degrees of shoulder flexion; note the similarities to a properly executed prone bridge.

IMG_9442

4. Try out this variation of the lower trap raise.

I like this variation for a few reasons:

  • It allows some of the more extended populations to stay in a better spinal positioning.
  • It promotes proper positioning of the shoulder blades in a back squat or overhead squat exercise.
  • It takes away some of the resistance gravity places on us in a prone positioning.
  • It helps develop a proper squat pattern and bottom position
  • It’s efficient, allowing people to train multiple aspects of good movement at the same time.
  • For more advanced populations you can get rid of the wall, and do it in a freestanding deep squat position.

5. Remember that not everything needs to be “difficult.”

Throughout a strength-training program, you will have exercises that are meant to be loaded up to their limit, and others that are there purely to practice a position or motor control pattern. As a client or athlete becomes more advanced, certain exercises will become less challenging. This doesn’t mean that you need to continually find ways to make a movement harder and harder. Too often, when we do so, we take away from the integrity of the movement.

Sure, you can load up your basic deadlift, squat, and lunge patterns until the cows come home, but exercises like the rollout, prone bridge, or side plank will eventually reach a limit in ways that you can productively make them “harder.” This by no means renders them useless, though. In fact, by loading them excessively, or adding an infinite amount of bells and whistles to them, you will mostly find ways to compensate and stray further from their intention. As they become easier to complete, it just changes their purpose from one of teaching the body, to one of reminding the body how to recruit properly.

Some exercises do have a ceiling, and once it’s reached, you don’t need to try and blast through it. Let them serve their purpose, and let the big movements account for your substantial progressions.

Sign-up Today for our FREE Newsletter and receive a four-part video series on how to deadlift!

Name
Email
Read more

Assessments You Might Be Overlooking: Installment 3

It's time for another installment of my series on things you might overlook when assessing a new client or athlete.  Here are three more things to which you should pay attention:
 
1. Shoulder Flexion Range of Motion - This is a valuable test to use in conjunction with a back-to-wall shoulder flexion test. If you can't effectively perform a back to wall shoulder flexion as in the video featured here, then we need to ask "why not?"

 
It might happen because you lack good stiffness in various places - anterior core, lower trapezius, upper trapezius, and serratus anterior, to name a few.  Or, it might be because you're unable to overpower bad stiffness or shortness. Maybe you lack thoracic extension, are too rhomboid dominant, or simply can't get full shoulder flexion range of motion.  To check for this last one, you'll want to put the individual in supine with the back flat and knees and hips flexed.  They should be able to get the arms all the way down to the table - so this would be no good.
 
shouderflexion
 
Shoulder flexion can be limited by a lot of things: short/stiff lats, teres major, long head of the triceps, and inferior capsule.  Regardless of what limits it, though, you can't just take someone with this limited a ROM and plug them into overhead pressing. You're just waiting to chew up a rotator cuff, biceps tendon, labrum, or all of the above.
 
As a little bonus, this is my favorite drill for improving shoulder flexion ROM:


2. Scapular Upward (or Downward) Rotation - It goes without saying that scapular control - or the ability to position the shoulder blades appropriately - is absolutely essential to safe and effective upper extremity movement.  In order for that to occur, though, the shoulder blades have to start in the right position.  With respect to scapular rotation, "neutral" posture has the shoulder blades sitting at 5 degrees of upward rotation at rest. In the picture below, the black line represents where he should be in terms of upward rotation, but instead, you'll see that he sits in about 20-25 degrees of downward rotation (for the record, there are a number of other things wrong with this posture, so this is only a start!).
 
ScapularDownwardRotation
 
The problem with starting in this much downward rotation (or any downward rotation, at all) is that it's like beginning a race from 20 yards behind the starting line.  When the arm starts to move up, the shoulder blade needs to rotate up to maintain the ball and socket congruency.  If it starts too low, it can't possibly be expected to catch up - so the ball will ride up relative to the socket, regardless of how strong the rotator cuff is to try to prevent that superior migration.  You'll wind up seeing irritation of the rotator cuff, biceps tendon, labrum, or bursa if it's left unchecked.
 
Step 1 is to simply educate people on where the scapula actually should sit, and step 2 is to work on training from that correct new starting position.

3. Constant stretching - I always take note of when I see a client who seems to be stretching "nervously" when they're just standing or sitting around.  You'll often see people cranking on their shoulders, cracking their necks, touching their toes, or any of a number of things that make them "feel better.
 
The problem is that these people are often stretching out protective tension - or stiffness that's there because they lack stability elsewhere.  This is often the case with those with significant joint hypermobility.  They're already unstable, but the stretching is like picking a scab; it gives them temporary relief from the tightness, but only makes things worse in the long run.  It might be hamstrings tightness in someone with crazy anterior pelvic tilt, biceps tightness in those with anterior shoulder instability, or any of a number of other presentations throughout the body.  Unquestionably, though, the most common one is neck stretching in those with poor scapular control.
 
There is no one solution for everyone's problem, but I would encourage you to always ask, "Why is this tight?"  And, don't even think about stretching until you know the answer.
 
I'll be back soon with more commonly overlooked assessments.  In the meantime, if you're looking for an additional resource on this front, I'd encourage you to check out Assess and Correct: Breaking Barriers to Unlock Performance and Functional Stability Training of the Upper Body
 
 fstupper

Sign-up Today for our FREE Newsletter and receive a four-part video series on how to deadlift!

Name
Email
Read more

Strength and Conditioning Stuff You Should Read: 1/6/14

It's time for the first 2014 installment of this weekly series.  Check out these recommended strength and conditioning reads:

Elite Training Mentorship - This month's update from me includes a presentation on the difference between anterior shoulder instability and laxity, and I talk about our approaches with athletes who may encounter these issues. There are also some great additions from Vaughn Bethell and Tyler English this month.

etmLogo

How to Hip Hinge Like a Boss - My buddy (and Cressey Performance co-founder) Tony Gentilcore did a great job with this piece.  If you struggle with hip hinging, this is a good place to start.

Perception, Threat, Pain, and Purple - Bill Hartman makes an awesome point about dealing with people with pain.  Hint: it's about much more than just having a good series of assessments and corrective drills!

Sign-up Today for our FREE Newsletter and receive a four-part video series on how to deadlift!

Name
Email
Read more

The Best of 2013: Strength and Conditioning Features

I really enjoying creating features with multiple installments because it really allows me to dig deep into a topic that interests both me and my readers. It’s like writing a short book, with each blog being a different chapter. That said, here were a few of my favorite features from 2013 at EricCressey.com:

1. Quick and Easy Ways to Feel and Move Better - This series is mostly CP coach Greg Robins' work, but I jump in here and there. Installments 28-52 ran this year.  Here were the most popular ones:

Installment 28
Installment 48
Installment 33
Installment 37
Installment 47

2. Coaching Cues to Make Your Strength and Conditioning Programs More Effective – I kicked off this (ongoing) feature in early 2012, and it was as huge a hit this year as it was last year.  My goal with this series is to feel like you have a coach right there with you. Here were the ones we ran this year:

Installment 5
Bench Press Edition
Installment 6
Installment 7

3. Pitching Performance: Understanding Trunk Position at Foot Strike - This was a three-part series co-authored with CP Pitching Coordinator, Matt Blake.

Part 1
Part 2
Part 3

grelin2

4. Assessments You Might Be Overlooking - I just kicked off this series, but there are some important points covered in the first two installments:

Installment 1
Installment 2

We're close to wrapped up with the Best of 2013 series, but there's still more to come, so check back soon!

Sign-up Today for our FREE Newsletter and receive a four-part video series on how to deadlift!

Name
Email
Read more

The Best of 2013: Strength and Conditioning Videos

Yesterday, I kicked off the "Best of 2013" series with my top articles of the year.  Today, we'll highlight the top five videos of the year:

1. Individualizing the Management of Overhead Athletes: How to Spot What Your Throwers Need - This is a free 47-minute presentation I made available to all my baseball-specific newsletter subscribers this year.  You can still access it at no charge.

Individualizing

2. Warm-ups for Sparing the Shoulders - This came as part of a post for Schwarzenegger.com.

3. Supine Alternating Shoulder Flexion on Doubled Tennis Ball - This upper back mobility/soft tissue drill was a big hit!

4. Fine-Tuning the Band Pullapart - This is a very popular exercise for shoulder health, but it's commonly performed incorrectly.  Try these modifications!

5. Standing External Rotation Hold to Wall - This is an awesome warm-up that requires no equipment.  We use it a lot with our throwers when they're on the field and don't have access to a table to do prone exercises.

As you can see, 2013 was the "Year of the Shoulder" at EricCressey.com!  I'll be back soon with the top guest posts of 2013.

Sign-up Today for our FREE Newsletter and receive a four-part video series on how to deadlift!

Name
Email
Read more

The Best of 2013: Strength and Conditioning Articles

With the end of 2013 at hand, I’ll be devoting this week to the best content of the year, based on traffic volume at EricCressey.com. I’ll kick it off today with my five most popular articles from the past year.

1. Why You Struggle to Train Overhead – and What to Do About It - This article ran recently, and judging by the response, I should have written it up years ago!

2. 15 Static Stretching Mistakes - Do you need to stretch?  Maybe not! And, even if you do, you might be making some of these common mistakes.

IMG_8805

3. 20 Ways to Prepare Athletes for Success in Sports and in Life - There are lots of valuable life lessons in this one, so it got a lot of love on social media.

4. 6 Tips for People Who Stand All Day - All the mobility and stability recommendations out there seem to be geared toward people who sit all the time - until now!

5. The Deficit Deadlift: A Strength Exercise You Can Do Without - Deadlifts are popular, and deficit deadlifting is controversial, so this webinar I did made for a popular post.

I'll be back soon with another "Best of 2013" feature.  Up next, the top videos of the year!

Sign-up Today for our FREE Newsletter and receive a four-part video series on how to deadlift!

Name
Email
Read more

Strength and Conditioning Stuff You Should Read: 12/23/13

Here's this week's list of recommended strength and conditioning reading:

Squatting and Pulling with the Taller Lift - I always enjoy Charlie Weingroff's writing, even though it doesn't come frequently.  This was an excellent piece that reflects a lot of my own views on training taller athletes; just because a guy is taller doesn't mean you blindly contraindicate movements with him.

Is Post-Exercise Muscular Soreness a Valid Indicator of Muscular Adaptation - This is a great review in the Strength and Conditioning Journal from Brad Schoenfeld and Bret Contreras, and it covers a topic that has long been debated in training circles. 

9 Tips for Consistent Workouts - This is a solid article from Charles Staley, and it's timely, in light of how many New Year's Resolutions folks will fall off the bandwagon in the next 6-8 weeks.

Sign-up Today for our FREE Newsletter and receive a four-part video series on how to deadlift!

Name
Email
Read more

3 Considerations for the Aging Athlete

At Cressey Performance, we’re largely known for our work with baseball players, but that’s not to say that we don’t have our fair share of “weekend warriors” – those who like to get after it in the gym well into their 40s, 50s, and 60s – in the mix.  With that in mind, we haven’t done a great job of reflecting this in our online content, so we’re going to start to remedy that today!  In today’s post, CP coach Greg Robins introduces his top three recommendations for the aging athlete. -EC

1. Seek out a professional evaluation.

Without fail, we are approached daily at Cressey Performance by individuals looking for our “pitchers” program, our “strength” program, or any other number of set approaches to dealing with one type of scenario. The truth is, we don’t have those lying around anywhere. Instead of writing “outcome-specific” programs, we write “athlete-specific” programs. Where am I going with this?

There is no “older athlete” specific program. There are only trends in training older athletic populations that must be considered when evaluating them, and then writing their programs. To be honest, the older athlete needs this attention to detail moreso than many of the younger athletes we see at CP. Why?

It’s simple, really: older athletic populations have accumulated decades of the same repetitive movements, on top of a growing list of nagging injuries, serious injuries, aches, pains, and so on.  

If injury is derived from this equation…


 Number of repetitons x Force of each repetition

_______________________________________________________


Amplitude of each repetiton x Relaxation between repetitons


…then you can imagine just how much higher the figure for “N” has grown in comparison to their considerable younger counterparts.  And, keep in mind that degenerative changes kick in easier and linger longer as we age.

In short, the first and most important consideration for the older athlete is to have their movement evaluated by a qualified professional so as to formulate a safe and productive plan of action for training. Without this information exercise selection becomes a shot in the dark, rather than a well formulated choice of movements to meet the person where they are at.  For those looking to self-evaluation, Assess and Correct would be a good a great DVD set to review.

Layout 1

2. Improve your recovery.

Aging populations will find that their ability to recover from bouts of intense exercise has steadily diminished as they age. Therefore, recovery measures must take a front seat in their approach to getting better while staying healthy. These populations should place a premium on the standard sources of improved recovery, namely sleep and nutrition. However, I would like to touch upon another factor, often neglected, that can help tremendously in the older athlete’s approach.

Aerobic capacity, or improved aerobic fitness, will be paramount to their success. Your body runs on three main energy systems:

  • Aerobic
  • Anaerobic
  • ATP – PCr

When it comes down to producing energy, the body’s currency is ATP. All of these energy systems are channels for producing the currency of your body’s energy. Each has their way of doing so, and each does so in a different context.

Many of us associate aerobic exercise with long duration activities, and therefore a long duration of ATP generation. We see anaerobic exercise as short duration, and therefore, a short duration of ATP generation. In short, that’s mostly correct. You can view ATP-PCr as an even shorter duration generation that the anaerobic energy system. While ATP-PCr, and the anaerobic energy systems are capable of producing a lot of ATP quickly, they also run out of currency quite fast as well.

The facilitation of the aerobic energy system is important because it’s always in play. In other words, the better trained it is, the more ATP it is generating for you over the course of the entire bout of exercise. This leads to better ATP production in general – in the short term, the ability to repeat the short term, and the long haul in total. That’s important to the older athlete, and any athlete for that matter.

Need proof that it matters? Here’s a 2001 study showing a positive correlation between aerobic fitness and recovery from high intensity bouts of exercises published in 2001.

chaindl

To take it a step further, a well-conditioned aerobic system doesn’t just help you recover during the workout; it also helps you to recover between workouts, faster! It plays a large role in giving you the energy required to repair, and helps you to “switch” into your autonomic nervous system, which is optimal for increased recovery.

I highly recommend you read further on how this relationship plays out, how to train it, and how to evaluate it by reading Mike Robertson’s article here. Also, you’ll benefit from checking through the lengthy list of information and tools from Joel Jamieson.

3. Manage Volume Better.

If we take into account our first two bullet points, then it’s important that we address training volume in general. Mismanaged training volume can accelerate the equation in our first point, as well as hinder our recovery efforts laid out in point number two.

In general, aging athletes will need to be more cognizant of the total work they are doing and its effect on their outputs. A positive in training this population is that they have spent considerably more time listening to their body. This is important, and should not be disregarded. Instead of blindly following any program, I would urge the older athlete to learn from past experiences and back down when their body is telling them to do so. Many times, the more experienced the athlete; the better they are at doing this.

Additionally, I would challenge the older athlete to deload, or “back off” more often. This is an easy way to manage the volume of training in their favor. Many programs will load for 3-4 weeks and then unload for one. However, older athletes can benefit from cycling in periods of backed down volume and intensity more often. Here are two such scenarios.

  1. High / Low Organization

High – Low organization is among my favorite ways to train an older athlete. It was developed originally to train very high-level athletes to ensure top outputs every time they train. By getting a high output one week, and then letting them recover the next week, there was much less chance of accumulating fatigue, and having the athlete continually training at something less of what they were actually capable of achieving. This gave them a chance to repeat high outputs more often, as well as top those efforts.

It makes sense in the training of older athletes as well. In a similar fashion to these high-level trainees, high outputs will take a lot out of the tank for the older populations. Since our goal is still to improve the performance of older athletes, while minimizing injury, this is a great approach.

  1. High / Medium / Low Organization

This is another solid option. In this example we are loading an athlete for two weeks, and then unloading them for one. The first week would be high intensity; the second medium (with slightly more volume), and the third week low in both intensity and volume. It’s basically a play on the first example, and can be used for an older athlete who may be able to handle more volume. It’s also a better choice for the older strength athlete who will need the second week of increased volume to continue making progress on the lifts, as well as the technical practice of performing the lifts under decent load more often.

If you’re looking for more deloading strategies, I’d encourage you to check out Eric’s e-book on the subject: The Art of the Deload.

art-of-the-deload2

In conclusion, the older athlete needs to place a premium on correct movement, recovery measures, and management of volume or training stress. With those three considerations in mind, there is lots of room for improvement at any age!

Sign-up Today for our FREE Newsletter and receive a four-part video series on how to deadlift!

Name
Email
Read more

Strength and Conditioning Stuff You Should Read: 12/16/13

Here's this week's recommended strength and conditioning reading:

Nutrition in the NBA; Part 1: Lessons Learned in LA Help Howard's Career - This was a great article at CBS Sports on the awesome work my buddy Tim DiFrancesco has done on the nutrition front with the LA Lakers.  It's part of a multi-article series on nutrition in the NBA (including a section that discusses another friend, Mike Roussell, and his work with Roy Hibbert).

10 Best Unilateral Exercises - I like (and regularly use) several of the variations Bret Contreras highlights in this article.

Genetics, BDNF, Rehab, and Performance - Bill Hartman summarizes a conversation he had with Eric Oetter, and then discusses some practical applications.

Sign-up Today for our FREE Newsletter and receive a four-part video series on how to deadlift!

Name
Email
Read more

Hunger and Fullness Cues, and the Story of Hyper-Rewarding and Hyper-Palatable Food

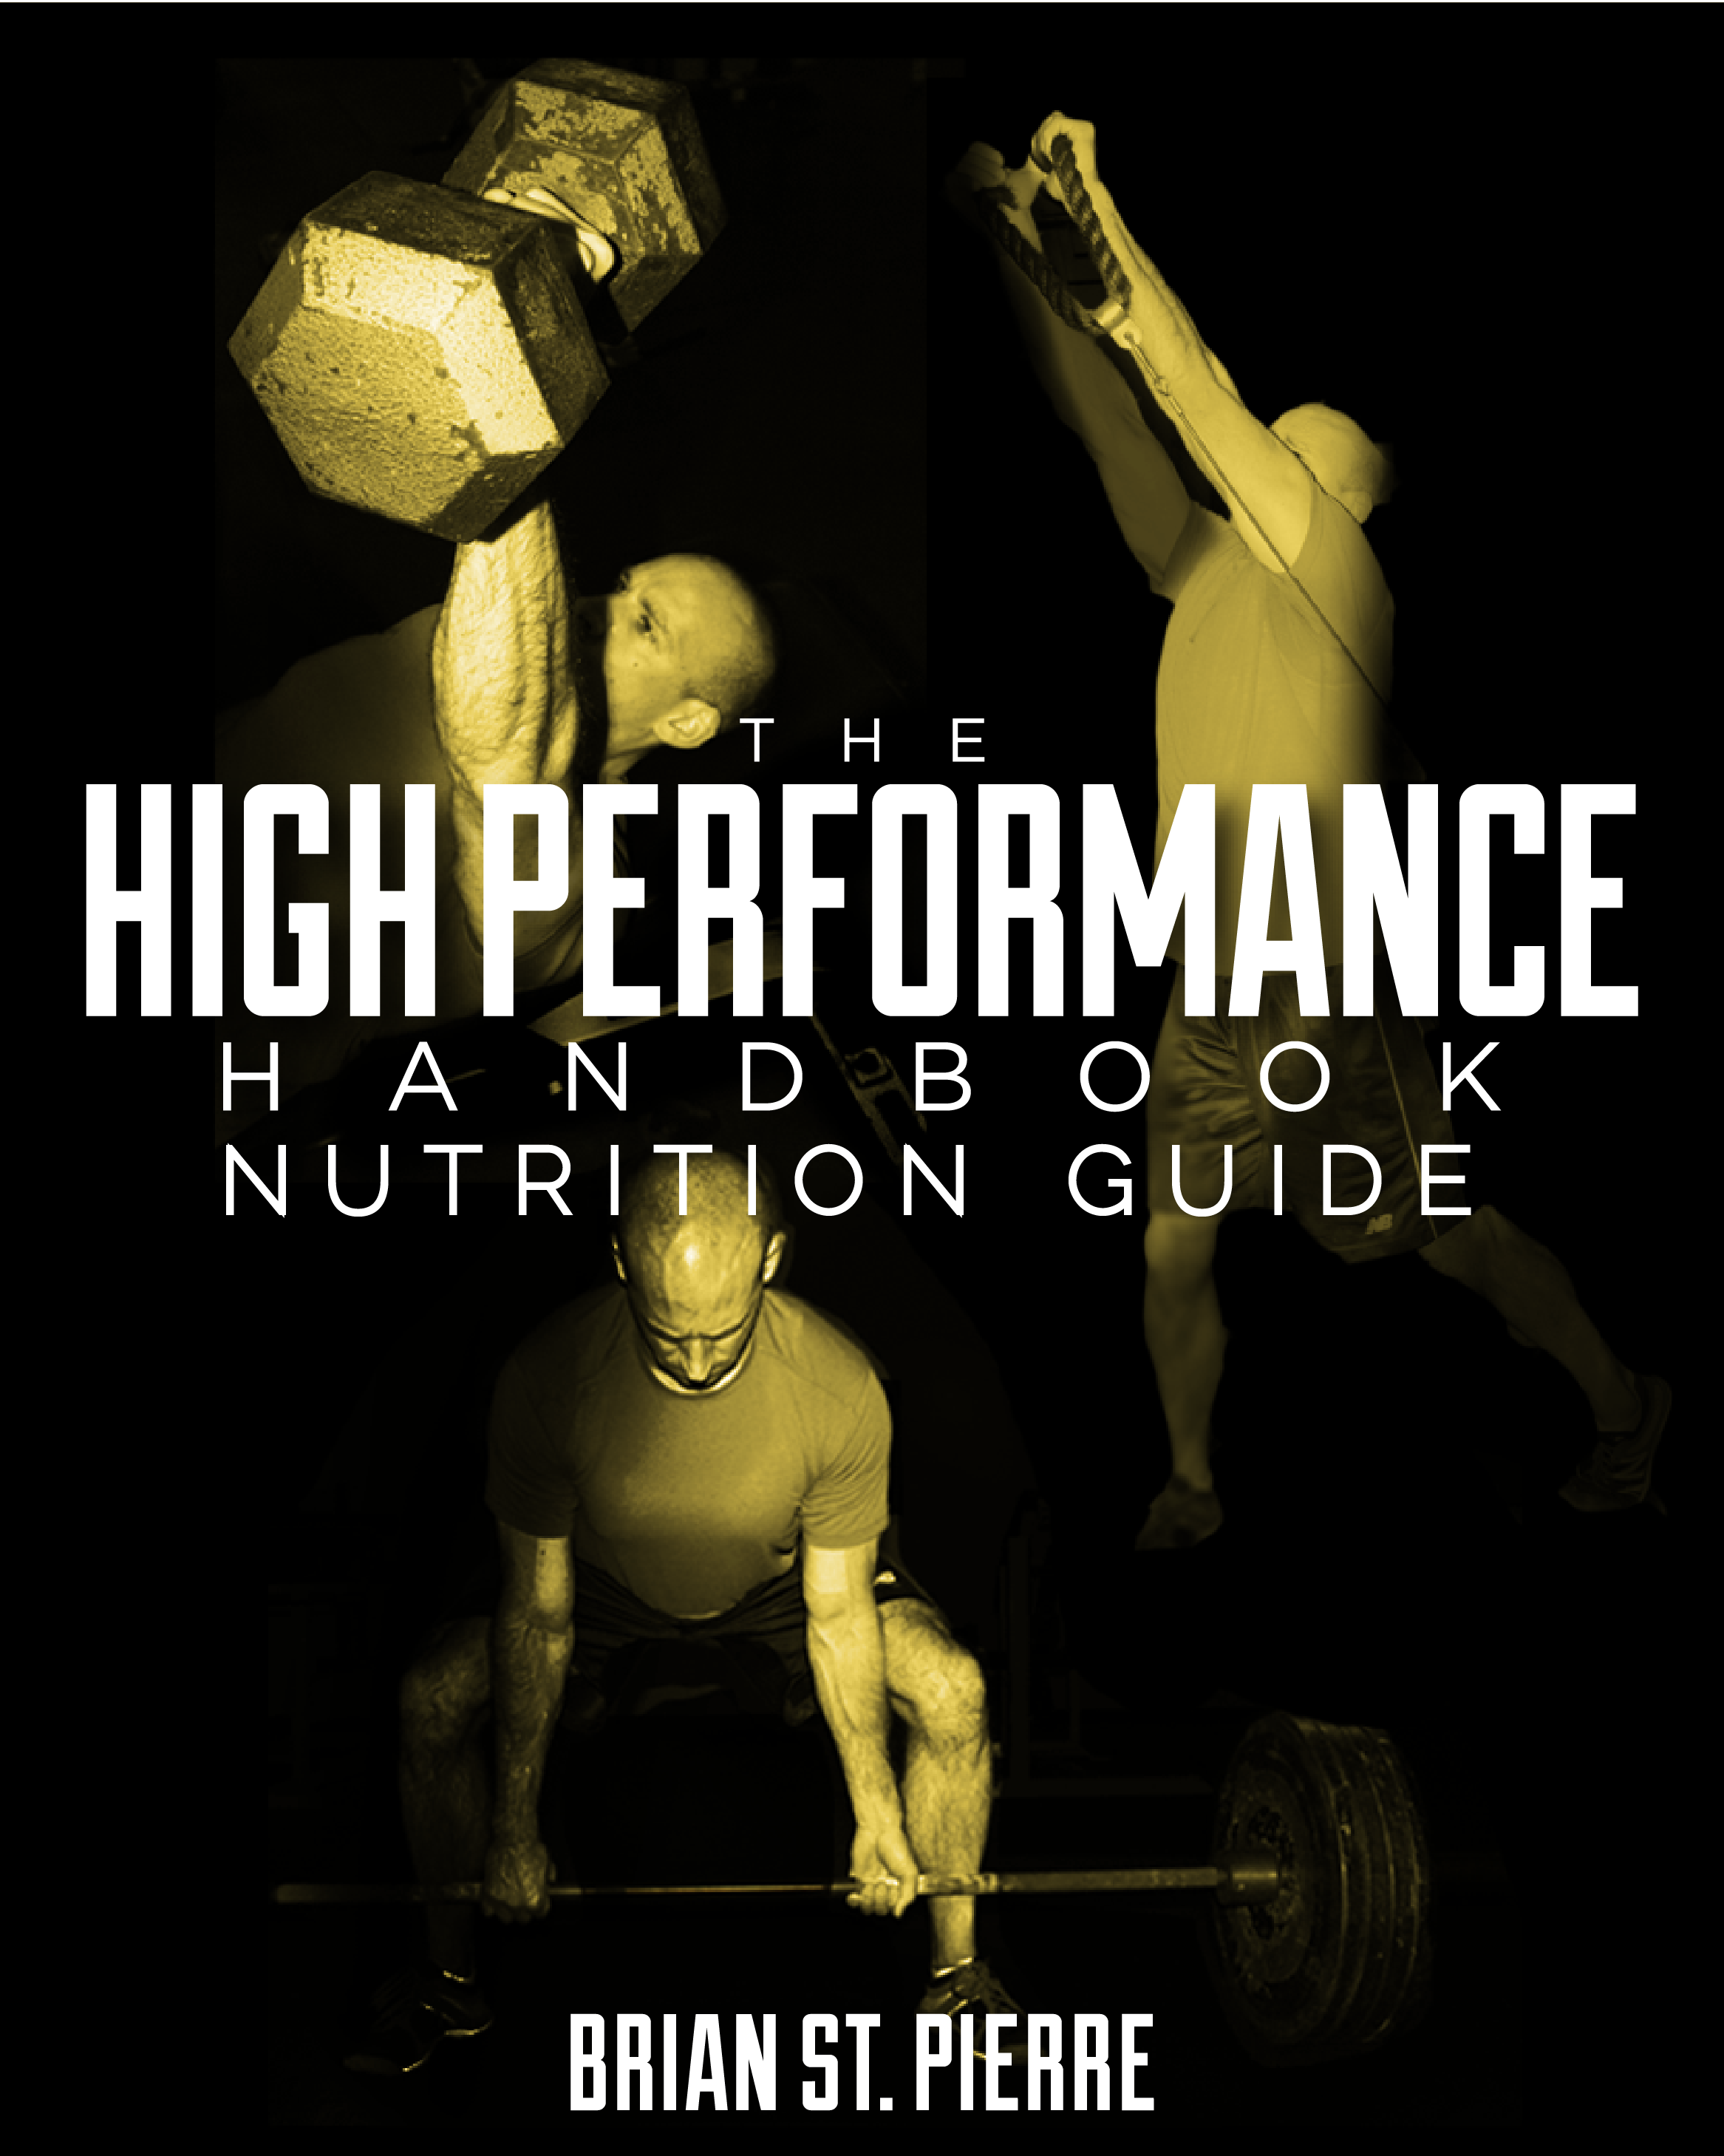
Today's post is an excerpt from The High Performance Handbook Nutrition Guide, written by Precision Nutrition's Brian St. Pierre; this guide is available as part of the "gold package" version of the product. This section has received a lot of positive feedback, so I thought I'd share it as an example of what you can expect. As a reminder, the entire resource is on sale for $50 off through the end of the weekend at www.HighPerformanceHandbook.com. The discount is automatically applied at checkout. -EC

Eating Slowly and Only Until Satisfied
 
Many of us eat far too quickly.  And, at each meal we expect to eat to the point of fullness.  Unfortunately, eating in this manner – quickly and until full – will always present challenges to your performance, health, and body composition goals.  This is true even if you eat the right foods (though eating mostly whole, minimally processed foods makes it much easier to tune into these powerful appetite cues).
 
Learning to tune into and follow your hunger and fullness cues will be paramount to your long-term success.  It will teach you to slow down, to listen to your body and its needs and to stop eating when you are satisfied, not full.  This is actually one of the most important skills you need to build for long-term nutrition success.
 
Why is this so?  It takes about 20 minutes for our satiety mechanisms to work.  What this means is that the signal from our gut takes time to get to our brain.  So, if you eat quickly, it is more than likely that you will eat far more in that 20-minute window than you need, and before your brain can tell you that you have eaten enough.  Regardless of food quality and macronutrient composition, over-eating is over-eating.  Unless you are trying to gain weight, learning this skill is critical (and even then it is still critical, because you won’t be trying to gain weight forever).
 
An excellent goal is to aim for about 15-20 minutes per meal, at a minimum.  If this is too big of a change for you, simply aim to take a little longer for now, slowly stretching out your meals until you are able to reach that 15-20 minute mark.  
 
To do this, simply utilize the following strategies:
 
• take a seat when you eat
• turn off the TV and eliminate distractions (though some light reading can be okay)
• take smaller bites
• chew your food more completely
• put your fork down after every few bites
• drink some water
• share some witty banter with your dining partner(s)
 
Slowing down your eating will help in many capacities.  When you eat slowly, you tend to eat fewer calories with each meal (because your brain has time to tell you enough has been eaten), drink more water (improving hydration status and health), improve digestion (because it starts in the mouth), and tune into your hunger and fullness cues more effectively.
 
Hyper-Rewarding and Hyper-Palatable Food
 
This is also one of the reasons that eating mostly whole, minimally processed foods is so powerful.  When you eat these whole foods, which tend to be fibrous, full of water and tasty (but not overly-so), your brain is also better able to signal to you that you have eaten enough.
 
 
However, when you eat highly processed foods, they tend to be what are called hyper-palatable and hyper-rewarding.  In essence, what happens when you eat these foods, is that your brain becomes over-excited, and it can’t “hear” the signals coming from your GI tract on how much food you have eaten, which delays the signal telling you enough has been consumed.  This leads to over-consumption, addictive-like behaviors, obesity, inflammation and diabetes.
 
While a full discussion on hyper-palatable and hyper-rewarding foods is outside the scope of this resource, just realize that food products have been specifically engineered to get you to eat a lot of them.  Food companies have a limit on how much of their product can be purchased; this limit is called the human stomach.  The only way to increase sales is to get you to eat more.
 
And they do this by systematically testing exactly how their foods affect our hedonic and reward systems in our brains.  Basically, think of it like this: hyper-rewarding foods are foods that you will strongly seek out.  Your brain has associated them with awesomeness (because they over-stimulate and over-excite your reward centers in your brain), so you will go to great lengths to find them and consume them.  Reward is what drives you to find a food (among other elements).
 
On the other hand, hyper-palatable food is food that tastes so good at that moment that you eat more of it than you should, even if you aren’t hungry.  It’s like Thanksgiving.  You have already eaten a ton, and are stuffed – but then the pies come out.  You put some in front of you and you eat a whole big slice, maybe two.  The hyper-palatability of the pie over-excites the hedonic (or pleasure) centers of your brain, so you ignore satiety cues and eat even though you aren’t hungry.  Where reward drives you to seek out food, palatability dictates how much you eat in a sitting (again, among other elements).
 
While these two elements are intertwined, they aren’t always together.  For example, let’s say you want ice cream.  Your brain knows how delicious it is, and associates it with an awesome time.  So you seek some out (reward).  But, when you start eating it, it is not very good.  You take a handful of licks – because you did pay for it, after all – but you discard half of it.  That element was palatability, or in this case, lack thereof.  If it had tasted like the ice cream your brain was envisioning, you would likely have eaten it all, even past the point of fullness.
 
You might be wondering how exactly these processed foods can be so palatable and rewarding. This is because food companies carefully manage three elements:
 
• fat
• salt
• sugar (or refined carbohydrates)
 
donut800px-Donuts_(Coffee_An),_Westport,_CT_06880_USA_-_Feb_2013
 
These three elements rarely exist in nature together, but when combined with other chemical additives and flavor enhancers, they create foods that our brains never evolved to handle.  They override our satiety mechanisms, screw up our hunger and fullness cues, and generally cause us to make poor food choices and overeat.
 
Conclusion
 
With all of this in mind, this is why I so highly recommend eating mostly real, whole, minimally processed foods.  They tend to provide normal levels of palatability and reward, and because of their high water content and fibrous nature, make it easier to eat them slowly, chew them fully, and stop when you are satisfied, but not full.
 
Looking for more great nutrition lessons, practical recommendations, and sample meal plans?  Check out Brian's Nutrition Guide as part of The High Performance Handbook Gold Package. This popular resource is on sale for $50 off through the end of the weekend.

Sign-up Today for our FREE Newsletter and receive a four-part video series on how to deadlift!

Name
Email
Read more
Page 1 3 4 5 6 7 39
LEARN HOW TO DEADLIFT
  • Avoid the most common deadlifting mistakes
  • 9 - minute instructional video
  • 3 part follow up series