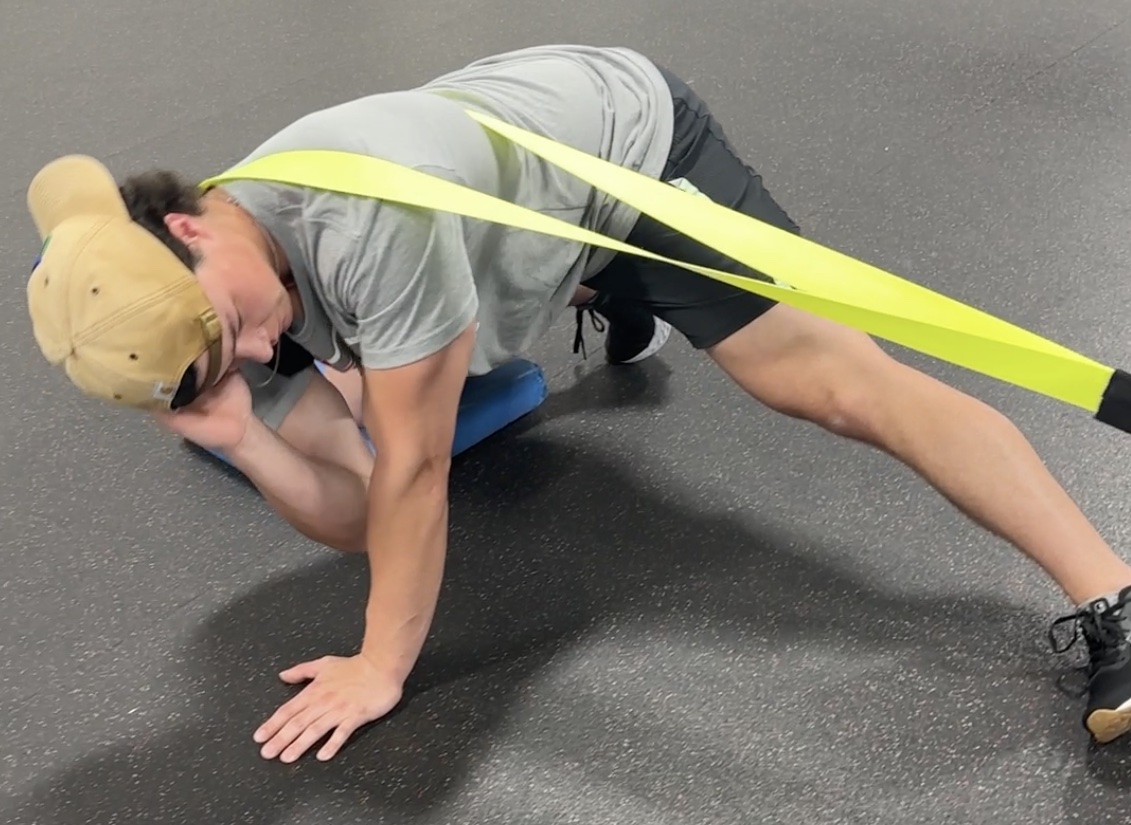
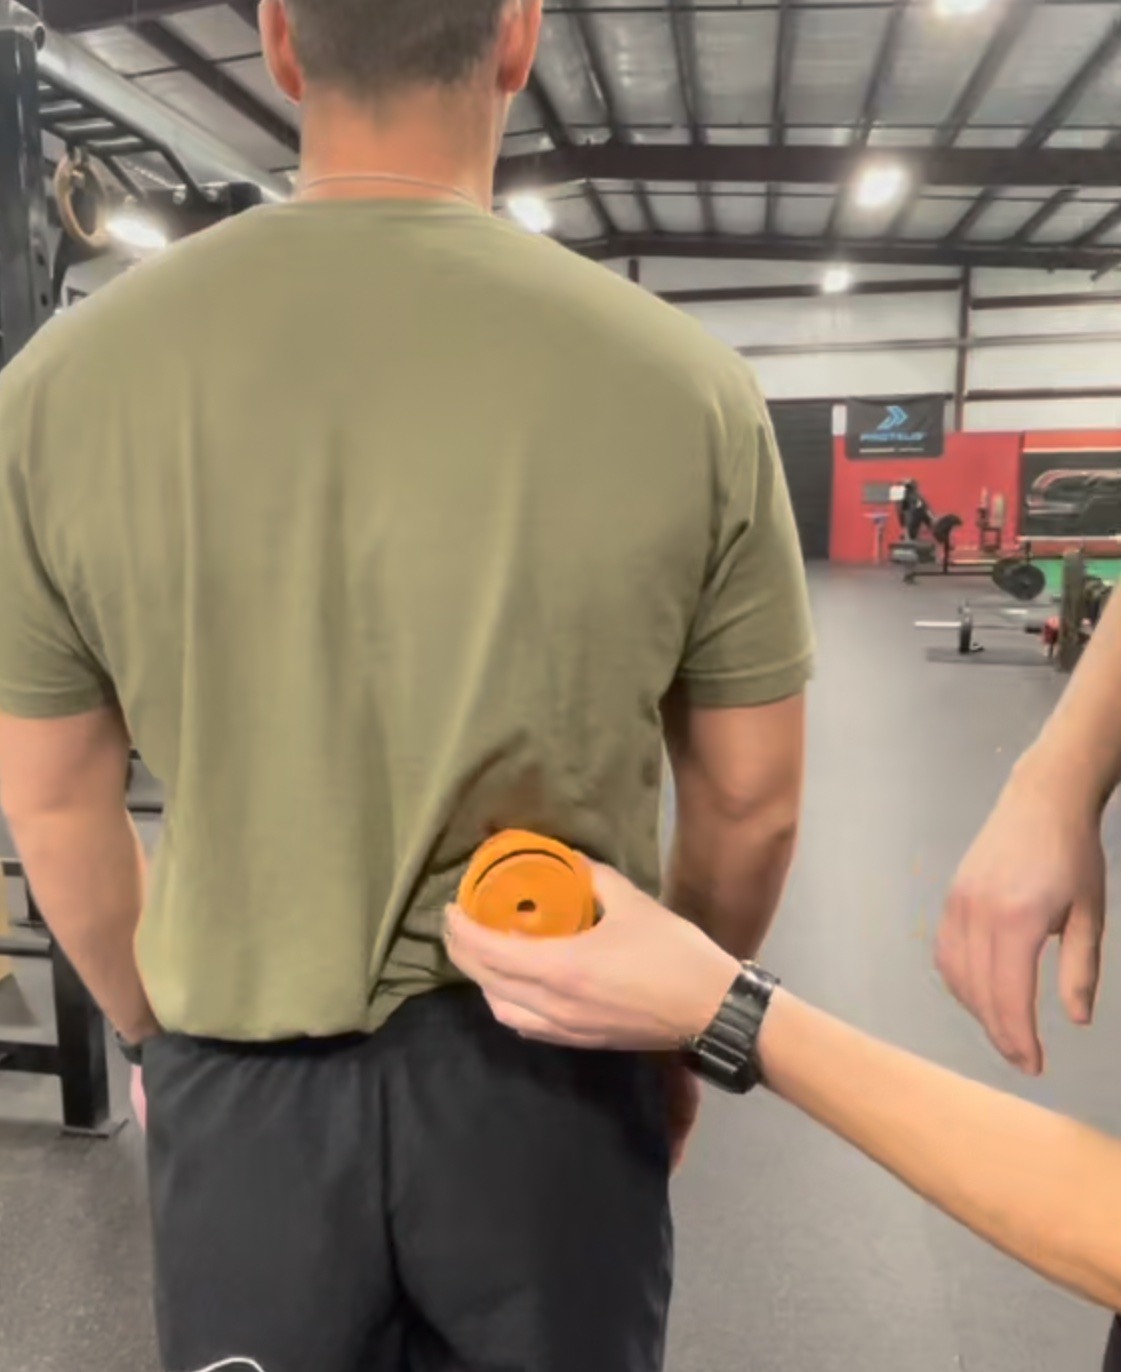
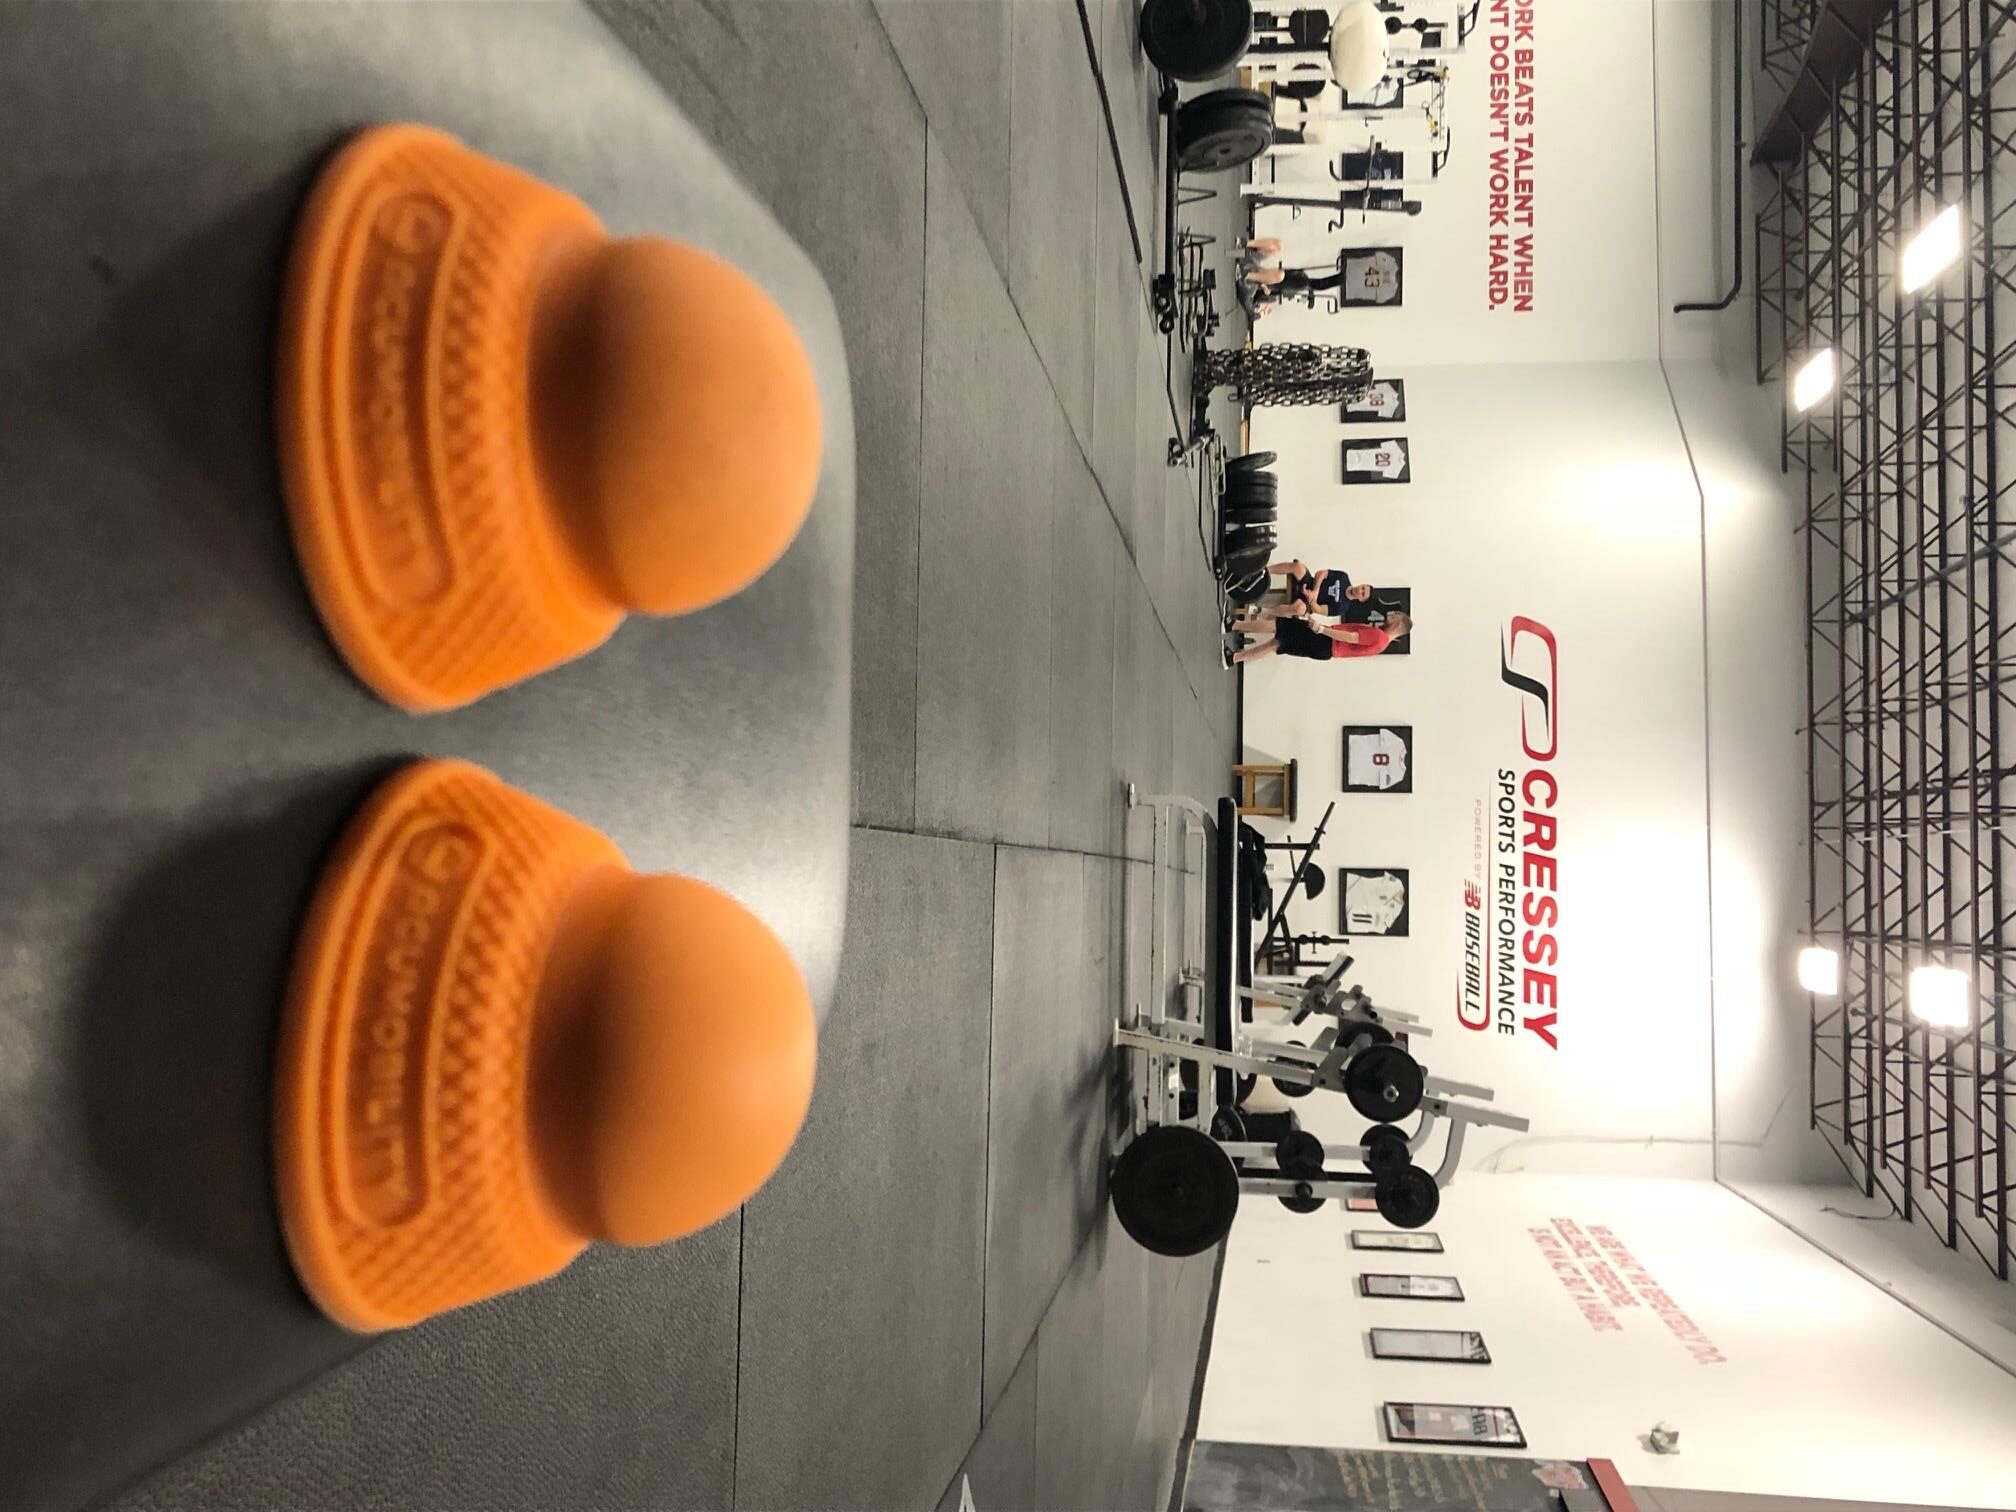
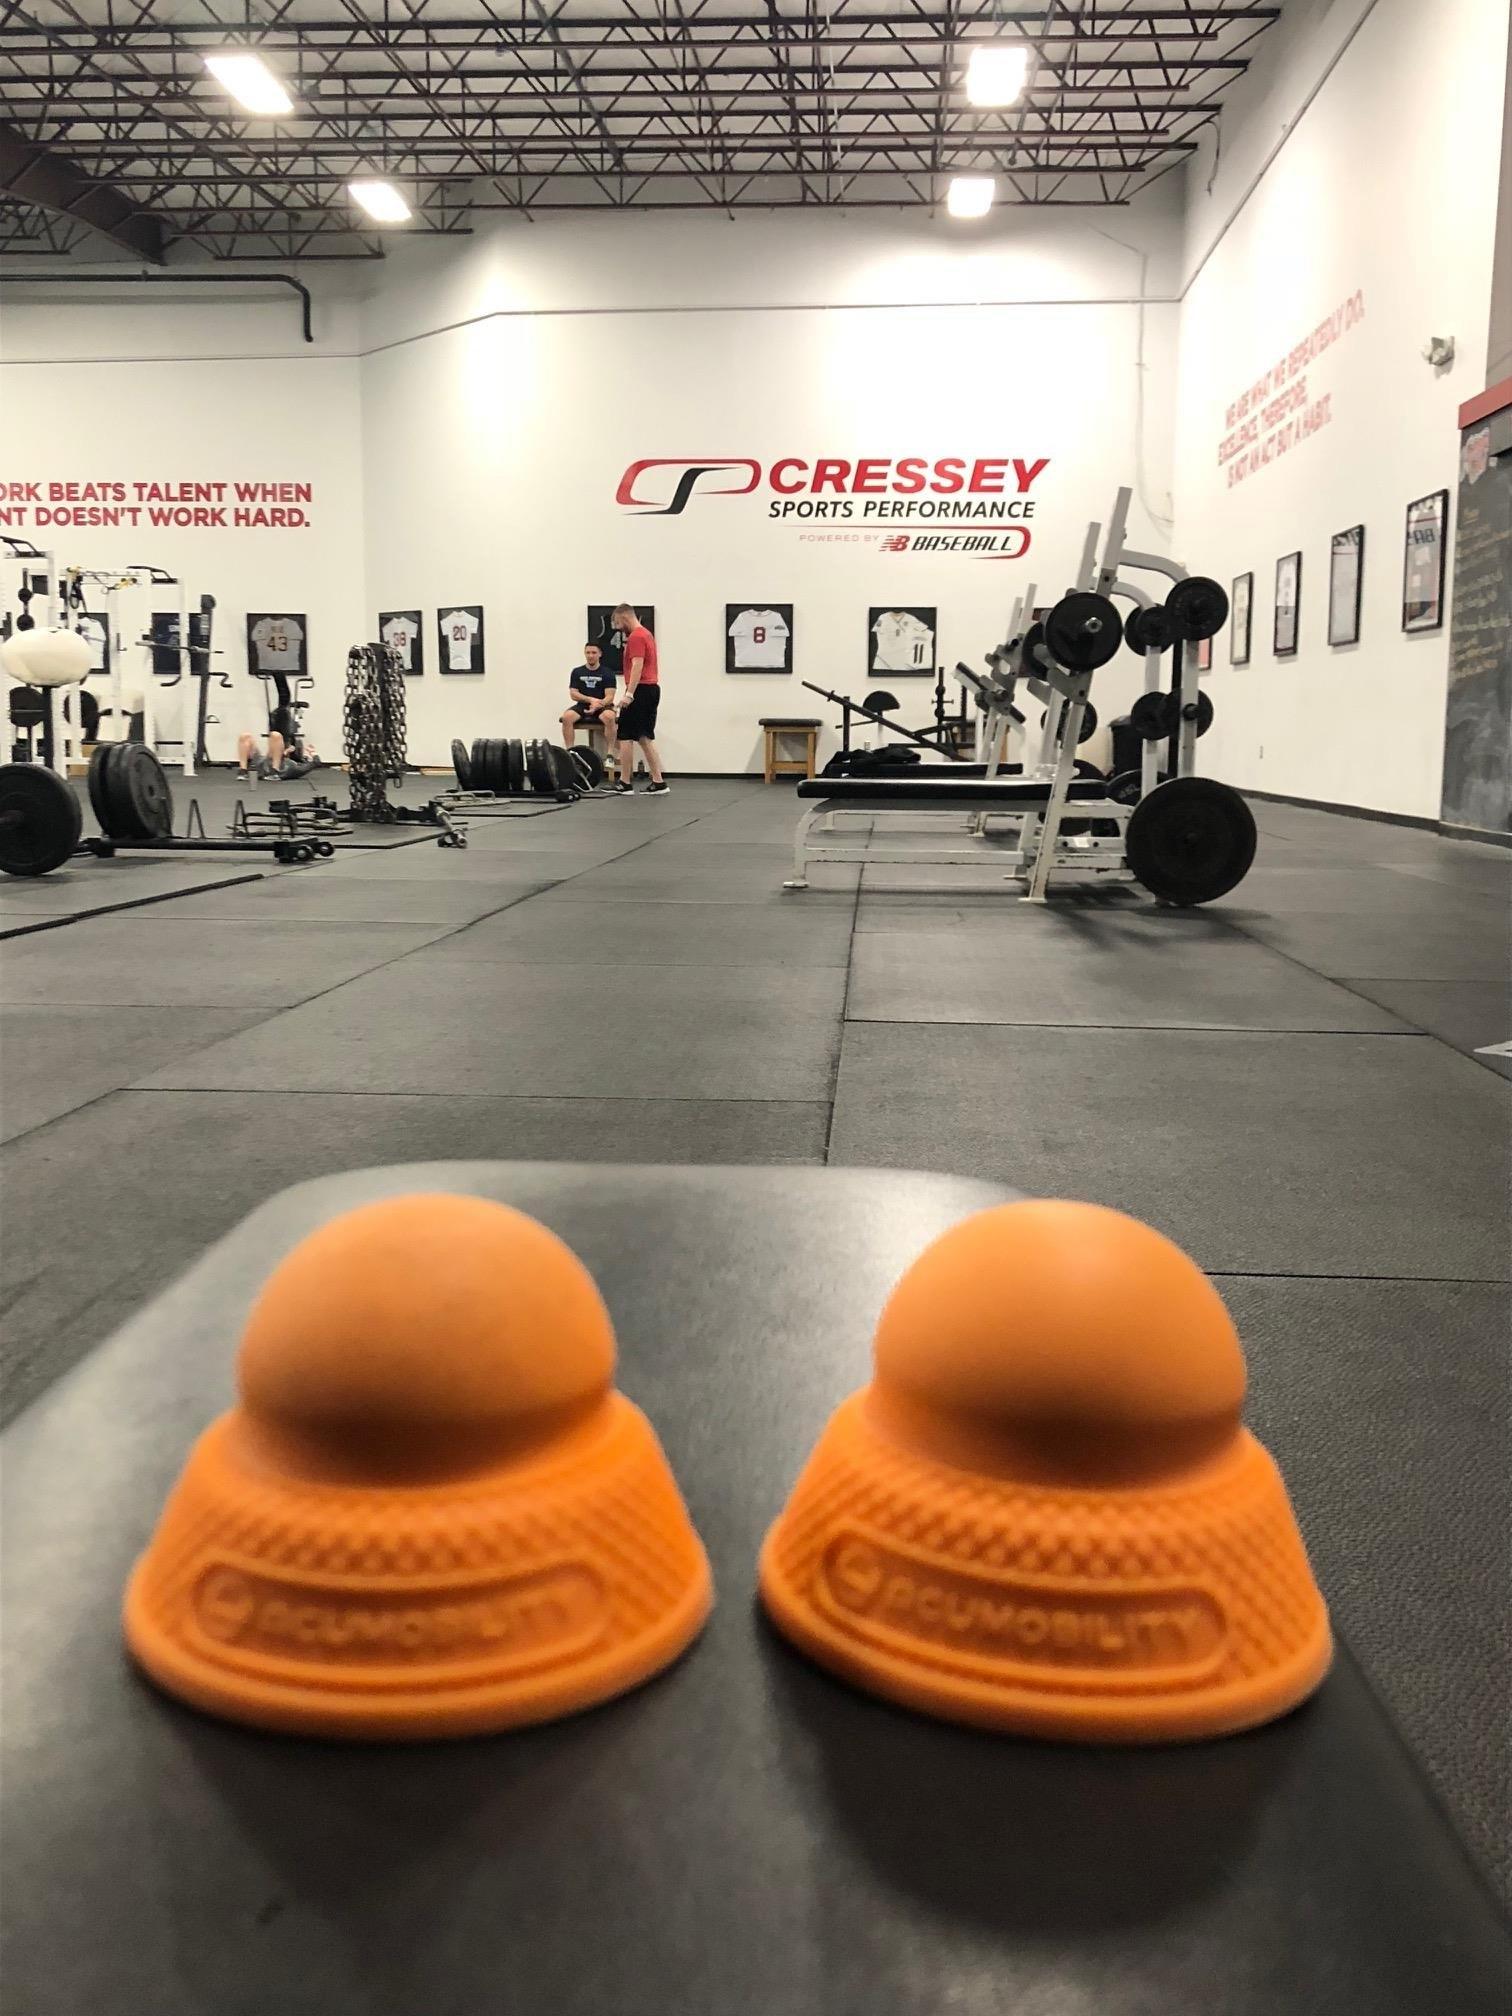
I posted five years ago about How to Use the Acumobility Ball for Upper Extremity Health and Performance, so it seems long overdue for me to share one of the ways we're using it a bit further down the chain: on quadratus lumborum (QL). Here's a quick tutorial, courtesy of Cressey Sports Performance - Florida coaches Andrew Lysy and Ian Connors:
As a brief follow-up, take a look at the anatomy of QL, which has attachments on the ilium (pelvis), L1-L4 (spine), and 12th rib:
It can contribute to lateral flexion and extension of the spine, and also is a accessory muscle of inhalation. And it can hike the pelvis. In short, it'll often serve as a "fake" glute that substitutes lumbar extension (low back arching) and hip hiking for motion that should be occurring at the hip. It's a common player in extension based low back pain, and can limit thoracic rotation. QL trigger points can refer all over the place, too; it's not uncommon for it to present as a sciatica pain pattern, or even refer to the anterior hip.
It's a slam dunk when you see one hip that's hiked up on static posture assessment, and we'll follow this self-myofascial release drill up with some hip shifting drills based on what we see on our assessment (particularly with respect to hip rotation and straight leg raise). We'll usually integrate some positional breathing drills that emphasize posterior pelvic tilt as well. All that said, two drills that you probably can't go wrong with on this front are a lean away lateral line stretch (5 full exhales) and prone hip extension iso hold off table.
This one is a "keeper" in our daily warm-up series, so give it a shot and see how you like it. Also, just a friendly reminder that the Acumobility team was kind enough to set up a 10% off discount for my readers; you can get it by entering the coupon code CSP10 at checkout at www.Acumobility.com.
Enter Coupon Code CSP10 for 10% off.
Sign-up Today for our FREE Newsletter and receive a four-part video series on how to deadlift!
With 2018 winding down, I'm using this last week of the year to direct you to some of the most popular content of the past 12 months at EricCressey.com, as this "series" has been quite popular over the past few years. Today, we start with the most popular articles of the year; these are the pieces that received the most traffic, according to my hosting statistics.
5. Why You Shouldn't Look Up When You Lift - It drives me bonkers to see lifters looking up at the ceiling during squats, deadlifts, and even arm care exercises. In this post, I discuss why that's the case.
I'll be back soon with another "Best of 2018" feature. Up next, the top videos of the year!
Sign-up Today for our FREE Newsletter and receive a four-part video series on how to deadlift!
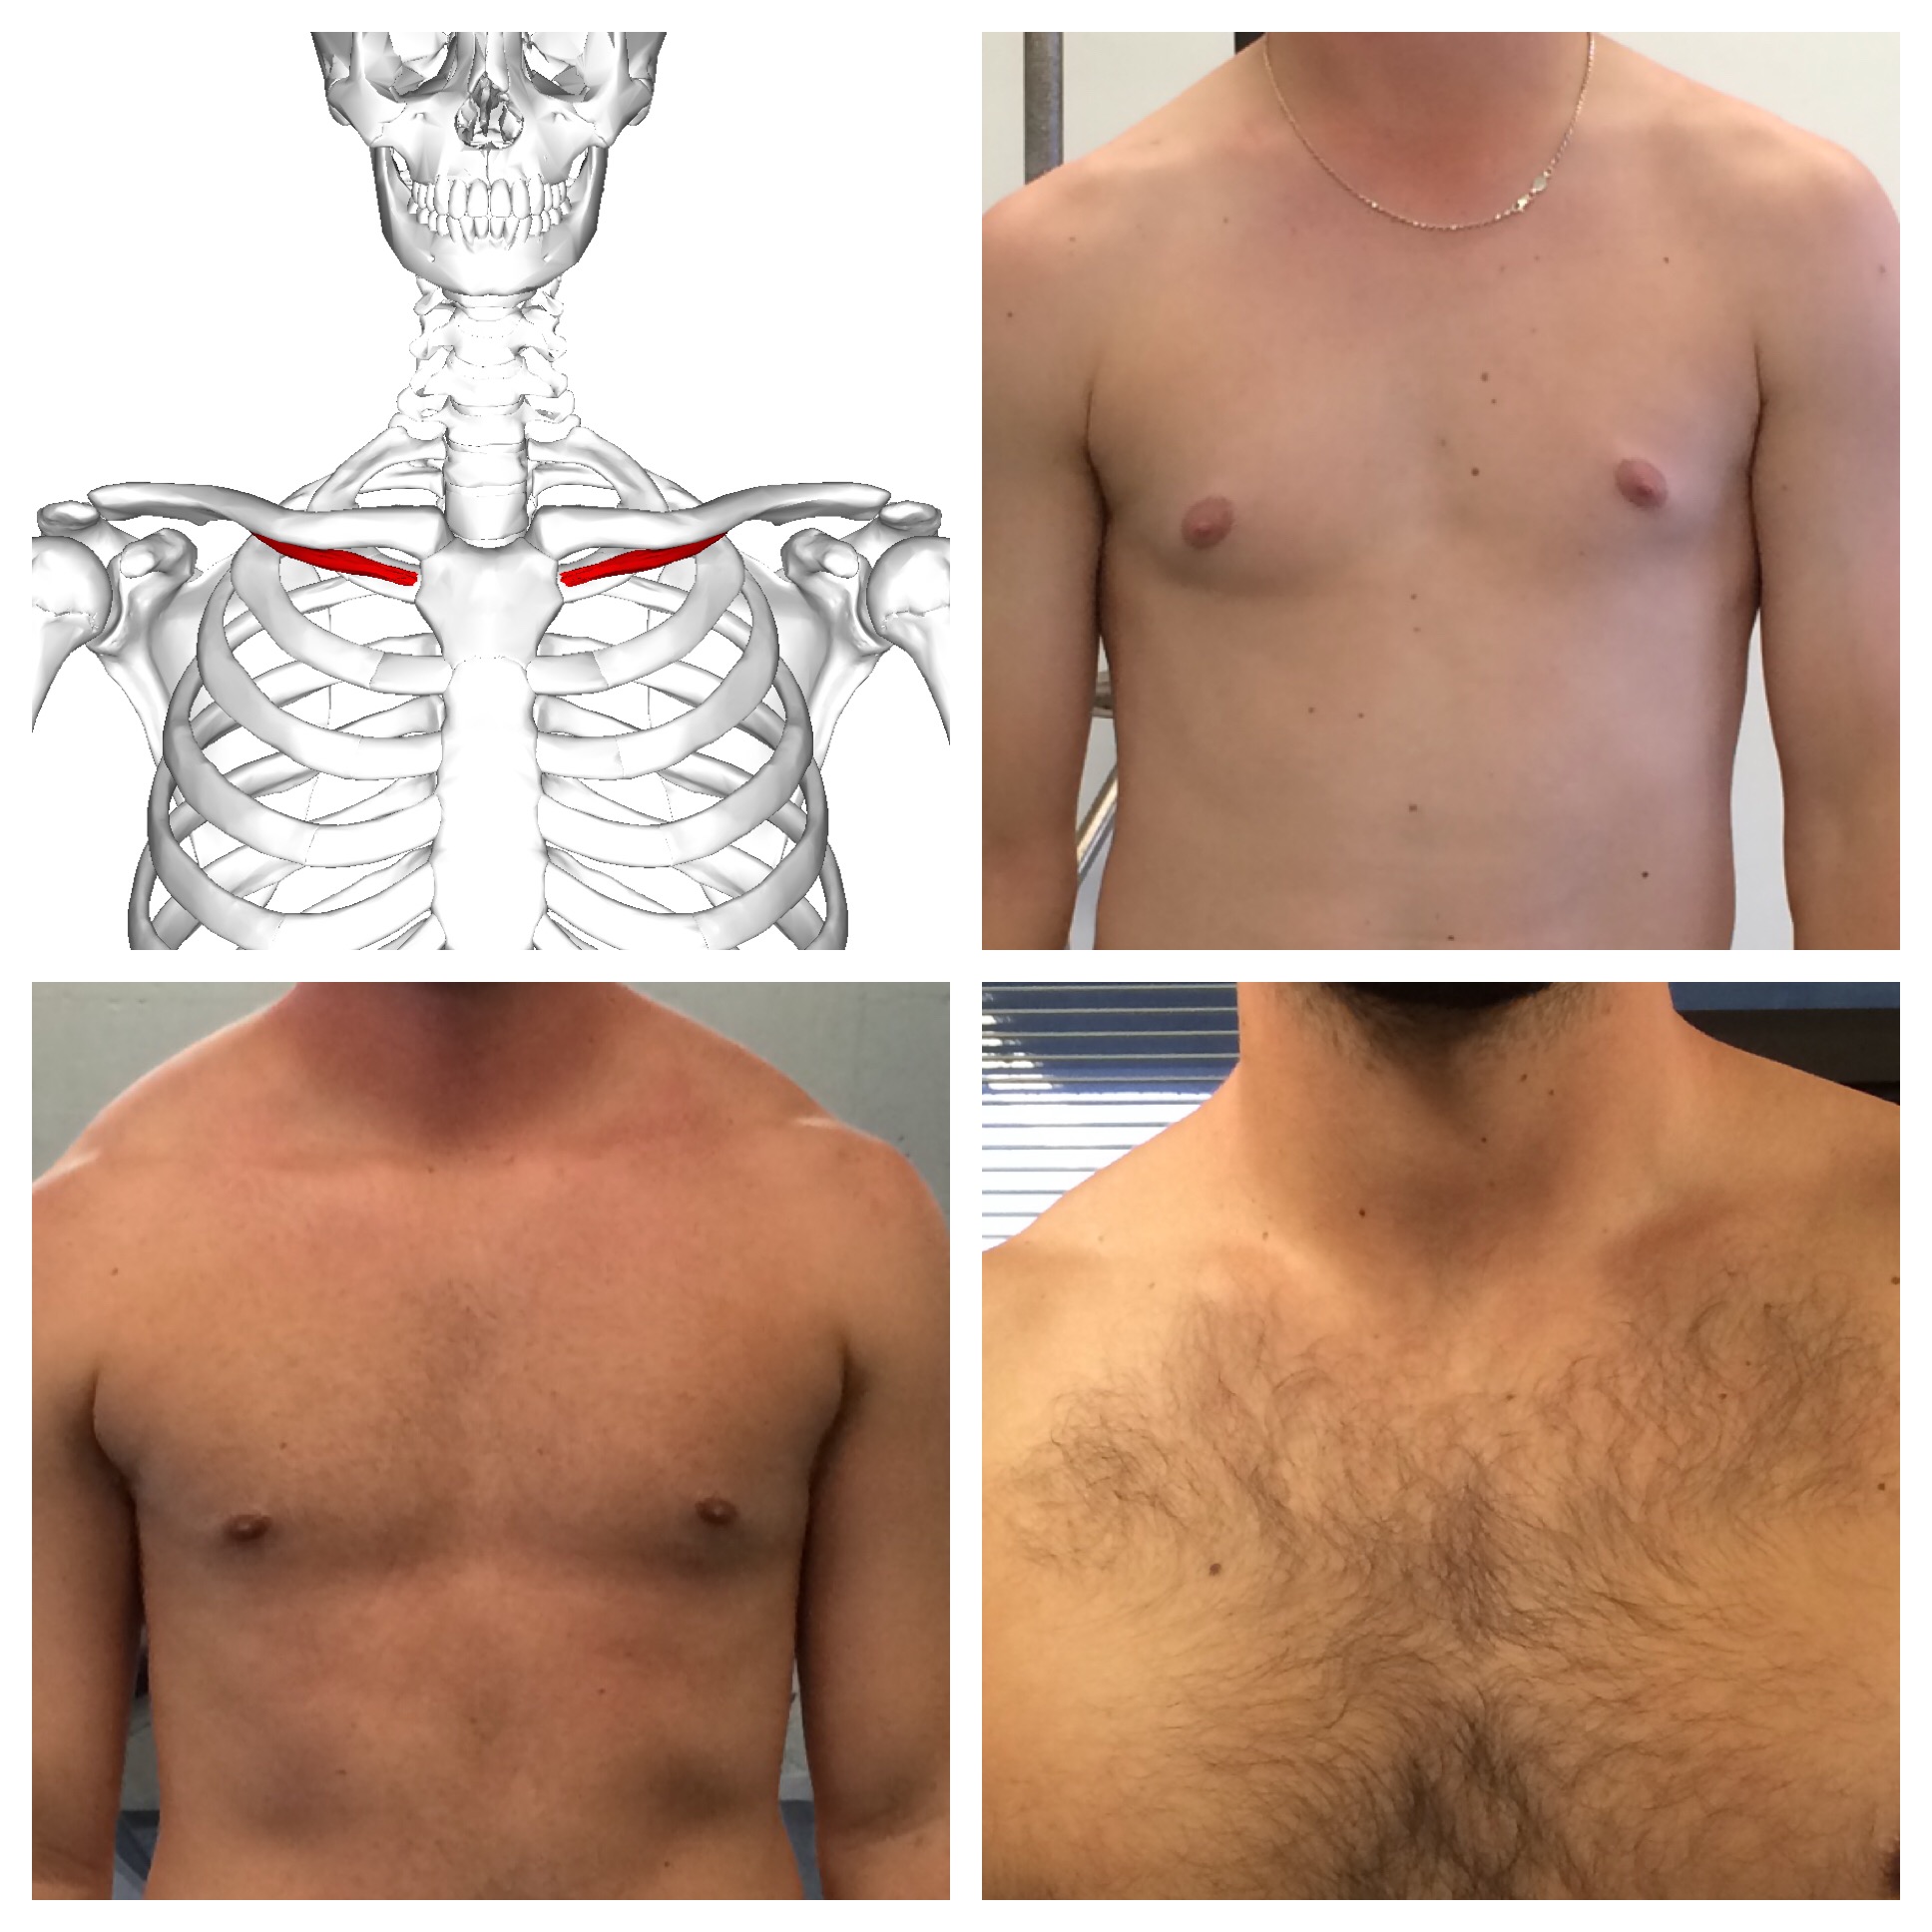
If you’re looking for a really common trigger point in throwers, look no further than subclavius. It’s stuck right between the clavicle (collarbone) and first rib (highlighted in red here).
In normal posture, the clavicle should have a slight upslope. In many throwers who sit in scapular depression, downward rotation, and/or anterior tilt, the clavicle is pulled down even more, as the collarbone interacts with the shoulder blade at the acromioclavicular joint. Wherever the scapula goes, the collarbone goes.
Here’s the problem: with overhead motion, the clavicle actually needs to rotate up as well – and a short, dense, fibrotic subclavius will restrict that movement.
Making matters worse, the subclavius works with the often hypertonic scalenes to elevate the first rib – so this muscle gets smashed from the bottom while it’s already bunched up from the top. And don’t forget that there are important nerve and vascular structures that course between these two bones as well, so subclavius is an anatomical structure that can’t be ignored anytime a thoracic outlet syndrome diagnosis is considered.
From a referral standpoint, trigger points in subclavius can lead to symptoms in the anterior shoulder, biceps muscle belly, and lateral forearm all the way down to the thumb side of the hand. It’s also not uncommon to see the clavicular angle increase (upslope) after good manual therapy on subclavius in someone with a low shoulder.
In short, don’t overlook this muscle just because you’ve never heard of it or it’s really small. Taking care of it can be a game changer, whether it's with quality manual therapy, self-myofascial release on the Acumobility Ball, or a combination of the two.
If you're looking to learn more about how I assess, coach, and program at the shoulder, I'd encourage you to check out my popular resource, Sturdy Shoulder Solutions. I dig in deep on functional anatomy of the upper extremity on a number of fronts in this resource; you can learn more at www.SturdyShoulders.com.
Sign-up Today for our FREE Newsletter and receive a four-part video series on how to deadlift!
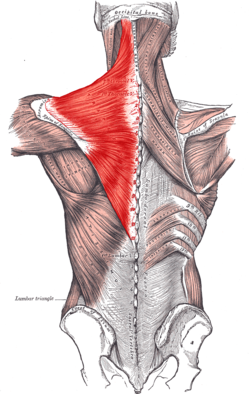
Today is the fifth and final installment of my video series on self care for the neck and upper extremity with the Acumobility Ball. In this edition, I cover the upper traps with a four-minute video, as this approach isn't right for everyone. Don't forget that you can get 10% off on this great soft tissue tool with the coupon code cressey at www.Acumobility.com.
Thanks for sticking with me for all five videos! I hope you enjoyed them and derived some benefit.
Sign-up Today for our FREE Newsletter and receive a four-part video series on how to deadlift!
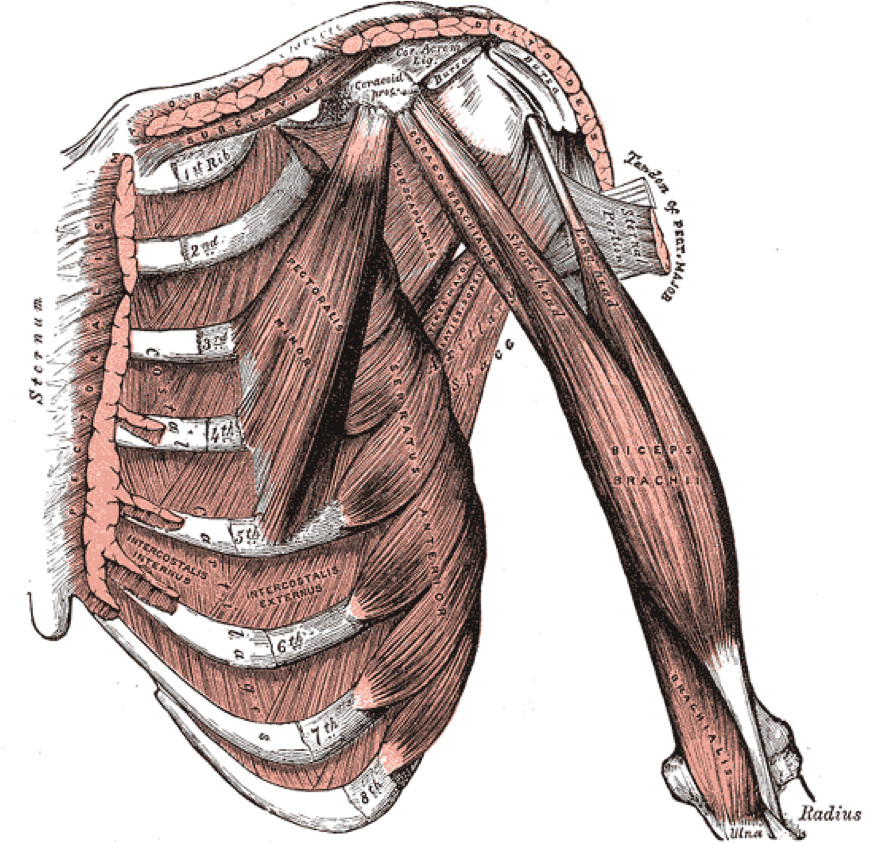
Today is part 4 of my series on how we utilize the Acumobility Ball for self myofascial release in the neck and upper extremity. Here, I cover the coracoid process, an attachment point for pec minor, coracobrachialis, and the short head of the biceps. Don't forget that you can get these great soft tissue resources for 10% off by using the coupon code cressey at www.Acumobility.com.
I've got one more video coming up for you tomorrow, so stay tuned!
Sign-up Today for our FREE Newsletter and receive a four-part video series on how to deadlift!
It's time for part 3 of my series on how we utilize the Acumobility Ball for the neck and upper extremity. Today, I cover another overlooked muscle: subclavius. Before we get to it, remember that you can get these great soft tissue resources for 10% off by using the coupon code cressey at www.Acumobility.com.
I'll be back soon with another video to keep this series going.
Sign-up Today for our FREE Newsletter and receive a four-part video series on how to deadlift!
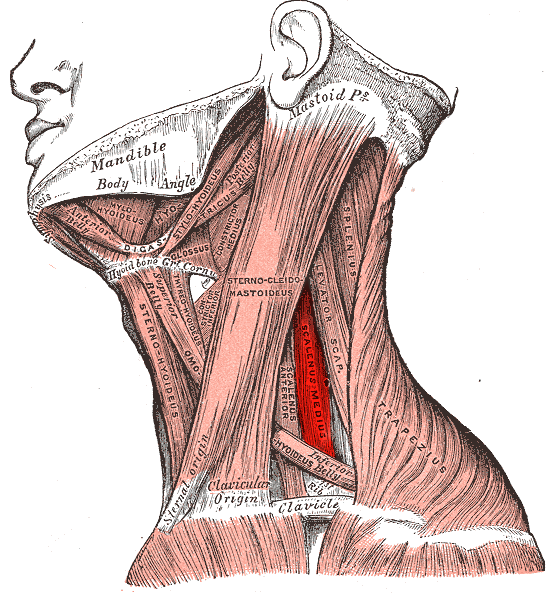
Today, I've got the second video in my series on how we utilize the Acumobility Ball to perform self myofascial release in the upper extremity - and, in particular, the neck. As a reminder, the crew at Acumobility have been kind enough to provide my readers with 10% off by using the coupon code cressey at www.Acumobility.com. Today, we'll talk about the scalenes.
I'll be back soon with another video to keep this series going.
Sign-up Today for our FREE Newsletter and receive a four-part video series on how to deadlift!
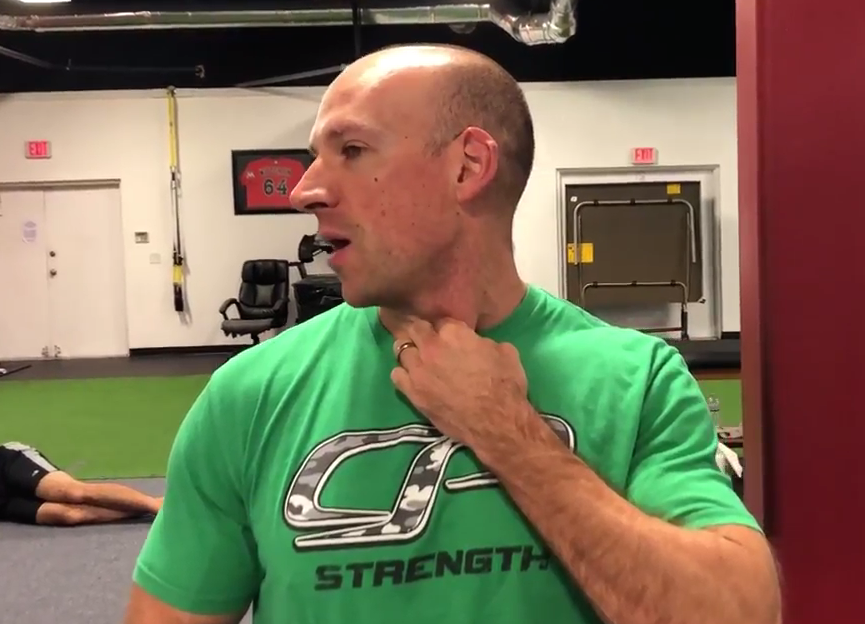
In a recent Instagram post, I discussed how big of a fan I am of the Acumobility ball, and I got a lot of questions about how we integrate it for upper extremity and neck self-care. With that said, I wanted to kick off a series this week with a look at where we start when it comes to implementing this tool. The good folks at Acumobility have been kind enough to provide my readers with 10% off by using the coupon code cressey at www.Acumobility.com.
To kick things off, let's talk about functional anatomy and self myofascial release for the sternocleidomastoid (SCM):
I'll be back soon with a new video to keep this series going.
Sign-up Today for our FREE Newsletter and receive a four-part video series on how to deadlift!
I'm a big fan of utilizing the Acumobility Ball for self-myofascial release. You just need to be very careful to not work too intensely around the more delicate structures of the neck. The good folks at Acumobility were kind enough to set up a 10% off discount for my readers; you can get it by entering the coupon code CSP10 at checkout at www.Acumobility.com.
Check out this five-part video series on how we integrate this great tool:
Sign-up Today for our FREE Newsletter and receive a four-part video series on how to deadlift!
As I promised back in November, I've decided to dedicate a regular series to the principles that govern a lot of our program design at Cressey Sports Performance. Here's the second installment:
1. A few positional breathing drills can be a game changer, but don't let them take over the training session.
Positional breathing drills have really surged in popularity in recent years, largely thanks to the great work of the folks at the Postural Restoration Institute. Forceful exhalation in certain positions can both activate certain muscles and inhibit others. Take, for instance, TRX Deep Squat Breathing with Lat Stretch.
We're firing up several muscles of exhalation: rectus abdominus, external obliques, serratus anterior - and toning down our lats, rhomboids, lumbar extensors, and calves (to name a few). It's not uncommon for folks to get up from this exercise after 30 seconds and feel dramatically different.
That said, as is often the case in the fitness industry, if a little is good, then a lot must be better, right? It didn't take long for us to find the zealots who are spending 30 minutes doing positional breathing at the start of every training session. It's somewhat analogous to the folks who foam roll for an hour every day.
You're better off doing 1-2 breathing drills at the start of a warm-up (and possibly as a cool-down) and then following it up with good resistance training technique to make those transient changes "stick." Patience and persistence always win out over short-term "overindulgence."
2. Follow these two great Selective Functional Movement Assessment (SFMA) strategies.
SFMA was one of the better courses I've taken in the past few years, and two programming principles they discuss really stand out:
a. Chase dysfunctional, non-painful patterns first.
Let's say someone walks in with a cranky shoulder that's limited into internal rotation: a dysfunctional, painful pattern. If you just throw caution to the wind and stretch that shoulder into internal rotation, more often than not, you're going to flare things up even further.
Let's say that individual also has a pronounced scapular anterior tilt and very limited thoracic extension and rotation. If you do some soft tissue work on pec minor and work in some thoracic spine mobilizations, there is a very good chance that when you go back to retest shoulder internal rotation, it'll be improved and pain-free. Sometimes, the best way to get from A to B is through C or D.
b. Find and address areas were passive range-of-motion far exceeds active ROM.
There's a reason a lot of gymnasts and dancers retire with stress fractures in their lower backs; they have a lot of passive range-of-motion, but not always much motor control to stabilize those ranges of motion. This is why it's important to have assessments that test both passive and active ROMs (straight leg raises and supine vs. standing shoulder flexion are great examples). And, you need to have training initiatives that build control in those passive ranges.
3. Check out the Acumobility Ball.
I posted this on my Instagram and thought it might be of interest. The Acumobility Ball has been a game changer for us. You can save 10% on it at www.Acumobility.com with the coupon code cressey.
Here's a little example of how we'd use it on the pec minor/coracobrachialis/short head of biceps attachments on the coracoid process.
4. There's nothing that says you have to progress or regress programming - and there are many different ways to make lateral moves.
As few years ago, Charlie Weingroff coined the term "lateralizations" for times when you don't progress or regress an exercise, but rather, move laterally.
An example would be something along the lines of going from a standing 1-arm cable row to a split-stance 1-arm cable row. There really isn't any change to exercise complexity, but it does give the trainee some variety in their programming.
I'd say that lateralizations are the most useful with adult clients who don't have crazy lofty fitness goals - and therefore aren't interested in taking on a ton of risk in their training programs. They might not crave being sore all the time from all the innovative new exercises you can throw at them. Lateralizations can keep training fun via novelty without adding a steep learning curve.
Additionally, remember that exercise selection isn't the only way to progress or regress the challenge to the athlete or client in front of you. You can increase or decrease volume, alter the tempo, modify the load, or adjust the rest intervals.
Sign-up Today for our FREE Newsletter and receive a four-part video series on how to deadlift!