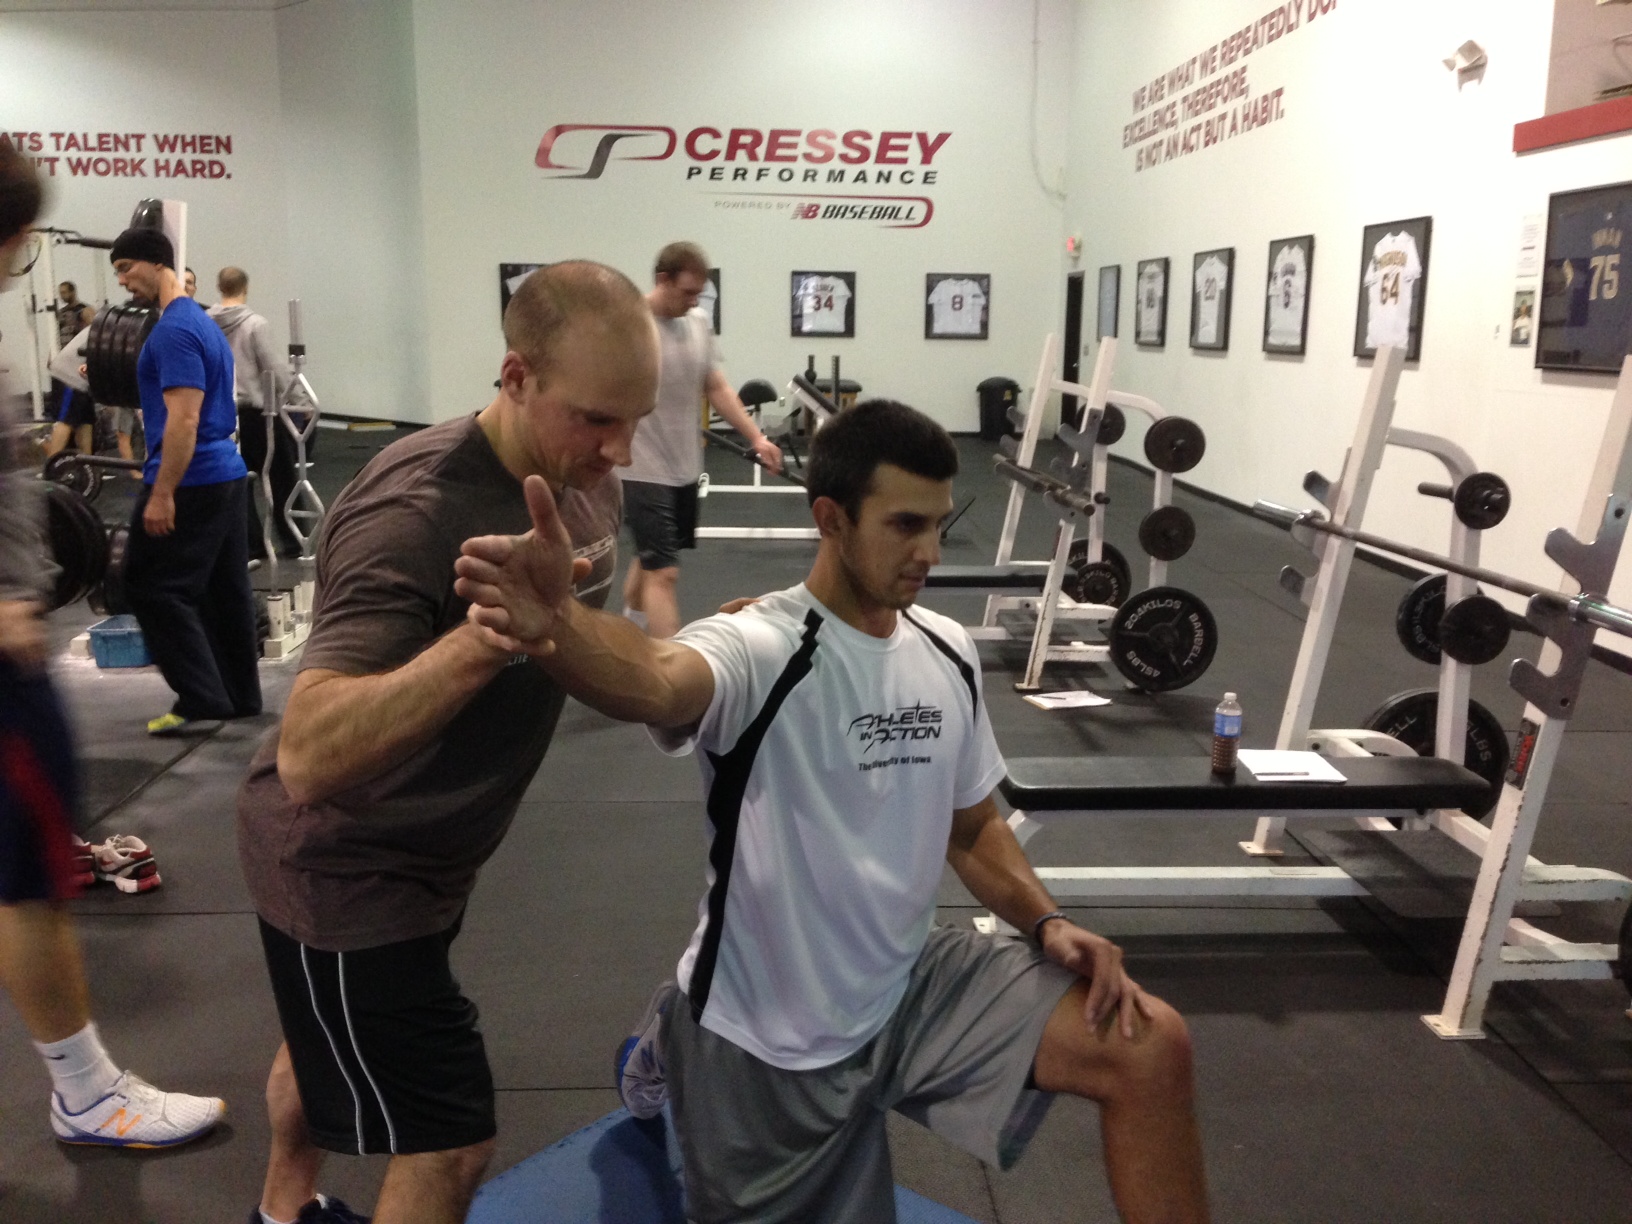
In this installment of "Exercise of the Week," I have a drill that combines a few of my all-time favorite shoulder health exercises into one comprehensive approach that gives you a lot of bang for your buck. Check it out:
Also, for more exercises and coaching cues like this, don't forget to check out our Mike Reinold and my new resource, Functional Stability Training of the Upper Body. It's on sale at a big introductory discount through the end of the week.
Sign-up Today for our FREE Newsletter and receive a four-part video series on how to deadlift!
In this week's installment of "Exercise of the Week," I want to introduce one of my favorite "combo" drills for hip mobility and core stability. I actually came up with the lateral lunge with band overhead reach myself in the summer of 2012 as I was thinking up ways for our throwers to have better rotary and anterior core stability as they rode their back hips down the mound during their pitching delivery. I introduced the exercise in phase 2 of The High Performance Handbook, and got several emails from customers who commented on just how much they liked it. Give it a shot!
The name of the game with this exercise is "bang for your buck." You're getting anterior core stability that'll help you prevent the lower back from slipping into too big an arch. You're getting rotary stability that'll help prevent excessive rotation of your spine. You're getting hip mobility that'll enable you to get into new ranges of motion. And, you'll build lower body frontal plane stability so that you can perform outside of just the sagittal (straight-ahead) plane.
I'll usually do three sets of 6-8 reps per side. Enjoy!
Sign-up Today for our FREE Newsletter and receive a four-part video series on how to deadlift!
It goes without saying that all rotational sport athletes need adequate thoracic spine (upper body) mobility in order to create appropriate separation as they work to transfer force from the lower extremity to the upper extremity during swings, throws, shots, and changes of direction. In a throwing population, however, you need to take some special precautions as you work to build it.
One thing we know about pitchers is that their shoulder external rotation improves over the course of a season, and this likely takes place because the ligamentous structures in the front of the shoulder become looser. In this image of a left shoulder, it would be the area labeled "capsular ligaments:"
Effectively, the looser one's anterior capsule is, the more external rotation one will have. The problem, however, is that if this area becomes too loose, the biceps tendon must pick up the slack as an important anterior stabilizer during external rotation. Additionally, there are many nerve structures at the anterior shoulder that can be irritated because the humeral head isn't controlled. This is yet another reason why it's not a good idea to stretch a throwing shoulder into external rotation. In this video, I go into greater detail:
This knowledge gives rise to two thoughts:
1. If we lack thoracic rotation, our arm will drag during the pitching delivery, as it's a means of creating better separation (albeit in the wrong places). Guys who have quick arms can often make up for it, but still inevitably irritate the anterior shoulder over time. So, if your thoracic rotation stinks, you'll need to try to find more external rotation in the wrong places. Additionally, if we lack thoracic extension, we often substitute lumbar extension (lower back arching) to maintain an upright torso. These guys wind up with low back pain, oblique strains, and hip issues.
2. We can't just throw any thoracic mobility drill at throwers, particularly in the early off-season, when the anterior shoulder is all stretched out and it may be the path of least resistance. As an example, the kettlebell arm bar might be a great drill for many folks in the population, but I would never use it with a thrower:
Instead, particularly in the early off-season, we need to pick drills that heavily emphasis thoracic movement independent of humeral (arm) movement. Here's a progression we might use over the course of the off-season:
Off-Season Months 1-2 (and during the in-season phase): Supine Alternating Shoulder Flexion on Doubled Tennis Ball, Thoracic Extension on Roller, Rock-Back Quadruped Extension-Rotation
You'll notice that these options integrate a lot more humeral movement. In many cases, you can use them earlier in the off-season, but only if they're coached really meticulously to ensure athletes are moving in the right places.
We use these exercises right after our foam rolling and positional breathing drills during the warm-up, and before anything we'd do to directly work on scapular stabilization and rotator cuff strength/timing. Hopefully, this article gives you a little feel for not just some of the exercises we may use, but also the way we'd program them throughout the competitive season.
If you'd like to learn more about how we manage throwers, be sure to register for one of our Elite Baseball Mentorships. The next one will take place June 14-16 in Hudson, MA.
Sign-up Today for our FREE Baseball Newsletter and Receive Instant Access to a 47-minute Presentation from Eric Cressey on Individualizing the Management of Overhead Athletes!
Those of you who have followed along with my "Exercise of the Week" series probably can tell by now that I'm a fan of "big bang for your buck" exercises. This isn't just limited to multi-joint strength exercises like deadlifts, bench presses, lunges, squats, overhead presses, chin-ups, and rows, though. Rather, it can also apply to mobility exercises because - let's face it - single-joint warm-ups are boring and take too long. Here's one mobility warm-up drill we'll use to improve thoracic mobility and pec length while opening up the hips. Simultaneously, you're training the anterior core to resist excessive lumbar extension (arching at the lower back).
For the throwers out there reading this post, be sure to avoid really cranking those elbows back; chances are you already have plenty of range-of-motion. Just focus more on resisting the excessive arching of the lumbar spine.
In this installment of "Exercise of the Week," I've got a great drill you can use to improve upper extremity mobility. I originally learned this from Sue Falsone of the LA Dodgers a few years ago.
We've found this to be super helpful not only with folks who have poor thoracic spine mobility, but also those who have limited shoulder flexion and scapular upward rotation. There's a bit of research and anecdotal evidence out there to support the idea that improving thoracic mobility in turn improves scapular upward rotation and glenohumeral (ball and socket) range of motion. Basically, by reducing bad stiffness in one area, it makes it easier to establish good stiffness elsewhere - and that provides for better overall mobility. So, reduced thoracic stiffness = better scapular upward rotation = better ball-and-socket congruency = better arm range of motion.
Internal rotation, in particular, seems to improve the quickest - and that's one reason why we'll always work proximal - positioning breathing, thoracic mobility, scapular control, and soft tissue work - before we ever stretch a throwing shoulder. The glenohumeral joint is somewhat of a delicate one, so you never want to crank on it - especially if you haven't exhausted more conservative options. This fits that bill.
Additionally, some folks with a more adducted scapula positioning will benefit quite a bit from this drill, as it essentially works out to self myofascial release on overactive rhomboids. Get them to relax, and the shoulder blade will move better on the rib cage.
All you need is a doubled tennis ball and some masking or duct tape. Tape two balls together, and then go follow the instructions below.
Sign-up Today for our FREE Newsletter and receive a four-part video series on how to deadlift!
They say that nothing in the fitness industry is really "new" nowadays. Rather, new concepts usually originate with things that are already out there simply being "spun" in different ways. Maybe it's a different cue, or a new way to program an old exercise. Today's post is a great example.
Gray Cook has put out some outstanding stuff with respect to improving the toe touch pattern (and outlining why a toe touch is an essential movement skill in the first place). And, Ron Hruska of the Postural Restoration Institute(PRI) has brought to light how asymmetry is normal and somewhat predictable (based on our anatomy), but must be managed within acceptable limits. A central focus of both these approaches is that we have to get closer to neutral before we try to perform, especially if that performance includes strength training that will further solidify neural patterns.
Greg Robins gave a great introduction to some of the PRI postural distortions and corrections in a recent post here at EricCressey.com. As a Cliff's Notes version, we often get "stuck" in our right hip (adduction/internal rotation) like this:
When you look at these individuals from the front, you'll see an adducted right hip, low right shoulder, and anterior left rib flare:
However, this isn't just a frontal and transverse plane problem; rather, it also generally is accompanied by a sagittal plane concern: poor control of extension, meaning our weight is carried excessive forward via a number of different compensations: excessive plantarflexion (ankle), anterior pelvic tilt (hips), lordosis (lower back), scapular anterior tilt (shoulder blade), humeral extension past neutral (upper arms), or cervical hyperextension (neck/forward head posture). At the end of the day, virtually all of these folks - regardless of where they get their excessive extension - have a compromised toe touch pattern. They simply aren't able to posteriorly shift their weight sufficiently to make it happen. And, given their asymmetries from above, you'll often see a big side-to-side difference in the form of a posterior right rib humb when they demonstrate a toe touch for you. I have literally hundreds of photos exactly like this on my computer from working with clients, and I can honestly say that I've only seen three that have a posterior left rib hump! Effectively, they're in left thoracic rotation and right hip adduction.
As you can see, then, many folks may be better off performing their toe touch progressions with a bit of frontal and transverse bias, and that's where I started experimenting with the left-stance toe touch (with toe lift and med ball). Right handed individuals with the aberrant posture Greg demonstrates above tend to be "slam dunks" for improving a toe touch with this variation; the results are markedly better than if they do the drill with the feet side-by-side.
By learning to "get into" that left hip, we're actually activating the left hip adductors to help pull us back to neutral. And, when we're in neutral. We can pick up heavy stuff, throw 95mph, and sit in the car for more than 20 minutes without right-sided low back pain. All the villagers rejoice.
This is one exercise demonstration I include in my "Understanding and Managing the Hip Adductors for Health and Performance" presentation in our new resource, Functional Stability Training of the Lower Body. This collaborative effort with Mike Reinold has been a big hit already, and is on sale at a big introductory discount for this week only. You can check it out here.
Sign-up Today for our FREE Newsletter and receive a four-part video series on how to deadlift!
Today, my good friend Joey Wolfe has a great guest post on the topic of training baseball catchers. Joey's a really bright guy with a lot of experience on this front; I think you'll enjoy this. - EC
One of the biggest challenges for young players is being able to make adjustments to their swing, throwing mechanics, running mechanics, etc. Sometimes mental barriers get in the way of making the adjustment, yet often times it is a physical limitation; more specifically a mobility, stability or sequencing issue. As a coach it can be very frustrating trying to get a player to make an adjustment to their mechanics that their body is simply unable to make. A good coach will try to figure out another way to communicate the adjustment to the player. A great coach will figure out where the problem lies. This is where the strength & conditioning coaches come in. Although most of us may not know what it means to beat the ball to the spot, all of us should have a good understanding of how to improve the mobility of our athletes. It is this skill set that will directly affect the performance of our athletes.
The main responsibility of any catcher is to catch the ball. If a catcher cannot consistently catch the ball he will quickly find himself playing in the outfield. A catcher has many responsibilities; handling the pitching staff, calling pitches, receiving, blocking, throwing; the list goes on. In order for a catcher to be successful they must first and foremost be comfortable. Without the proper mobility the catching duties can quickly go from hard to impossible. Here are the three areas that stand out as the limiting factors in regards to mobility for catchers.
1. Limited ankle mobility: It is imperative that a catcher has mobile ankles. Having mobile ankles allows the catcher to comfortably get in a squatting position. With nobody on base (primary stance) a catcher is generally going to sit into a deep, comfortable squat with the ankles slightly everted. Stiff ankles have a tendency to put more stress on the hips. Also, without ankle mobility a catcher’s ankle sway will be limited. Ankle swaying is extremely important for catchers, especially at the lower levels because pitchers tend to lack command of their pitches. Ankle swaying allows the catcher to get their nose and body in front of the ball without moving the receiving arm too much. When there is a lot of movement with the receiving arm the pitch doesn’t look as good from the umpire’s vantage point. Finally, if an ankle is locked up it will limit the catcher’s ability to get in the proper throwing position to deliver the ball to second base. Although the movement may start at the hip, the ankle needs to have the appropriate amount of mobility to allow the ankle to externally rotate so the back foot can get in the correct position. Here are some of our favorite ankle mobility exercises.
Multiplanar Wall Ankle Mobilizations (previously described by EC here)
Ankle Inversion with Band
Sit with the band attached to your inside foot with a pad under calf so heel is off the ground. Use only your ankle, pull toes to stretch the band shin and return to the starting position for prescribed number of repetitions. Do not allow any movement throughout your leg or hip during the exercise. There should be less motion moving your foot out than in. This exercise will work the muscles in your lower leg and challenge the coordination in your ankle.
Ankle Eversion with Band
Sit perpendicular to a band that is attached to the outside of your foot. Place a pad under your calf so the heel is off the ground. Move your ankle away, stretching the band for the prescribed number of repetitions. Do not allow any movement throughout your leg or hip during exercise. There will be less motion moving your foot out than in. Working the muscles in your low leg and challenging the coordination in your ankle.
2. Poor thoracic mobility: It has been pretty well documented that limited shoulder mobility and/or thoracic extension will impede one's ability to get into the correct squatting position. Well imagine trying to catch an Aroldis Chapman fastball or a Tim Collins curveball if you can’t get down in a comfortable squatting position; not fun! Remember, the key to being a successful catcher is being comfortable. The absence of thoracic mobility is highlighted when a catcher has to get down into their secondary stance (two strikes on the batter and/or a runner on base). What you’ll find is a rounded upper back and shoulders that roll forward. This creates three problems.
First, it makes for a smaller target for the pitcher. Pitchers want a big target to throw to, not a small one. Therefore, generally speaking, it is the catcher’s job to make himself look as big as possible.
Second, it limits the catcher’s ability to receive the ball comfortably from the pitcher. Often times the catcher will feel “locked up” when they are unable to move freely through their t-spine. A low and away curveball from a right-handed pitcher will give them fits and you can forget about a good right-handed two-seam fastball or filthy left-handed slider. Basically any pitches that require the catcher to go get the ball will create challenges for a catcher that is tight in their t-spine.
Third, when a mobility issue is present the lengthened muscles will serve to dissipate the force transfer from the ground and lead to slower feet. This will make it near impossible to do anything quickly. Whether it is going down to block a ball, throw a runner out or back up first base, being tight up top will effect what is going on down below. Here are a few great exercises to help improve mobility in the t-spine.
Thoracic Spine Mobility - Double Tennis Ball
Tape two tennis balls together to for a "peanut" shape. Lie on your back with the balls under your spine just above your lower back and your hands behind your head. Perform 5 crunches. Then raise your arms over your chest and alternately reach over your head for 5 repetitions with each arm. Move the balls up your spine 1 to 2 inches and repeat the crunches and arm reaches. Continue moving the balls up your spine until they are just above your shoulder blades and below the base of your neck. During the crunches, try and "hinge" on the ball rather than rolling over it. Think about keeping your ribs pushed down to the ground during the arm reaches, as if you were getting a deep massage in your mid to upper back.
Side-Lying Extension-Rotation
Quadruped Extension-Rotation
3. Bad hip mobility: Last, but certainly not least, on the list of mobility restrictions is bad hip mobility. Of the three limitations I have mentioned, this one may be the biggest culprit in young catchers today. Given the number of hours kids spend sitting in class, watching T.V. and playing video games, it comes as no surprise that their hip mobility is negatively affected. We often find that the catchers we work with lack internal rotation (internal rotation deficit), and are short/tight in their hip flexors and adductors.
Two of our favorite stretches to address an internal rotation deficit are the knee-to-knee stretch and the supine dynamic hip internal rotation stretch. Allowing for more rotation in the hips is going to free the catcher to better perform the ankle sway, which really starts at the head of the femur. That internal hip rotation gives the ankles and the rest of the body a better chance to get in front of the ball when receiving a pitch and also allows the feet to get in the proper position when throwing the ball.
Lying Knee-to-Knee Mobilization
As Eric mentioned a few weeks ago in his epic post 15 Static Stretching Mistakes, the lying knee-to-knee stretch can impose some valgus stress at the knees if it isn't coached/cued properly. So, instead of thinking of letting the knees fall in, tell the athlete to actively internally rotate the femurs. The stretch should occur at the hips, not the knees.
Supine Dynamic Hip Internal Rotation
When addressing the adductors (groin), we are advocates of doing as much soft tissue work as one can stand. It’s not easy to get in to all of these areas with a foam roll, so we'll often we’ll have our clients use a tennis ball or lacrosse ball (if they can handle it). After hammering these areas with some soft tissue work, we’ll have our catchers do a few lengthening exercises. A couple of our favorites are the Split-Stance Kneeling Adductor Mobs and the Half-Kneeling Hip Stretch. When done right, both of these exercises emphasize the importance of hip mobility while maintaining core stability. Here’s a look at some of these exercises.
Split-Stance Kneeling Adductor Mobs
Half-Kneeling Hip Stretch
Simple and easy way to stretch some of the tightest muscles in the body. Squeeze the glutes of the knee that is on the ground, then push the hips forward. To progress, raise your arms overhead.
Typically, catchers are big guys who – for their size – move free and easy, especially in the aforementioned areas. Being a good catcher is more than just being big and strong. It is about being big and strong while maintaining your mobility and flexibility. Anyone can add size and strength, but if your movement is compromised in the process, then it is almost certain that you will see a decrease in performance. Spend some time doing these mobility exercises before, during (preferable) or after your workouts for the next few weeks and see how much better your body feels. Good luck!
About the Author
Joey Wolfe is the owner and founder of Paradigm Sport, a Santa Cruz based training business that specializes in performance training for athletes. Before his career as a strength & conditioning coach, Joey played baseball professionally in the Toronto Blue Jays organization. He now works with dozens of youth, high school, college and professional baseball baseball players. Joey's aptitude in the specific skill sets as well as the strength and conditioning aspects of the game provide him with a unique perspective from which to work with his clients on multiple levels. He can be reached at joey@paradigmsport.com.
Sign-up Today for our FREE Baseball Newsletter and Receive a Copy of the Exact Stretches used by Cressey Performance Pitchers after they Throw!
In this installment of Exercise of the Week, I introduce the supine leg whip, a great exercise that can be used to challenge both hip mobility and core stability to improve health and performance.
For more detailed exercise demonstrations like this - as well as the rationale for their inclusion in programs - I'd encourage you to check out Ruthless Mobility, a new product from Dean Somerset. This comprehensive resource covers the "who, what, when, where, why, and how" of mobility training in great detail. Click here for more details.
Sign-up Today for our FREE Newsletter and receive a four-part video series on how to deadlift!
It's been a while since I introduced a mobility exercise of the week, so I figured I'd introduce a new one that we use with a lot of our athletes nowadays.
The alternating lateral lunge with overhead reach gives you all the benefits - adductor length, hip hinge "education," and frontal plane stability - that you get with a regular lateral lunge variation. However, by adding in the overhead reach, you get a greater emphasis on optimal core stabilization and mobility and stability at the shoulder girdle.
In this position, we'll coach different athletes with different cues.
If it's an athlete who is stick in an exaggerated lordotic posture, we'll cue him to engage the anterior core and keep the ribs down as the arms go overhead.
If it's a "desk" jockey who is very kyphotic, we may have to actually cue him "chest up" because he's so rounded over; we have to bring him back to neutral before we even worry much about the anterior core involvement.
If it's a high school athlete who has really depressed shoulder blades, we will actually cue him to shrug as he raises the arms to complete scapular upward rotation in the top position.
Conversely, if it's a client is already very upper trap dominant, we may have to cue a bit more posterior tilt of the scapula during the overhead reach.
In other words, this is a great example of how you can take a good exercise and make it even more effective, especially if you individualize coaching cues as much as possible. Try it for a set of five reps per side as part of your warm-up and let me know how it goes!
In this week's mobility exercise of the week, I've got an excellent drill for reducing stiffness in the hip adductors. I came up with this exercise when I realized that I wanted to be able to do more drills to improve hip abduction range-of-motion, but I didn't always want them to be ground-based. And, just doing lateral lunge variations all the time can get a little boring for athletes. Enter table adductor dips.
I especially like to use this with our throwers because it actually parallels some of the hip angles we see with the pitching delivery, so it makes for a great warm-up and off-season maintenance/improvement exercise. I also like it for them because they can do it out on the field without having to roll around in the grass (which would be the case with a lot of other adductor mobility drills).
In terms of coaching cues, it's important to keep the weight on the support leg's heel and sit back "into" the hip. The majority of the weight should be on the down leg, with minimal pressure put on the leg that's up on the table.
As you go through the exercise, brace the core to ensure that the movement comes through the hips (flexion and abduction) at the bottom position, rather than just allowing the lower back to round. Having the arms out in front as I do in the video above can help as a counterbalance to prevent your butt from tucking under. If you're super stiff, you may want to consider holding a ten-pound plate out at arm's length as an additional counterbalance.
At the top position, be sure to extend the hips all the way to stand tall between each rep. I usually cue folks to activate the glute on the support leg to finish each rep. This will also help guarantee that you're stretching the adductors in both flexion and a neutral position.
We'll typically do sets of eight reps on each side during the warm-up period. This can, however, be held for a longer duration as a static stretch at the end of a training session.